1993 CHEVROLET CORVETTE manual radio set
[x] Cancel search: manual radio setPage 45 of 370
Downloaded from www.Manualslib.com manuals search engine Features & Controls
4
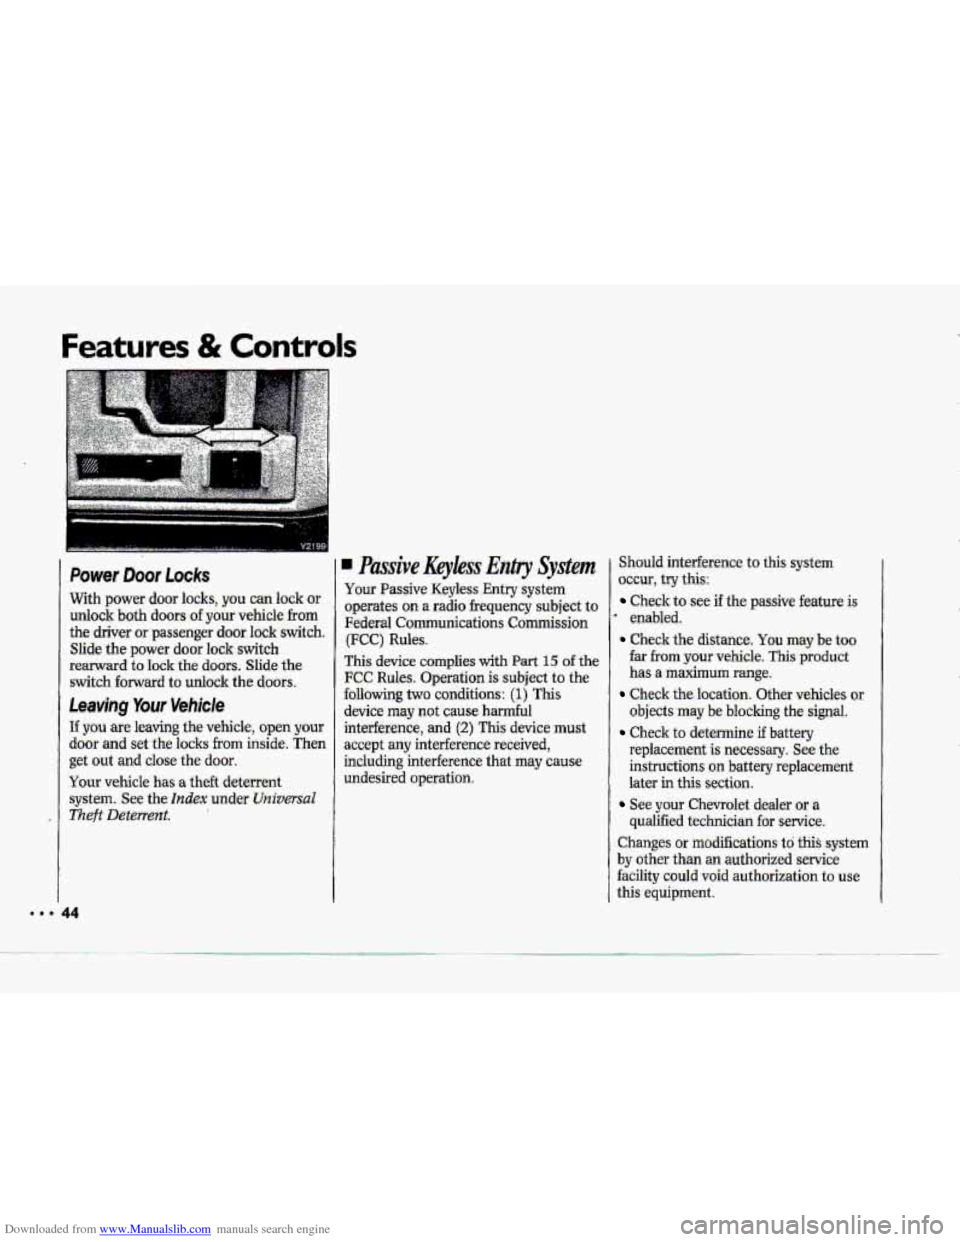
Power Door Locks
With power door locks, ,you can lock or
unlock both doors-.of your vehicle from
the driver or-passenger door lock switch.
Slide the power door
lock switch
reaward to lock the doors. Slide the
switch €ornard to unlock the doors.
Leaving Your Vehicle
If you are leaving,the vehicle, open your
door and set the lucks from inside. Then
get out and close the door.
Your vehicle has a thee detefrent
system. See- the
index uader Unzversal
Theft Deterrent.
I4
Passive KeyEess Entry System
Your Passive Keyless Entry system
operates on a radio frequency subject to
Federal Communications Commission (FCC)
Rules.
This device complies with Part 15 of the
FCC Rules. Operation is subject to the
following two conditions: (1) This
device may not cause- harmful
interfejrence,
and (2) This device must
accept any interference received,
including interference that
may cause
undesired operation. Should interference
to
this system
occur, try
this:
Check to:see if the passive feature is
enabled.
Check the distance. You may be too
far lrom your vehicle. This product
has a maximum range.
Check the location. Other vehicles or
objects-may be blocking the signal.
Check to determine if battery
replacement is. necessary.
See the
instructioas .on battery replacement
later in this section.
See your Chevrolet dealer 6r.a
qualified technician
for service.
Changes or modifications td this system
by other than an authorized service
facility could void authorization to use
this .equipment.
Page 114 of 370
Downloaded from www.Manualslib.com manuals search engine P
Low 7ire Pressure Warning Light
(OPTION)
The LTPWS has a sensor 'on each road
wheel that transmits-to
a receiver on the
instrument panel.
The system operates
on a radio frequency subject
to Federal
Communications Cbmission
(FCC)
Ruks.
This device complies with Part 15 of the
FCC Rules. Operation is subject to the
following
two conditions: (1) This
device may not cause harmful
interhence,
and (2) This device.must
accept
any interhence received,
including interference that-may cause
undesired operation.
Changes or modifications to- this system
by other than an authorized service
facility could void authorization to use
this equipment.
The Low Tre Pressure Warning System
(LTPWS) monitors the
air pressure in
each road tire (except the spare tire)
while the car is being driven. The
LTFWS will not warn the driver if a tire
is
already flat before the vehicle is started.
This light comes on whenever a tire
pressure
goes below 25 psi (I 75 Ha) in
any road tire while your Corvette is being
driven.
You must drive the car faster than
25 mph (40 km/h) and for more than 2
miles (4 h) -for the system to work
properly.
The Low Tire Pressure Warming
Light also warns you if any of the
system's comp.onents-are not working
properly. The
LOW TIRE PRESSURE
light will remain on until the ignition is
turned
off. This will also reset the system.
When the LOW TIRE PRESSURE
fight comes on, check the tire -pressure
.in
all four road tires as soon as you can,
using the
tire pre:ssure gage.provided in
thesenter console. Adjust the tire
pressure as needed to those shown on
the Tire-Loading Information label
10-cated
on the driver's door, The LOW
TIRE PRESSURE light may come on
if your vehicle is close to aaother
vehicle that has
a Low Tire Pressure
Warning System
and has a tire-with low
pressure.
The LTPWS sensor is directly opposite
the valve stem on the tire. Take extreme
care when servicing or
having your tires
serviced. The sensors may not work
properly
if damaged.
If you need to take the tire off the wheel,
do it at a
90" angle from the valve stem.
Removing the tire from the wheel at any
.. 1
Page 132 of 370
Downloaded from www.Manualslib.com manuals search engine .-
c
.
NOTICE
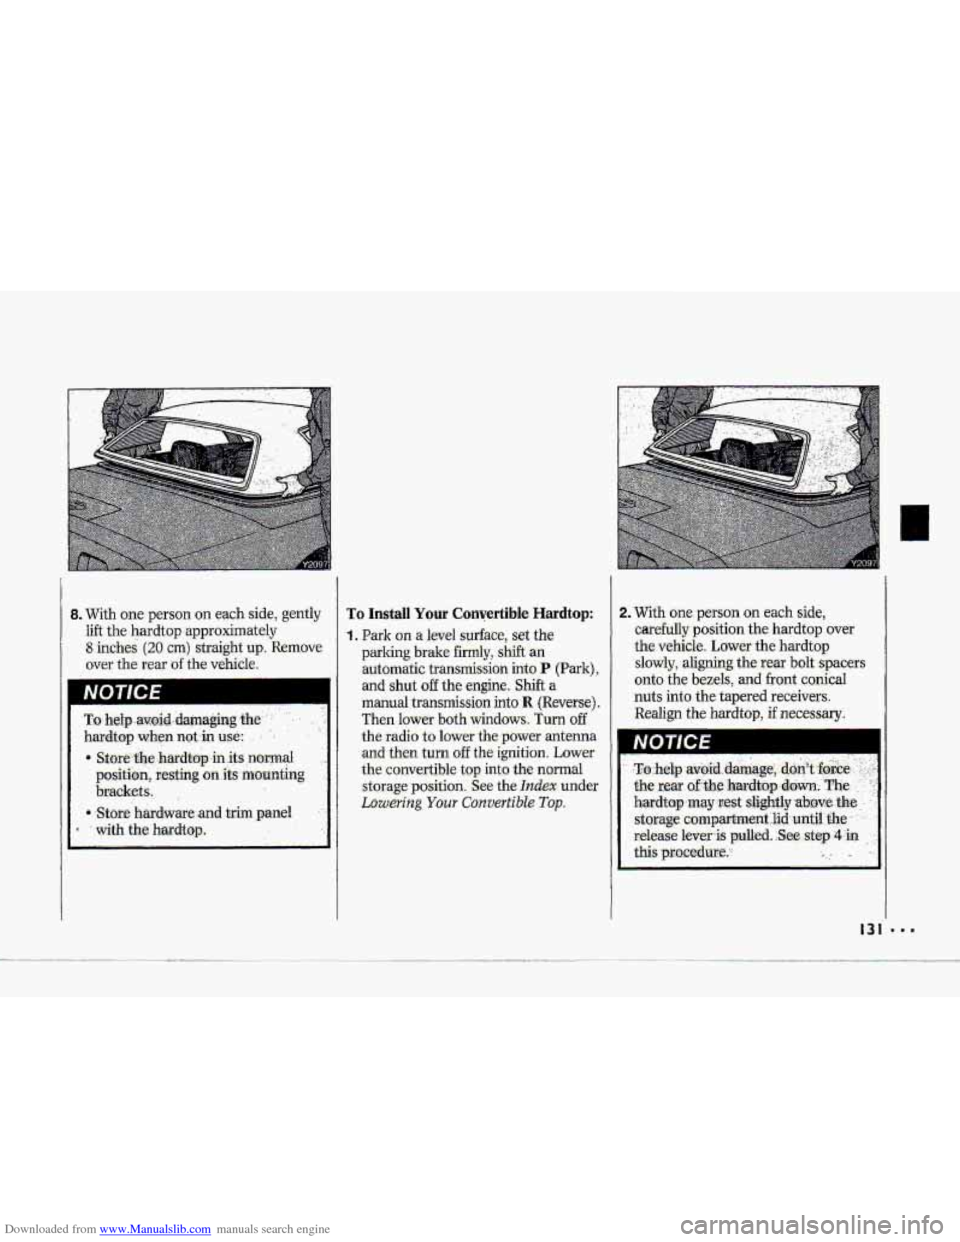
To Install Your Convertible Hardtop:
'1. Park on a level surface, set the
parking brake fimily, shift an
automatic transmission into
P (Park),
and shut off the engine. Shift a
manual transmission into R (Reverse),
Then lower both windows. Turn off
the.radio to lower
the power antenna
and then turn off the ignition. Laww
the- convertible top into the normal
st.orage-position.. See the Index under
Lowering Your Cowertib1.e Top.
2. T&h one. person on each side,
carefully position the. hardtop .over
the vehicle. Lower, the hardtop
slowly, aligning the rear bolt spacers
onto the bezels,
and front .conical
nuts into the tapered receivers.
Realign the hardtop, if necessary.
I31
Page 136 of 370
Downloaded from www.Manualslib.com manuals search engine T
1
P
!
....
Y3080
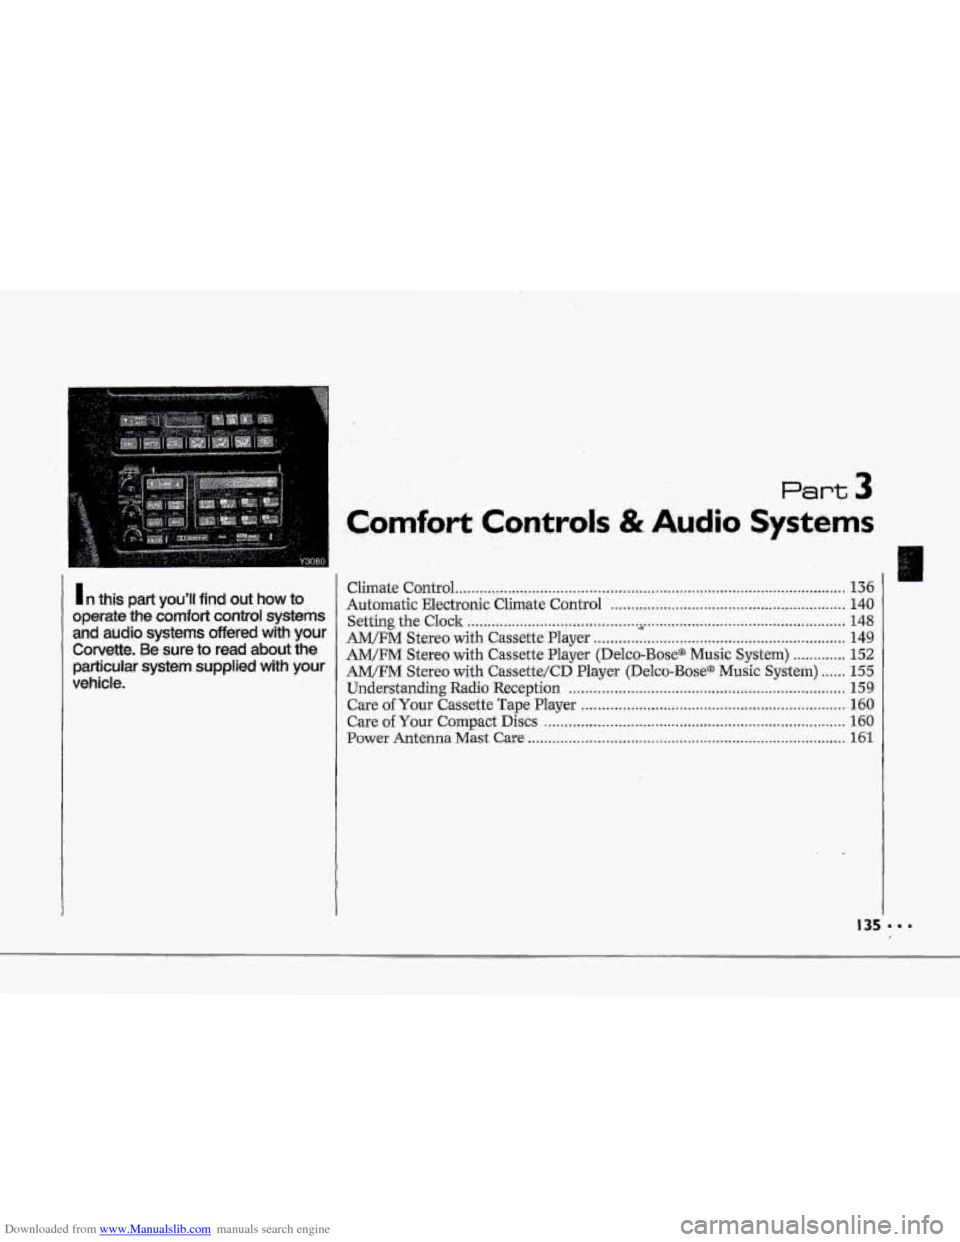
1 n this part you'll find out how to
operate the comfort control systems
and audio systems offered with your
Corvette. Be sure to read about the
particular system supplied with your
vehicle.
.Co,mfort 'I I
Climate Control ........................................................................\
........................ 136
Automatic Electronic Climate Control .......................................................... 140
Setting the Clock ........................................................................\
...................... 148
AM/FM Stereo with Cassette Player 149
AM/FM Stereo with Cassette Player (Delco-Bose@- Music System) ............. 152
AM/FM Stereo with Cas.sette/CD Player (Delco-Base@ Music System) ...... 155
Care o€Your Cassette Tape Player ................................................................. 160
Care of Your Compact Discs ........................................................................\
.. 160
Power
Antenna Mast Care ........................................................................\
...... 161
4
..............................................................
Understanding Radio Reception .................................................................... 159
Page 144 of 370
Downloaded from www.Manualslib.com manuals search engine h
P
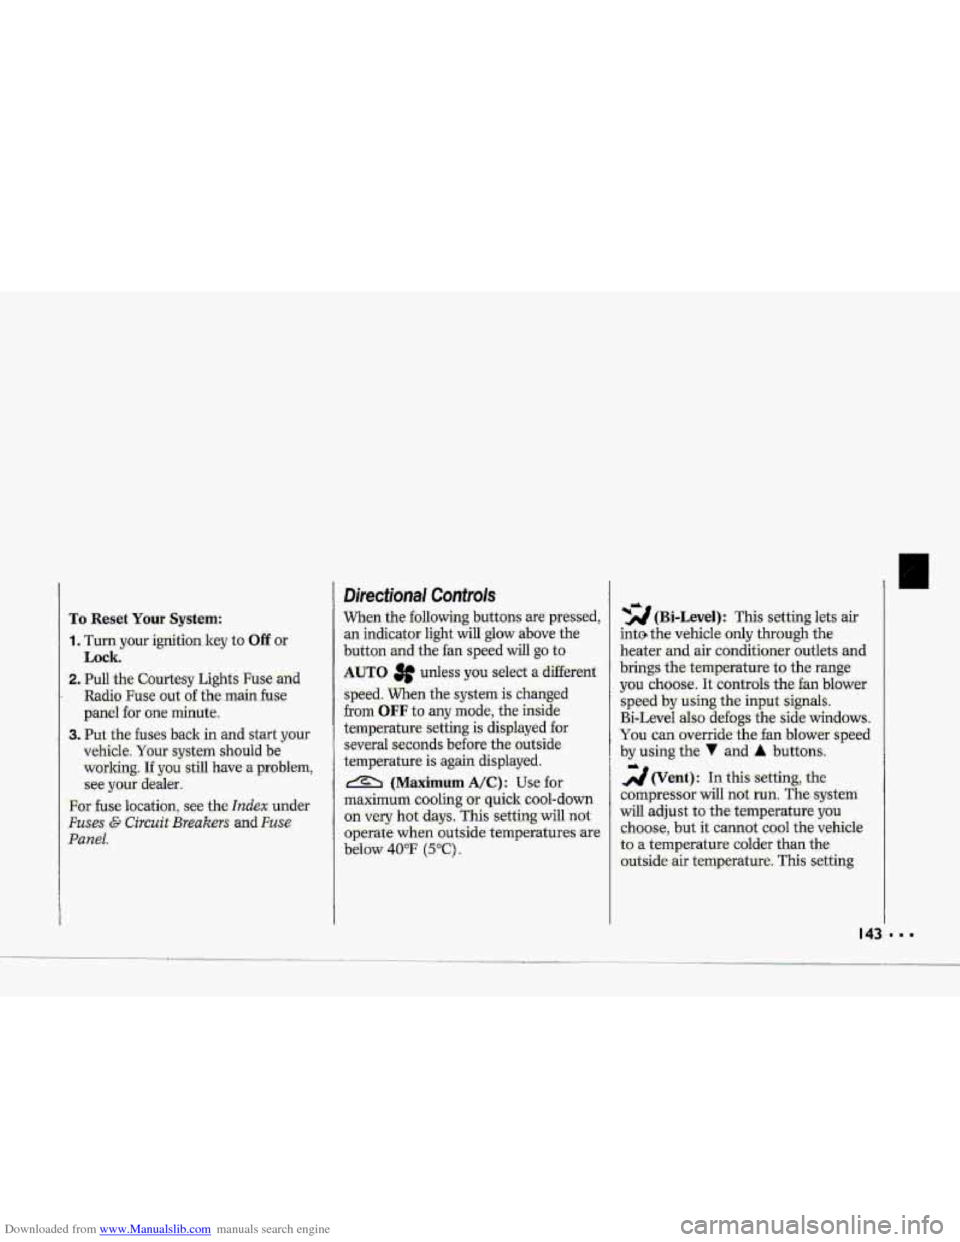
To Reset Your System:
1. Turn your ignition.lrey to Off or
Lock.
2. Pull the Courtesy Lights Fuse and
Radio Fuse .out of the- main fuse
panel for
one minute.
3. Put-the fuses back in and start your
vehicle. Your system shuuld be
working.
If you still have a problem,
see your deder,
.For
fuse location, see the Index under
Fuses E. CircuitBreakers and Fuse
.Panel.
Directional Controls
When the €allowing buttons are pressed,
an indicator light.
will glow above .the
button and the fan speed will go to
AUTO 3f unless you select a dBerent
speed. When the system is'changed
€rum
OFF tu any mode, the inside
temperature setting is displayed for
several seconds before the .outside
temperature is again displayed.
& (Maximum A/C): Use for
maximum cooling
or quick cool-down
on very hot days..
This setting will not
operate when outside temperatures are
below
40°F (5°C) I
-2 (Bi-Level): This setting lets air
inte the vehicle only through the
.heater and air conditioner outlets and
brings.the temperature
to the range
you choose. It controls the fan blower
speed by using t-he input signals.
Bi-Level al.so
defogs the side windows,
You can. override the,fan blower speed
by using
the V and A buttons.
a(Vent): In this setting, the
compressor
will not. mn. The-system
will adju-st
to the temperature you
choose, but it cannot cool the vehicle
to a temperature colder than the
outside air temperature, This setting
Page 147 of 370

Downloaded from www.Manualslib.com manuals search engine Comfort Controls & Audio Systems
The following .pages describe the audio
systems available for your Corvette, and
how to get the best performance from
them.. Please read about ,the system in
your vehicle.
'I I46
CAUTION I
A
Hearing damage from loud
noise is almost undetectable
until it is too late. Your hearing can
adapt to. higher volumes of sound.
Sound that s-eems normal.can-be
loud and
harmful to your hearing.
Take precautions by adjusting the
volume control
on your radio to-a.
safe sound
level before yaur hearing
adapts to it.
To help avoid hearing loss OK
damage:
1. Adjust the volume control to the
lowest setting.
2. Increase volume slowly until you
hear comfortably and clearly.
Page 149 of 370
Downloaded from www.Manualslib.com manuals search engine Comfort Controls & Audio Systems
Accessory Wiring Plug (CONTJ
This Wiring Plug has Three Separate
Wires:
The orange wire connects to the
battery.
The pink wire connects to the ignition
(power
is only available in the Run
position).
ground.
The black wire connects to the
When.using $he.accessory wiring
Don't splice wires -directly into
the
accessory plug wire. If done
incmrectly, splicing might cause
damage.to pur electrical system.
The maximum bad dany ' , .
electric,al,equipment..shauld.not
exceed I15 amps, . .
.Be sure to turn off any electricai
equipment when-not-in
use..
Leaving electrical equipment on
€or extended periods ..can drain
your battery.
electrical equipment
you're using
requires frequent connecting and disconnecting. This may
cause
excessive wear on the accessory
plug
and damage your eiectricai
system.
.plug:
Do not use this plug if the
Y3074
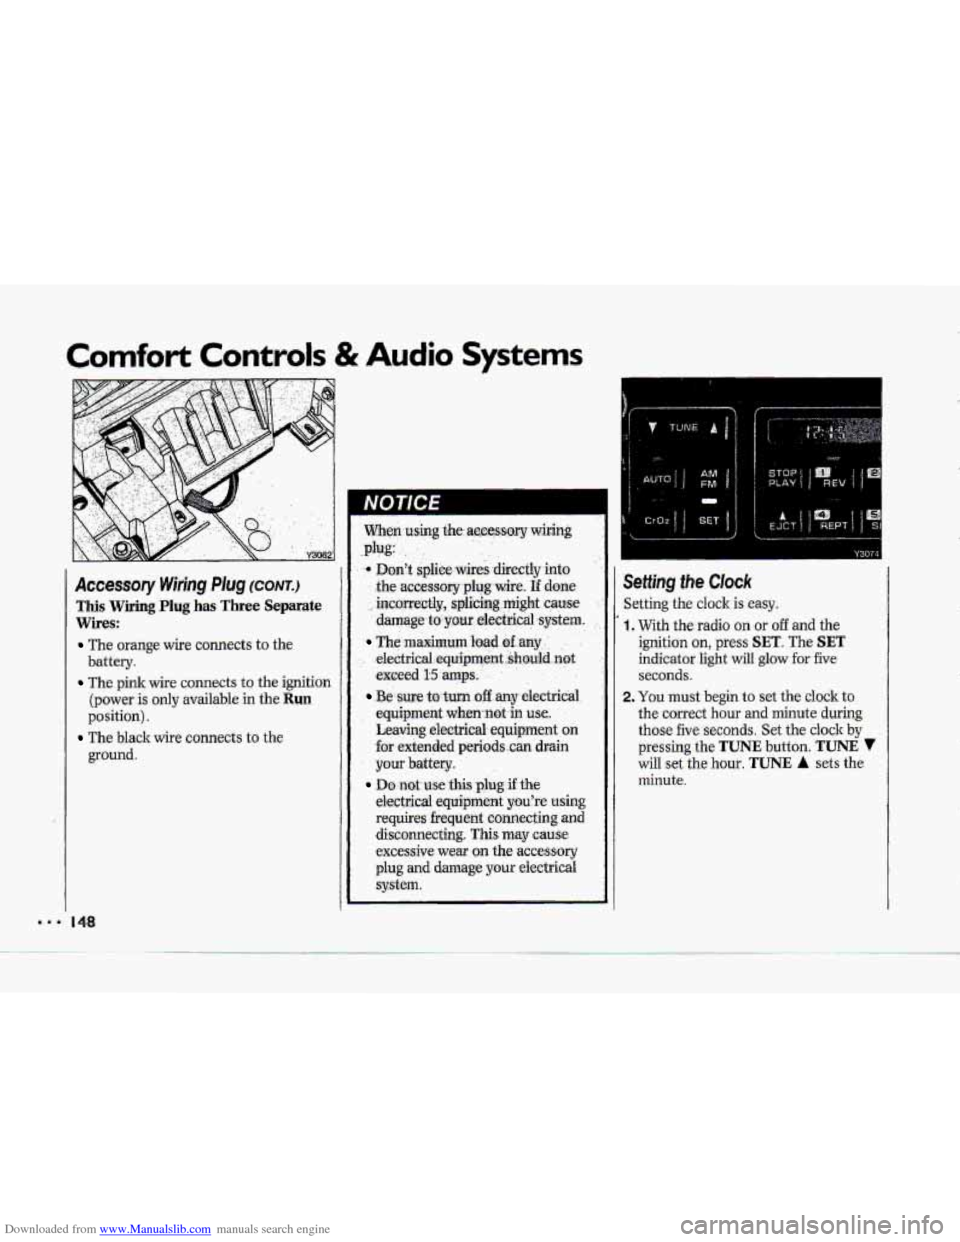
ietting the Clock
ietting the cloclc is easy.
, With the radio on or off and the
ignition on, press
SET. The SET
indicator light will glow for five
seconds.
!. You must begin to set the clock to
the correct hour and minute during
those five seconds. Set the clock
by
pressing the TUNE button. TUNE 7
will set the hour. TUNE A sets the
minute.
Page 150 of 370
Downloaded from www.Manualslib.com manuals search engine P
E""
F
IMjFM Stereo wjth Cassette
'layer
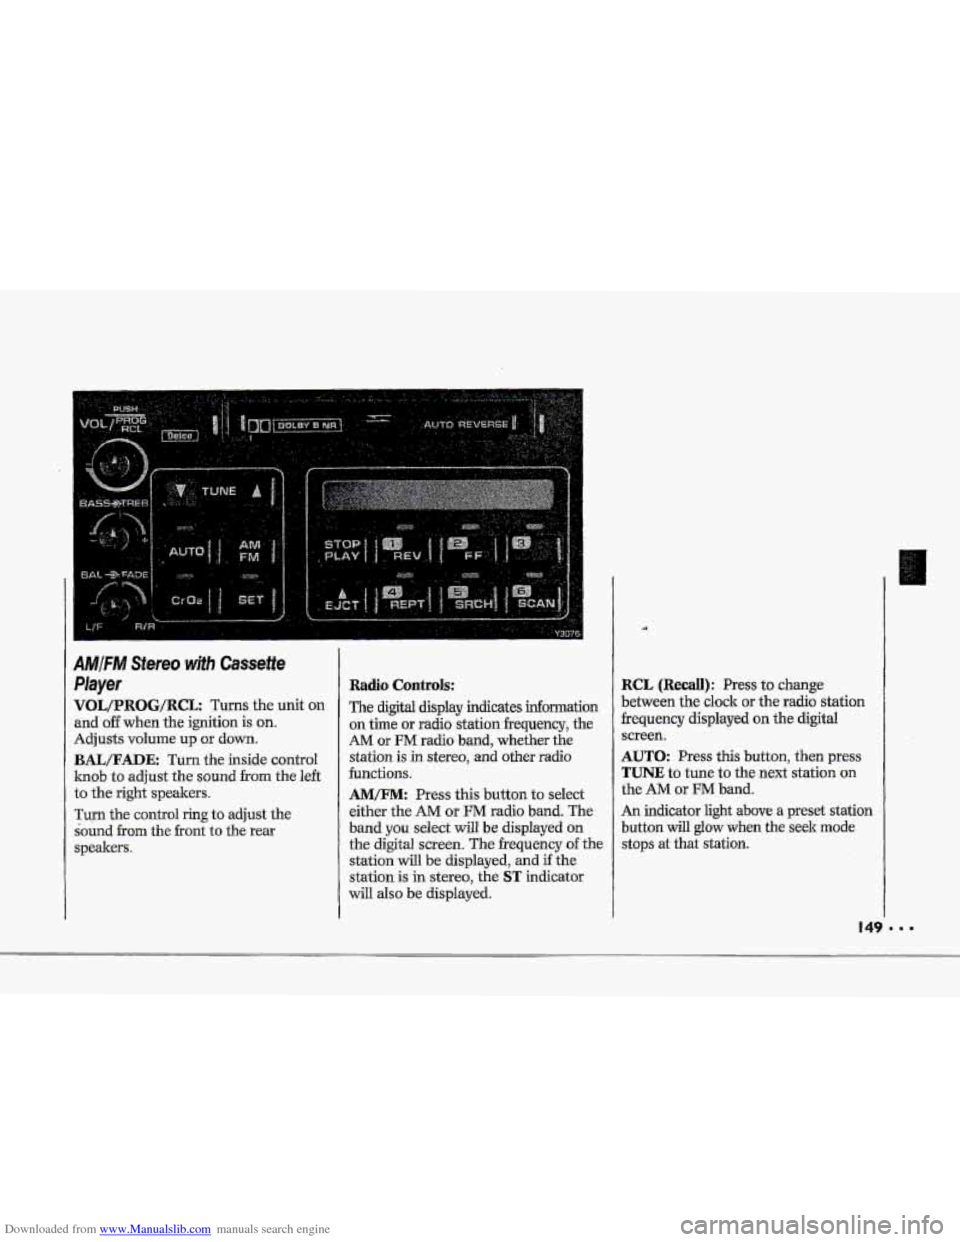
qOL/PROG/RCL Turns the unit on
md off when the ignition is on.
Idjusts volume up or down.
BAIJFADE: Turn the inside control
mob to adjust the sound from the left
:o the right speakers.
rum the control ring to adjust the
bund
from the front to the rear
;peakem.
Radio Controls:
The digital display indicates infomation
on time or radio stationfrequency, the
AM or FM radio band, whether the
station is
in stereo, and other radio
functions.
AMEM: Press this button to select
either the
AM or FM radio band. The
band
you select will be displayed on
the digital screen. The frequency of the
station
will be displayed, and if the
station is in stereo, the
ST indicator
will also be displayed.
RCL (Recall): Press to change
between the clock or the radio station
frequency displayed on the digital
screen.
AUTO: Press this button, then press
TUNE to tune to the next station on
the AM or FM band.
An indicator light above
a preset station
button
will glow when the seek mode
stops at that station.