Page 13 of 370
Downloaded from www.Manualslib.com manuals search engine H6w to Use this Manual
These s~nrbob are on some.of your
controls:
Windshieid Wipers
Windshield
Washer
Windshield Defroster
Rear Window Defogger
Power Winduw
Here .are :some other symbols,you may
see:
Engine Coolant
Temperature
Battery Charging
System
Fuel
Brake'
Fuse
Hatch Release
I Lighter
Horn
Spmker
Acceleiation Shp
Reguiaiiun
hzr
Page 15 of 370
Downloaded from www.Manualslib.com manuals search engine Seots and Sed Controls
This section tells you about the seats
and how tu adjust them.
b l & Safety Belts
CAUTION
E
A
~ ~ ~~~~ ~~~
YOU can lose controi of the
vehicle ;if you try to adjust a
manual
driver's seat while the
vehicle
is moving. The sudden
movement could startle
and
confuse you, or make ,you push a
pedal when you don't want to.
Adjust the driver's seat only when
the vehicle
is not moving.
/love the control lever under the front
f the seat to udocls. it. Slide the seat to
rhere you want
it. Then release the
:ver and try to move the seat with your
ody, to make sure it is locked into
lace.
Power Seat (OPTION)
To adjust the power seat:
Full Control: Move the seat forward or
rearward by
pushing the control to the
front or back.
L
"" 14
Page 32 of 370
Downloaded from www.Manualslib.com manuals search engine To do this:
Turn off the ignition,.
Remove the SIR (air bag) fuse (.see
the
Index under Fuses G Circuit
Breukers) .
Disconnect the yellow connector at-
the base
of the steering column..
Whe~ the work is complete, if the air
bag system was disconnected, be sure to
reattach everything and replace the .fuse
before turning the ignition
on. When
you turn the ignition key on, be sure
“you see the inflatable .restraint light‘ on
the Driver Information Center. If you
don’t see this light flash and thea go out
,as usual, have y0.u~ air bag system
repaired,
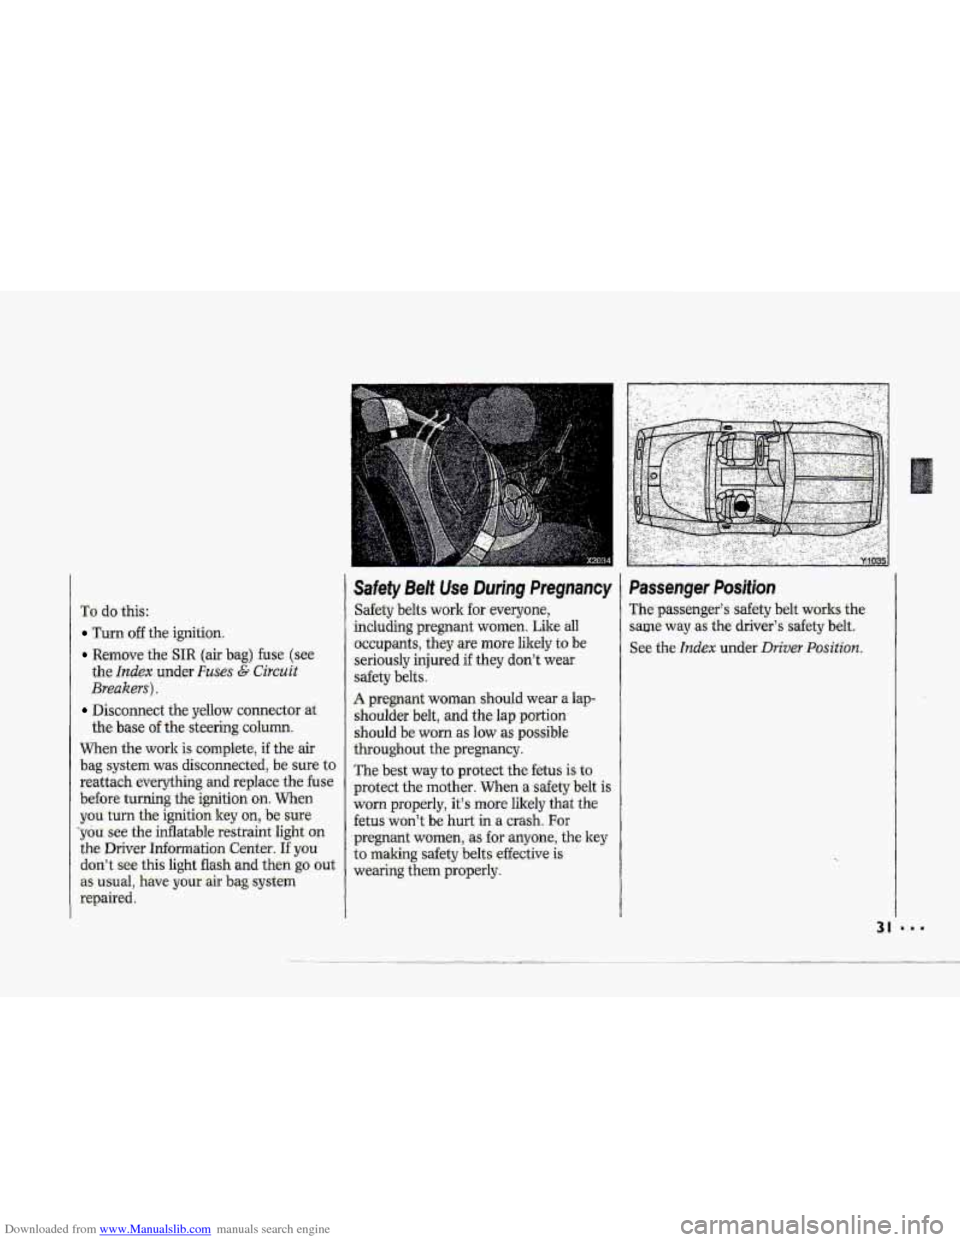
Safety Belt Use During Pregnancy
Safety -belts work for-everyone,
including pregnant women. We
all
-occupants, they are more likely to be
seriously injured -if? they don’t wear
safety belts I
,A pregrgmt woman should wear a lap-
shoulder belt, .and the lap p.ortiun
-should be.wolin as low as possible
,throughout the pregnancy.
The bestway t~ protect the fetus is to
protect the mother; men a safety belt is
worn properly, it’s. more l.ikely that the
fetus
won’t be hurt in.3 crash. For-
-pregnant women, .as for anyone, the key
.to making safety be1tseffective.is
wearing
them properly.
31
Page 56 of 370
Downloaded from www.Manualslib.com manuals search engine I
r",
f I J
If the atarm does not sound when it
should, check to see- if the horn works.
The horn fuse may be blown. To replace
the
fuse, see the Index under Pus@ G
Circuit Breukers .
To reduce the possibility af theft,
always arm the theft deterrent system
when leavh.lg your vehicle.
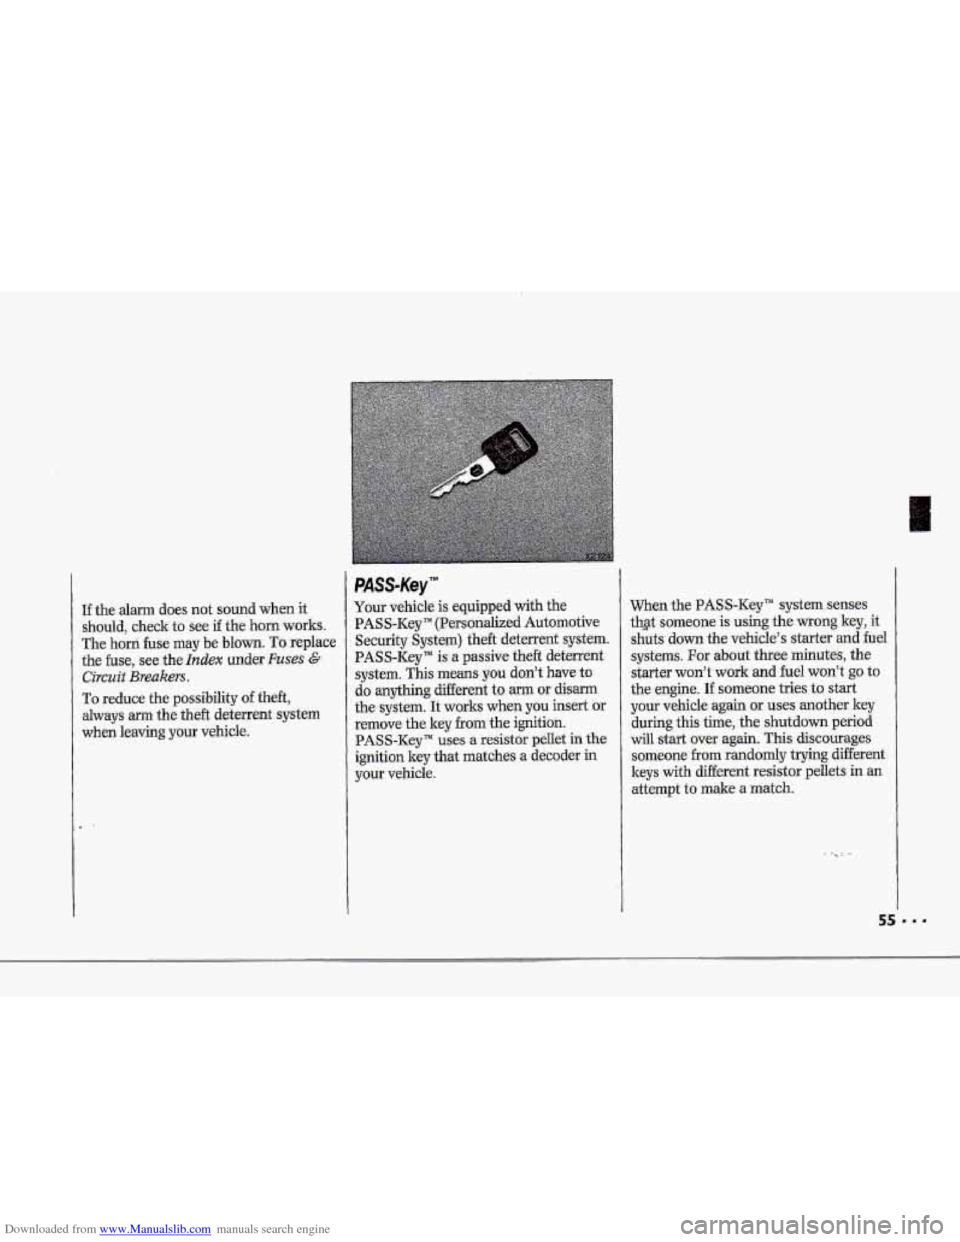
PASS-Key'"
Your vehicle is. equipped with the
PASS-Key'"
(Personalized Automotive
Security -System) theft deterrent system.
PASS-Key" is:a passive theft deterrent
System. This m-eans ygu don't have to
do- anything different to amn or disarm
the system. It worlrs when you insert m
remove the key ~~QI-II the ignition.
PASS-Key'" uses a resistor pellet in the
ignition key that matches a decoder in
your vehicle. Whenthe
PAS.S-Key'" system. senses
thgt
someone is using the.wrong key, it
shuts dom the vehiWs starter md he1
systems. For about the minutes, the
starter
won't work and hel won't go to
the engine. If someone tries to start
your vehicle again or uses another key
during this- time, the shutdmvn period
will startxmt again. This discourage$
someonefrom rmdosnly wing different
keys with different resistor pellets in an
-attempt to make a match.
Page 57 of 370
Downloaded from www.Manualslib.com manuals search engine Features & Controls
PASS-K~Y'"~(CC~NTJ
The.ignition key must be clean-and dry
before it's inserted-in the ignition or the
engine
may not start. If the SECURITY
light comes on, the key may be dirty or
wet.
If this happens and the starter.won't
work; turn the ignition off. 'Clean and
dry tkkey, wait three ,minutes and try
again. If the starter still won't work,
wait
three minutes and try the other
iation key. At this time, you may also
want to &e& the' fuse&. (see the Index
under Fuses C Circuit Brg~kers). I€ the
.- staer won't work with the other key,
ymr vehicle needs service. If your
vehicle does start, the fkst ignition key
may be faulty. See your Chevrolet
d.ealer
or a locksmith who. can service
the PA.SS-Kcy;"
... 56
- ~
However, if you accidentally use a key
that has a damaged or missing.resistor
pellet,
you will see no SECURITY
light. You don't have to wait three.
minutes before.trying the proper key.
If the -resistor pellet is damaged m
missing, the-starter won't work. Use the
other ignition key, and see your
Chevrolet dealer or-a locksmith who
can service the PASS-Key" to have a
new key made.
If the SECURITY light comes on while
dri+ing, have your vihicle serviced 'as
suon as possible.
If you lose or damage a PASS-Key'"
ignition key, see .your Chevrolet dealer
or a locksmith who can service PASS-
Key. TM
Engine Power Key
(LT5 ENGINE ONLY)
.This key is used in the engine power
switch. -See the Index under Engirie
Power Switch.
Page 83 of 370

Downloaded from www.Manualslib.com manuals search engine ..a
Features & Controls
Turn Signal/Headlight Beam
Lever
The lever on the left side of the steering
column includes your:
. Turn Signal and Lane Change
4 Headlight 'High-Low Beam Changer
Windshield Wipers
Windshield Washer
Cruise Control
The High-Low Beam feature is
discussed under
HeadZights. See the
Index under Headlights.
Indicator
32
E
Turn Signal and fane Change
Indicator
The turn signal has two upward (for
Right) -and two downward (for
Left)
positions. These positions allow you to
signal a turn or a lane change.
TO signal a turn, move the lever all the
way up
01- down. When the.turn is
finished, the lever will return
automatically.
A green arrow on the instrument panel
will flash in the direction af the turn or
lane change.
To signal
a lane change, just raise or
lower the lever until the-green arrow
starts
to flash. Hold it there until you
complete your lane change. The lever
will return
by itself when you release it.
As you~ignal a turn or a lane change, if
the arrows don't flash but just stay on, a
signal bulb may be burned out and
other drivers
won't see your turn signa1.
If a bulb is burned out, replace it to help
avoid .an accident. If the green
arrows
don't-go on at all when you signal a
turn, check the fuse (see the Index
under Fuses G Circuit Breizkers) and
for burned-out bulbs.
A warning chime will remind you if you
have left your turnsignal cm for more
than 1 mile (1.6 km) 'of driving.
Page 100 of 370
Downloaded from www.Manualslib.com manuals search engine i
P
r
F"
i I
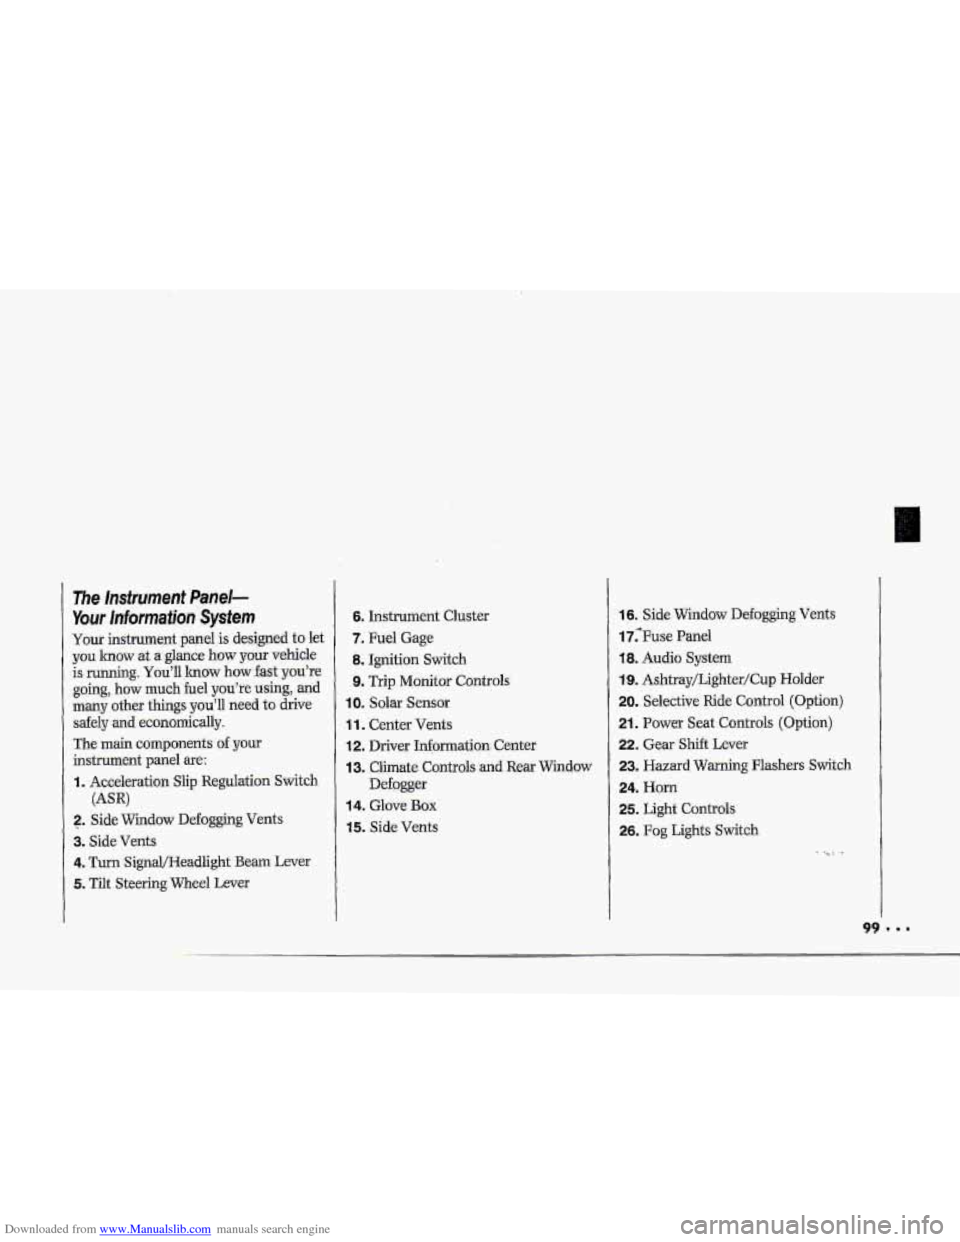
The Insfrument Panel-
Your lnformaiion System
Your instrument panel is designed to let
you lmow at a glance how your vehicle
is running.
You'll lrnow how fast you're
going, how much fuel
you're using, and
many other things you'll need to drive
safely
and economically.
The main components
of your
instrument panel are:
I. Acceleration Slip Regulation Switch
2. ,Side Widow Defogging Vents
3. Side Vents
4. Turn SignQHeadlight Beam Lever
5. Tilt Steering Wheel Lever
(AW
6. Instrument Cluster
7. Fuel Gage
8. Ignition Switch
9. Trip Monitor Controls
IOm Solar Sensor
1 1. Center Vents
12. Driver Information. Center
13. Climate Controls and Rear Window
Defogger
14. Glove Box
15. Side Vents
16. Side Window Defogging Vents
17;Fuse Panel
18. Audio System
19. Ashtray/Lighter/Cup Holder
20. Selective Ride Control (Option)
21. Power Seat Controls (Option)
22. Gear Shift Lever
23. Hazard Warning Flashers Switch
24. Horn
25. Light Controls
26. Fog Lights Switch
-. .
Page 144 of 370
Downloaded from www.Manualslib.com manuals search engine h
P
To Reset Your System:
1. Turn your ignition.lrey to Off or
Lock.
2. Pull the Courtesy Lights Fuse and
Radio Fuse .out of the- main fuse
panel for
one minute.
3. Put-the fuses back in and start your
vehicle. Your system shuuld be
working.
If you still have a problem,
see your deder,
.For
fuse location, see the Index under
Fuses E. CircuitBreakers and Fuse
.Panel.
Directional Controls
When the €allowing buttons are pressed,
an indicator light.
will glow above .the
button and the fan speed will go to
AUTO 3f unless you select a dBerent
speed. When the system is'changed
€rum
OFF tu any mode, the inside
temperature setting is displayed for
several seconds before the .outside
temperature is again displayed.
& (Maximum A/C): Use for
maximum cooling
or quick cool-down
on very hot days..
This setting will not
operate when outside temperatures are
below
40°F (5°C) I
-2 (Bi-Level): This setting lets air
inte the vehicle only through the
.heater and air conditioner outlets and
brings.the temperature
to the range
you choose. It controls the fan blower
speed by using t-he input signals.
Bi-Level al.so
defogs the side windows,
You can. override the,fan blower speed
by using
the V and A buttons.
a(Vent): In this setting, the
compressor
will not. mn. The-system
will adju-st
to the temperature you
choose, but it cannot cool the vehicle
to a temperature colder than the
outside air temperature, This setting