1993 CHEVROLET CORVETTE clock
[x] Cancel search: clockPage 136 of 370
Downloaded from www.Manualslib.com manuals search engine T
1
P
!
....
Y3080
1 n this part you'll find out how to
operate the comfort control systems
and audio systems offered with your
Corvette. Be sure to read about the
particular system supplied with your
vehicle.
.Co,mfort 'I I
Climate Control ........................................................................\
........................ 136
Automatic Electronic Climate Control .......................................................... 140
Setting the Clock ........................................................................\
...................... 148
AM/FM Stereo with Cassette Player 149
AM/FM Stereo with Cassette Player (Delco-Bose@- Music System) ............. 152
AM/FM Stereo with Cas.sette/CD Player (Delco-Base@ Music System) ...... 155
Care o€Your Cassette Tape Player ................................................................. 160
Care of Your Compact Discs ........................................................................\
.. 160
Power
Antenna Mast Care ........................................................................\
...... 161
4
..............................................................
Understanding Radio Reception .................................................................... 159
Page 149 of 370
Downloaded from www.Manualslib.com manuals search engine Comfort Controls & Audio Systems
Accessory Wiring Plug (CONTJ
This Wiring Plug has Three Separate
Wires:
The orange wire connects to the
battery.
The pink wire connects to the ignition
(power
is only available in the Run
position).
ground.
The black wire connects to the
When.using $he.accessory wiring
Don't splice wires -directly into
the
accessory plug wire. If done
incmrectly, splicing might cause
damage.to pur electrical system.
The maximum bad dany ' , .
electric,al,equipment..shauld.not
exceed I15 amps, . .
.Be sure to turn off any electricai
equipment when-not-in
use..
Leaving electrical equipment on
€or extended periods ..can drain
your battery.
electrical equipment
you're using
requires frequent connecting and disconnecting. This may
cause
excessive wear on the accessory
plug
and damage your eiectricai
system.
.plug:
Do not use this plug if the
Y3074
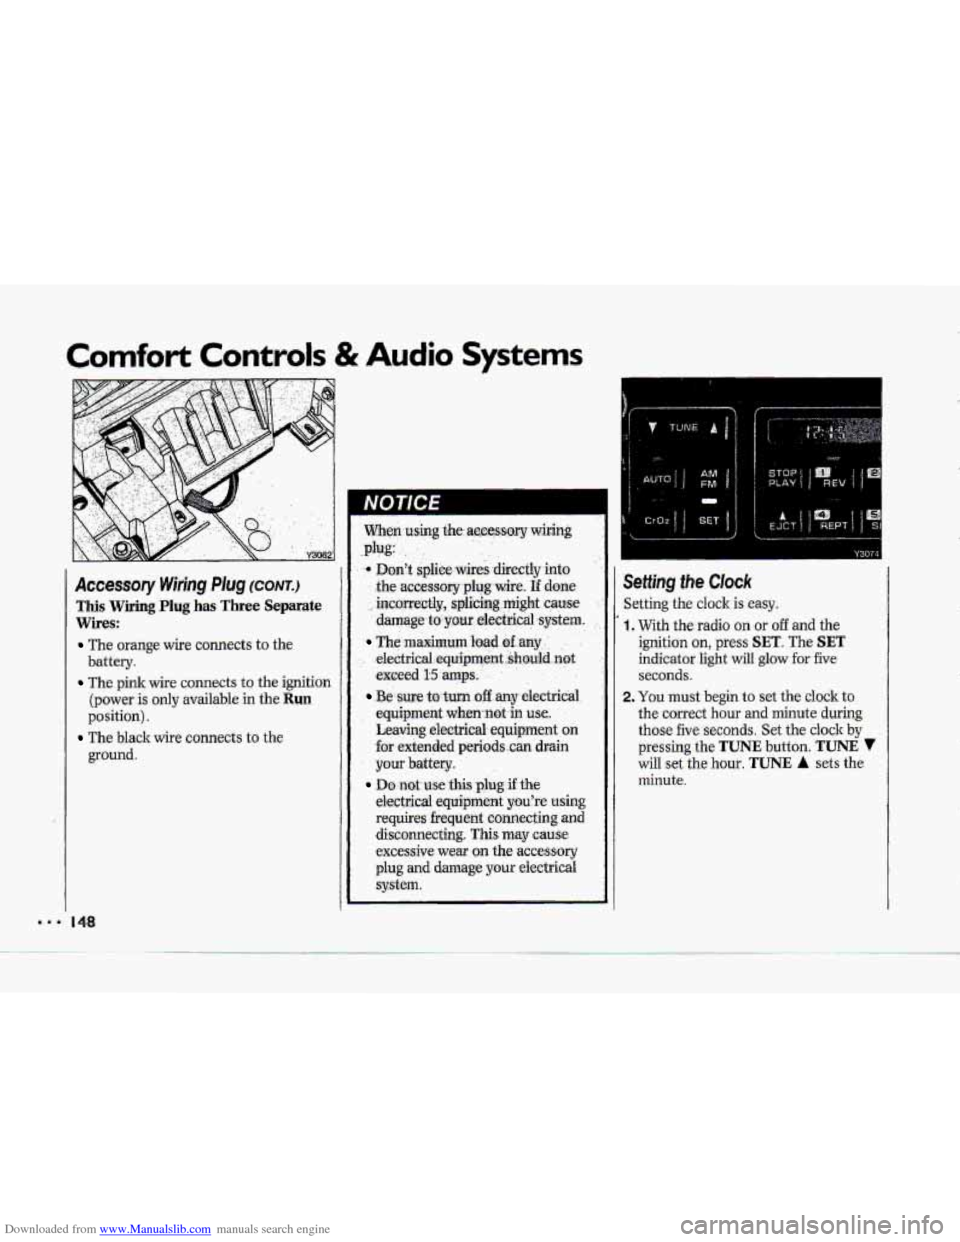
ietting the Clock
ietting the cloclc is easy.
, With the radio on or off and the
ignition on, press
SET. The SET
indicator light will glow for five
seconds.
!. You must begin to set the clock to
the correct hour and minute during
those five seconds. Set the clock
by
pressing the TUNE button. TUNE 7
will set the hour. TUNE A sets the
minute.
Page 150 of 370
Downloaded from www.Manualslib.com manuals search engine P
E""
F
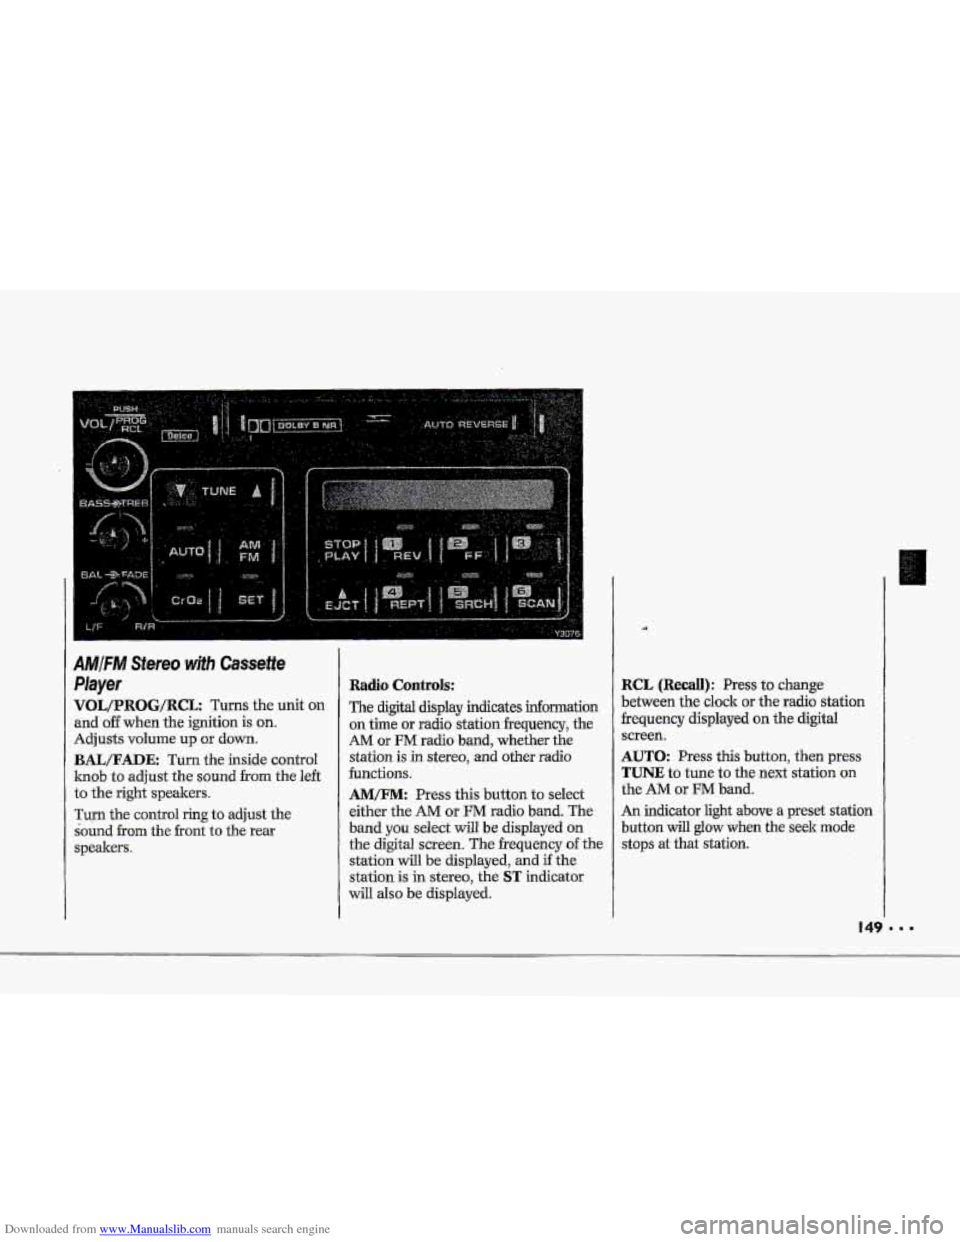
IMjFM Stereo wjth Cassette
'layer
qOL/PROG/RCL Turns the unit on
md off when the ignition is on.
Idjusts volume up or down.
BAIJFADE: Turn the inside control
mob to adjust the sound from the left
:o the right speakers.
rum the control ring to adjust the
bund
from the front to the rear
;peakem.
Radio Controls:
The digital display indicates infomation
on time or radio stationfrequency, the
AM or FM radio band, whether the
station is
in stereo, and other radio
functions.
AMEM: Press this button to select
either the
AM or FM radio band. The
band
you select will be displayed on
the digital screen. The frequency of the
station
will be displayed, and if the
station is in stereo, the
ST indicator
will also be displayed.
RCL (Recall): Press to change
between the clock or the radio station
frequency displayed on the digital
screen.
AUTO: Press this button, then press
TUNE to tune to the next station on
the AM or FM band.
An indicator light above
a preset station
button
will glow when the seek mode
stops at that station.
Page 153 of 370
Downloaded from www.Manualslib.com manuals search engine Comfort Controls & Audio Systems
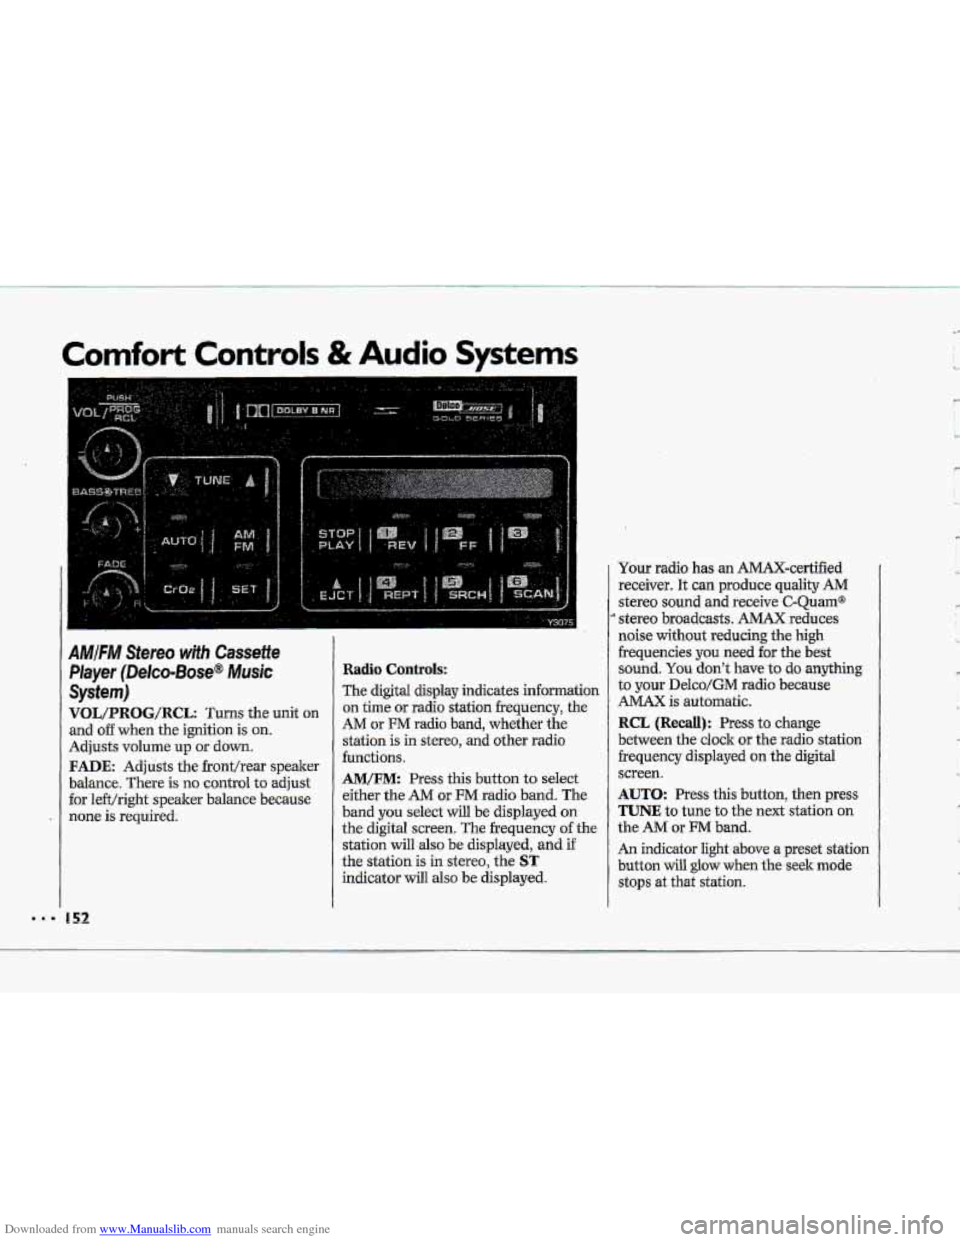
AMIFIW Stereo wifh Cassette
Player (Delco-Bose@ Music
System)
VOL/PRBG/R@L: Turns the unit on
and o€€ when the ignition is on.
Adjusts volume up or down.
FADE: Adjusts the fronthear speaker
balance. There is no control
to adjust
for le€t/right speaker balance because
none is required.
Radio Controls:
The digital display indicates information
on time or radio station frequency, the
AM or FM radio band, whether the
station is in stereo,
and other radio
functions.
AM/FM: Press this button to select
either the
AM or FM radio band. The
band
you select will be displayed on
the digital screen. The frequency of the
station
will also be displayed, and if
the station is in stereo, the
ST
indicator will also be displayed. Your radio
has an AMAX-certified
receiver. It can produce quality
AM
stereo sound and receive C-Quam@
stereo broadcasts. AMAX reduces
noise
without reducing the high
frequencies you
need for the best
sound.
You don't have to do anything
to your Delco/GM radio because
AMAX is automatic.
RCL (Recall): Press to change
between the clock or the radio station
frequency displayed
on the digital
screen.
AUTO: Press this button, then press
TUNE to tune to the next station on
the AM or FM band.
An indicator light above a preset station
button will
glow when the seek mode
stops at that station.
'w
' ,- I
c
L,
R
'k
Page 157 of 370
Downloaded from www.Manualslib.com manuals search engine .I.
Comfort Controls & Audio Systems
AMIFM Stereo with CassettelCD
Player (Delco-Bose@ Music
System) (CONT.)
Radio Contro~s:
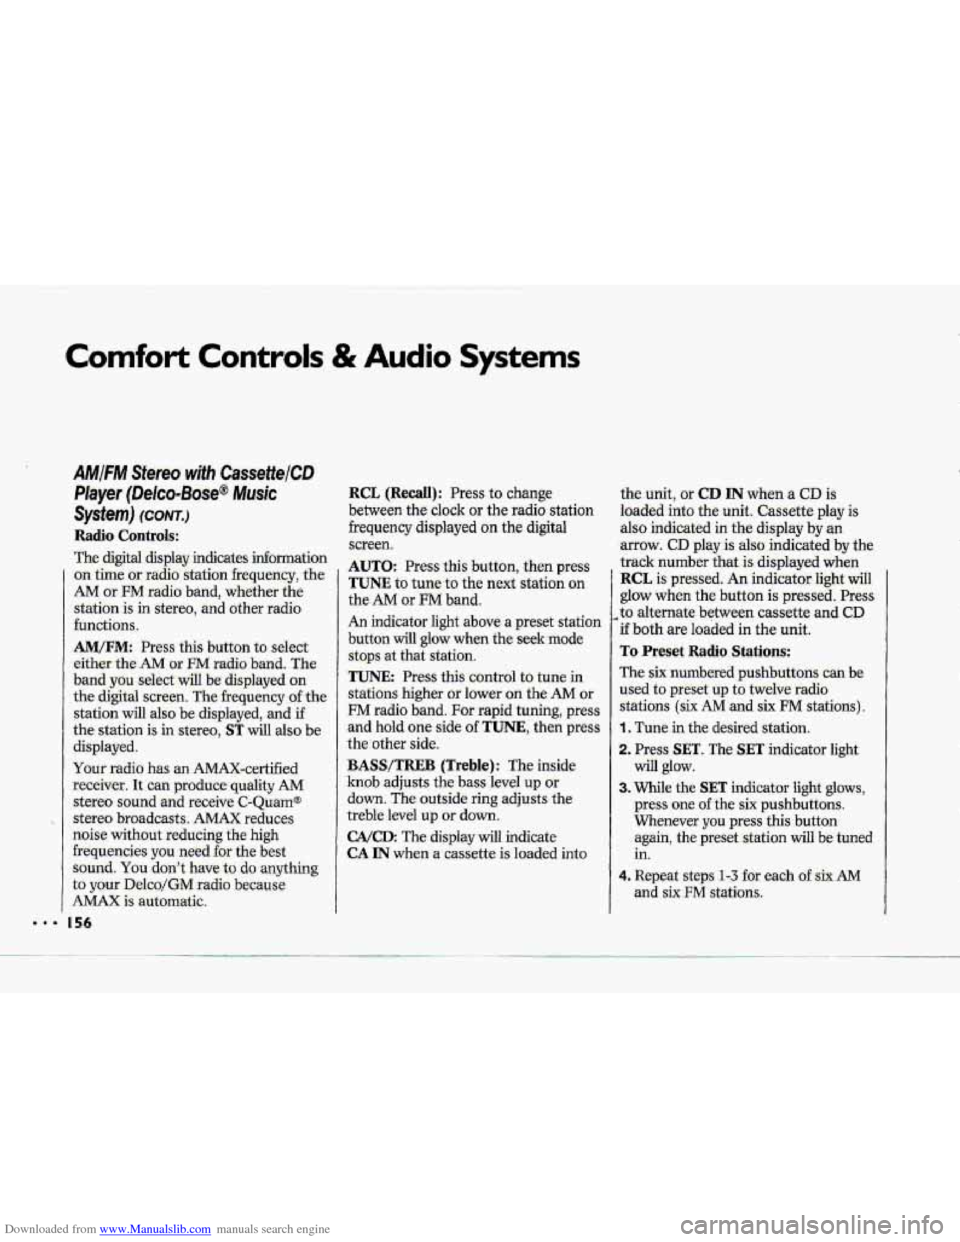
-The digitd display indicates information
on- time or radio station frequency, the
AM or FM radio- band, whether the
station
is in stereo, and other radio
functions..
AMtFM: Press this button to select
either
-the AM OF FM radio- band. The
band you -select-will be displayed on
the digital screen. The frequency -of the
station will also
be displayed, and if
the station is in. stereo,
ST will-:also be
displayed.
Ywr radio has an AMAX-certified
.receiver. .It can produce quality AM
stereo sound and receive C-Qu.am@
stereo broadcasts. AMAX reduces
noise with0u.t reducing
the high
frequencies. you need
for the best
sound. You don't Jiave,to do anything
to your Delco/GM radio because.
AMAX is automatic.
156
RCL (Recall): Press to change
between the clock or the radio station
frequency displayed
on the digital
screen.
AUTO: Press this button, then press
TUNE to tune to the next station on
the
AM or FM band.
An indicator light above a preset station
b-utton will glow when the seekmode
stops .at that station.
TUNE: Press this control to tune in
stations higher or lower
on the AM or
FM radio band. .For rapid tuning, press
and hold one side of TUNE, then press
the other side.
BASS/TREB (Treble): The inside
knob adjusts the bass level up or
down. The outside ring adjusts the
treble bel up or down,
GA/cD: The .display will indicate
CA IN when a cassette is loaded into the unit, or
CD IN when a CD is
loaded into the unit. Cassette play is
also indicated in
the display by an
arrow. CD play.is also .indicated by the
track number
that is displayed when
RCL is pressed. An indicator light will
glow when the button is pressed. Press
,to alternate between cassette and CD
if both are loaded in the unit.
To Preset Radio Stations:
The six numbered pushbuttons can be.
used to preset up to twelve radio
:stations
(six AM and six FM stations).
1. Tune in the desired station.
-2. Press: SET. The SET indicator light
3. While the SET indicator light glows,
press one of the six pushbuttons.
Whenever
you press this button
again,
the preset station will be tuned
in.
will glow.
4. Repeat steps 1 --? for each o€.sirr AM
Page 181 of 370
Downloaded from www.Manualslib.com manuals search engine ..I
Your Driving and the Road
’I
Steering Tips-Driving on Curves
(CONT.)
Speed limit signs near curves warm that
you should adjust your speed.
Of
course, the posted speeds are based on
good weather and road conditions.
Under less favorable conditions you’ll
want to
go slower.
If you need to reduce your speed as you
approach
a curve, do it before you enter
the curve, while your hont wheels are
straight ahead.
Try
to adjust your speed so you can
Wive” through the curve. Maintain a
reasonable, steady speed. Wait to
accelerate until you are out
of the curve,
and then accelerate gently into the
straightaway.
When you drive into
a curve at night,
it’s harder to see the road ahead
of you
because it bends away
from the straight
beams
of your lights. This is one good
reason to drive slower.
I80
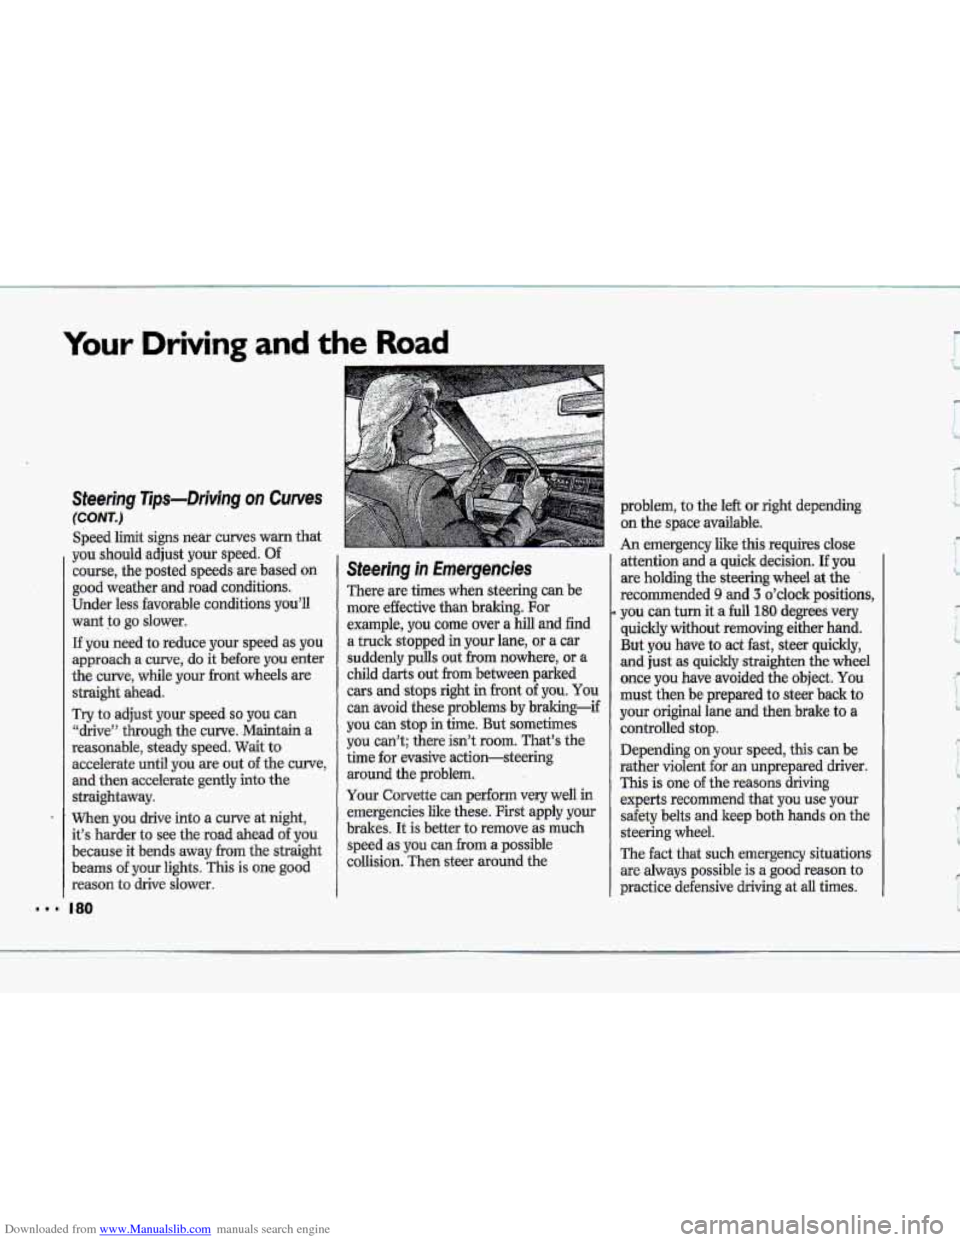
Steering in Emergencies
There are times when steering can be
more effective than braking. For
example,
you come over a hill and find
a truck stopped
in your lane, or a car
suddenly pulls out
€ram nowhere, or a
child darts out from between parked
cars and stops right in front of you. You
can avoid these problems by braking-if
you can stop in time. But sometimes
you can’t; there isn’t
room. That’s the
time for evasive action-steering
around the problem.
Your Corvette
can perform very well in
emergencies like these. First apply your
brakes. It is better
to remove as much
speed as you can
from a possible
collision. Then steer around the
9
problem, to the left or right depending
on the space available.
An emergency like this requires close
attention and a quick decision.
If you
are holding the steering wheel at the
recommended
9 and 3 o’clock positions,
you can turn it a full 180 degrees very
quickly without removing either hand.
But you have to act fast, steer quickly,
and just as quickly straighten the wheel
once
you have avoided the object. You
must then be prepared to steer back to
your original lane and then brake to a
controlled stop.
Depending on your speed, this can be
rather violent for an unprepared driver.
This is one of the reasons driving
experts recommend that you use your
safety belts and keep both hands
on the
steering wheel.
The fact that such emergency situations
are always possible is
a good reason to
practice defensive driving at
all times.
Page 228 of 370
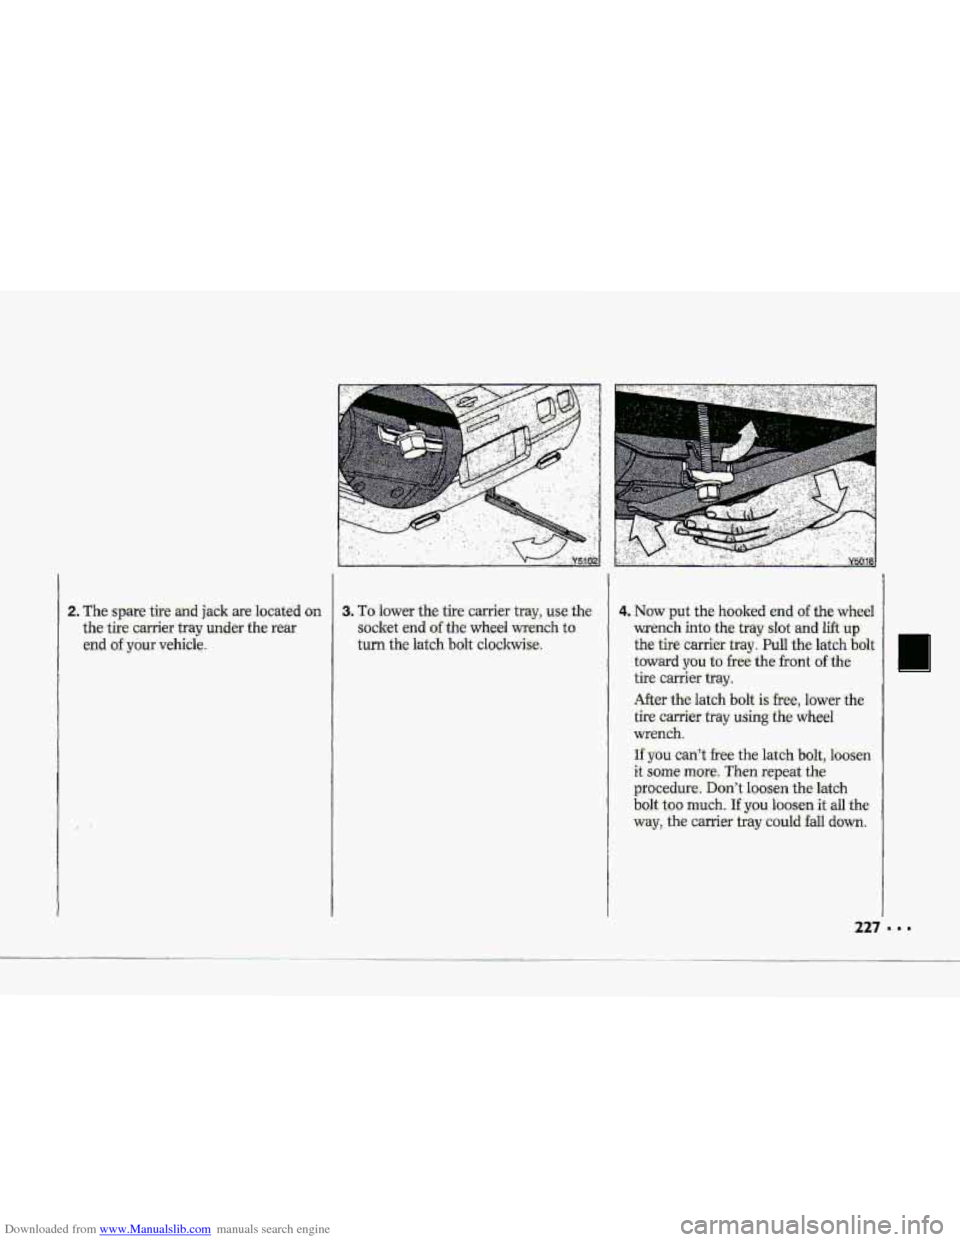
Downloaded from www.Manualslib.com manuals search engine 2. The spare tite an,d jack are located on 3. To.lower the tire c.&er tray, us~the
the tire c.z@er tray under the rear socket end of-the wheel wench t~:
end of your vehicle. turn
the latdh bolt clockmi%
4. Now put the hooked end of the whe.el
me-nch intathe tray sht arid lift up.
the. tire carriex txay . .Pull the latch- bdt
toward you to .free the front ofthe
tire emier bqy.
After the.lat& bolt is. hee, lower the
tire carrier tray using :the wheel
wrench.
If you can? free the latch Mlt, Ibdsen
it sdme more: Then repeai the
procedure. Dgn't loosen the-latch
bo1t.t~~ much. If you loosen it all t.he
way; $#~g .., caxrier tray -euuld. fall down..
227 '
Page 229 of 370
Downloaded from www.Manualslib.com manuals search engine Prc L'- ms on the Road
Changing a FIaf Tire (CONTJ
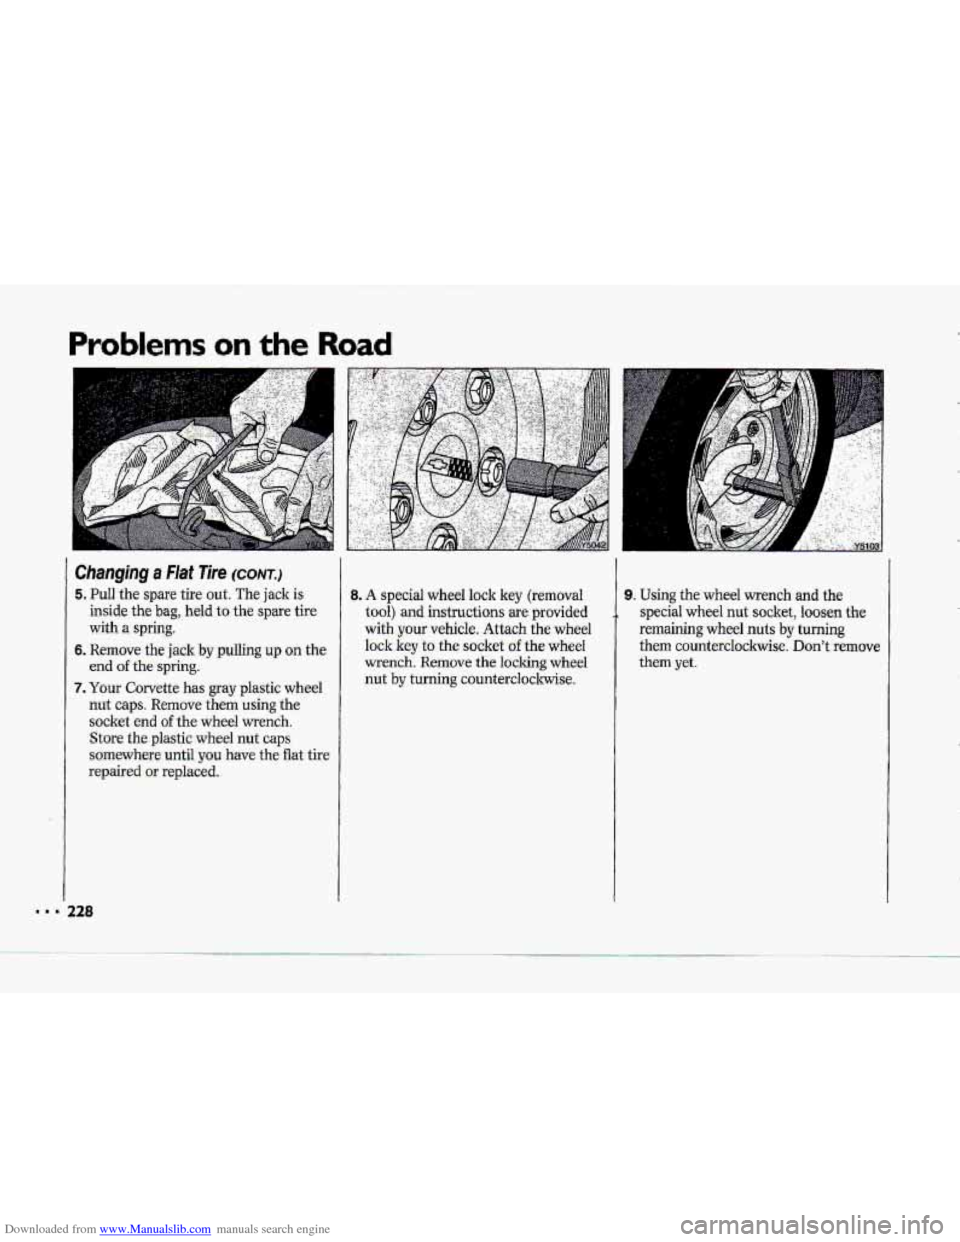
5. Pull the spare tire out. The jack is
inside the bag, held to the spare tire
with
a spring.
6. Remove the jack by pullihg up on the
erid of the spring.
7. Your Corvette has gray plastic wheel
nut caps. Remove them using the
socket
end of the wheel wrench.
Store
the plastic-wheel nut caps
somewhere until you have the flat tire
repaired
or replaced.
228
8. A special wheel lock key (removal
tool)
and instructions are provided
with
your vehicle. Attach the wheel
lock key to the socket of the wheel
wrench. Remove the locking wheel
hut by turning counterclockwise.
9. Using the wheel wrench and the
special
wheel nut socket, loosen the
remaining wheel nuts by turning
them counterclockwise.
Don't remove
them
yet.