Page 57 of 308
Downloaded from www.Manualslib.com manuals search engine Ignition Switch
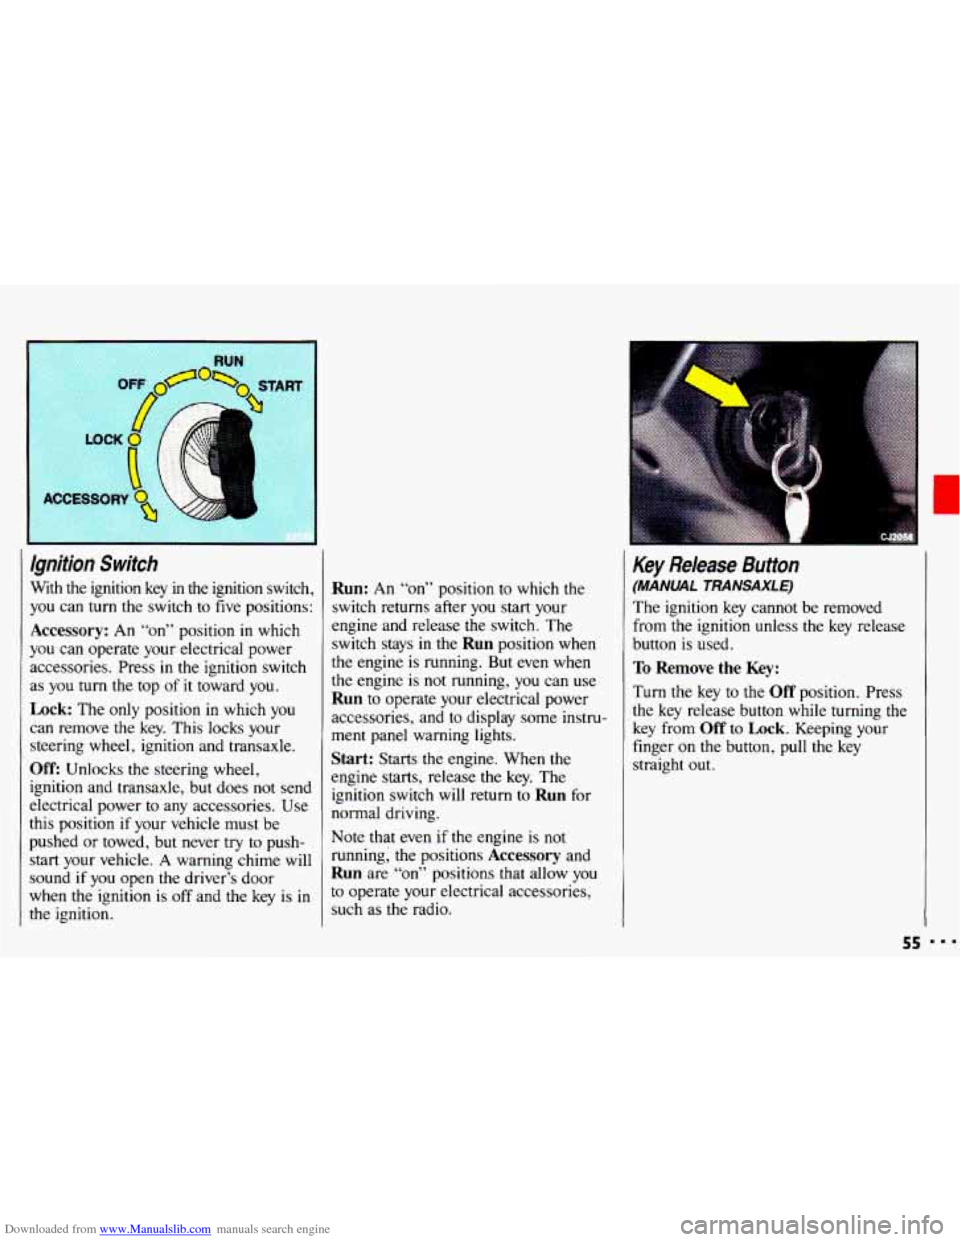
With the ignition key in the ignition switch,
you can
turn the switch to five positions:
Accessory: An “on” position in which
you can operate your electrical power
accessories. Press in the ignition switch
as
you turn the top of it toward you.
Lock: The only position in which you
can remove the key. This locks your
steering wheel, ignition and transaxle.
Off: Unlocks the steering wheel,
ignition and transaxle, but does not send
electrical power
to any accessories. Use
this position
if your vehicle must be
pushed
or towed, but never try to push-
start your vehicle.
A warning chime will
sound
if you open the driver’s door
when the ignition is
off and the key is in
the ignition.
Run: An “on” position to which the
switch returns after
you start your
engine and release the switch. The
switch stays in
the Run position when
the engine is running. But even when
the engine is not running, you can use
Run to operate your electrical power
accessories, and to display some instru-
ment panel warning lights.
Start: Starts the engine. When the
engine starts, release the key. The
ignition switch will return to
Run for
normal driving.
Note that even
if the engine is not
running; the positions
Accessory and
Run are “on” positions that allow you
to operate your electrical accessories,
such as the radio.
Key Release Button
(MANUAL TRANSAXLE)
The ignition key cannot be removed
from
the ignition unless the key release
button is used.
To Remove the Key:
Turn the key to the Off position. Press
the key release button while turning the
key from
Off to Lock. Keeping your
finger
on the button, pull the key
straight
out.
55
Page 74 of 308
Downloaded from www.Manualslib.com manuals search engine Features & Controls
I Power Windows (opTIoN)
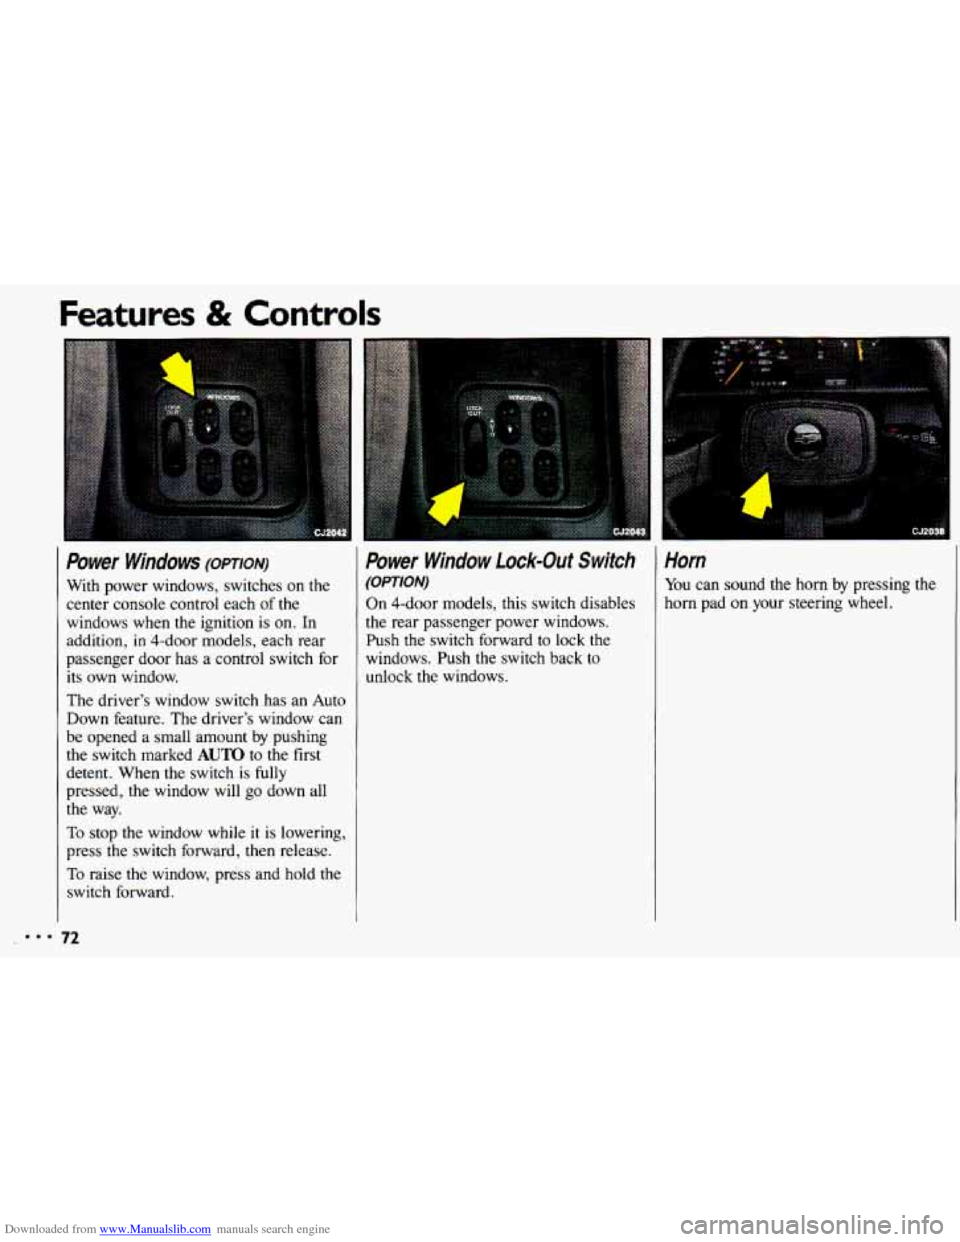
With power windows, switches on the
center console control each
of the
windows when the ignition is
on. In
addition, in 4-dOOr models, each rear
passenger door has a control switch for
its own window.
The driver’s window switch has an Auto
Down feature. The driver’s window can
be opened a small amount by pushing
the switch marked
AUTO to the first
detent. When the switch
is fully
pressed, the window will go down all
the way.
To stop the window while it is lowering,
press the switch forward, then release.
To raise the window, press and hold the
switch forward.
Power Window Lock-Out Switch
(OPTION)
On 4-dOOr models, this switch disables
the rear passenger power windows.
Push the switch forward to lock the
windows. Push the switch back to
unlock the windows.
1
i . :i .............. : ....... ,~,.
Horn
You can sound the horn by pressing the
horn pad
on your steering wheel.
:.. 72
Page 139 of 308
Downloaded from www.Manualslib.com manuals search engine Brake Adjustment
Every time you make a moderate brake
stop, your disc brakes adjust for wear. If
you rarely make
a moderate or heavier
stop, then your brakes might not adjust
correctly.
If you drive in that way,
then-very carefully-make a few
moderate brake stops about every
1,OOO
miles (1 600 km), so your brakes will
adjust properly. If your brake pedal goes
down farther than normal, your rear
drum brakes may need adjustment.
Adjust them by backing up and
firmly
applying the brakes a few times.
Braking In Emergencies
Use your anti-lock braking system when
you need to. With anti-lock,
you can
steer and brake at the same time. In
many emergencies, steering can help
you more than even the very best
braking.
Power Steering
If you lose power steering assist because
the engine stops or the system fails to
function, you can steer but it will take
much more effort.
I37
Page 197 of 308
Downloaded from www.Manualslib.com manuals search engine i
.....
.................................. ...................
........ ... . &5
..... ..... .... .. --
' . I .. ~
Here you wit1 find information
about the care
of your Chevrolet .
This part begins with service and
fuel information. and then
it shows
how to check important fluid and
lubricant levels
. There is also
technical information about your
vehicle. and
a section devoted to its
appearance care
.
Part 6
Service & Appearance Care
Service ......................................................... 196
Fuel ........................................................... 197
HoodRelease
.................................................... 201
EngineOil
...................................................... 205
Aircleaner
..................................................... 209
Transaxle Fluid
................................................... 211
Engine Coolant
................................................... 216
Power Steering Fluid
.............................................. 219
Windshield Washer Fluid
........................................... 220
Brakes
......................................................... 221
Battery
......................................................... 223
BulbReplacement
................................................ 224
Windshield Wiper Blade Replacement
................................. 227
Loading
Your Vehicle ............................................. 227
Vehicle Identification Number (VIN)
................................. 246
Add-on Electrical Equipment
....................................... 247
Fuses
& Circuit Breakers ........................................... 247
Capacities & Specifications ......................................... 250
Fluids & Lubricants ............................................... 252
Replacement Bulbs
............................................... 253
Engine Specifications
............................................. 255
Normal Maintenance Replacement
Parts ............................... 256
Tires .......................................................... 229
Appearancecare
................................................. 236
I95
Page 205 of 308
Downloaded from www.Manualslib.com manuals search engine d
56053
2.21 L4 Engine (CODE 4)
When you open the hood, you’ll see:
1. Engine Coolant Recovery Tank
2. Power Steering Fluid Reservoir
3. Automatic Transaxle Fluid Dipstick
4. Brake Fluid Reservoir
5. Hydraulic Clutch Fluid Reservoir
6. Windshield Washer Fluid Reservoir
7. Battery
8. Air Cleaner
9. Engine Oil Dipstick
IO. Engine Oil Fill Cap
1 1. Radiator Pressure Cap
(if equipped)
(if equipped)
203
Page 206 of 308
Downloaded from www.Manualslib.com manuals search engine Service & Appearance Care
' 3.11 V6 Engine (CODE T)
1
When you open the hood, you'll see:
1. Coolant Surge Tank
2. Power Steering Fluid Reservoir
3. Automatic Transaxle Fluid Dipstick
4. Brake Fluid Reservoir
5. Hydraulic Clutch Fluid Reservoir
6. Windshield Washer Fluid Reservoir
7. Battery
8. Air Cleaner
9. Engine Oil Fill Cap
10. Engine Oil Dipstick
(if equipped)
(if equipped)
rn 204
Page 221 of 308
Downloaded from www.Manualslib.com manuals search engine Radiator Pressure Cap
, .. g.., ',!: Your radiator cap is a 15 psi
I.,, ''.' (105 kPa) pressure-type cap and
,;:, must be tightly installed to prevent
'.. coolant loss and possible engine
.':: damage from overheating. Be sure
.; the arrows on the cap line up with
the overflow
tube on the radiator
Y; _/,.__ filler neck.
When you replace your radiator pressurl
cap, an
AC@ cap is recommended.
.. . ..
~. .
..
F+
Thermostat
Engine coolant temperature is controlled
by a thermostat in the engine coolant
system. The thermostat stops the
flow of
coolant through the radiator until the
coolant reaches a preset temperature.
When you replace your thermostat, an
AC@ thermostat is recommended.
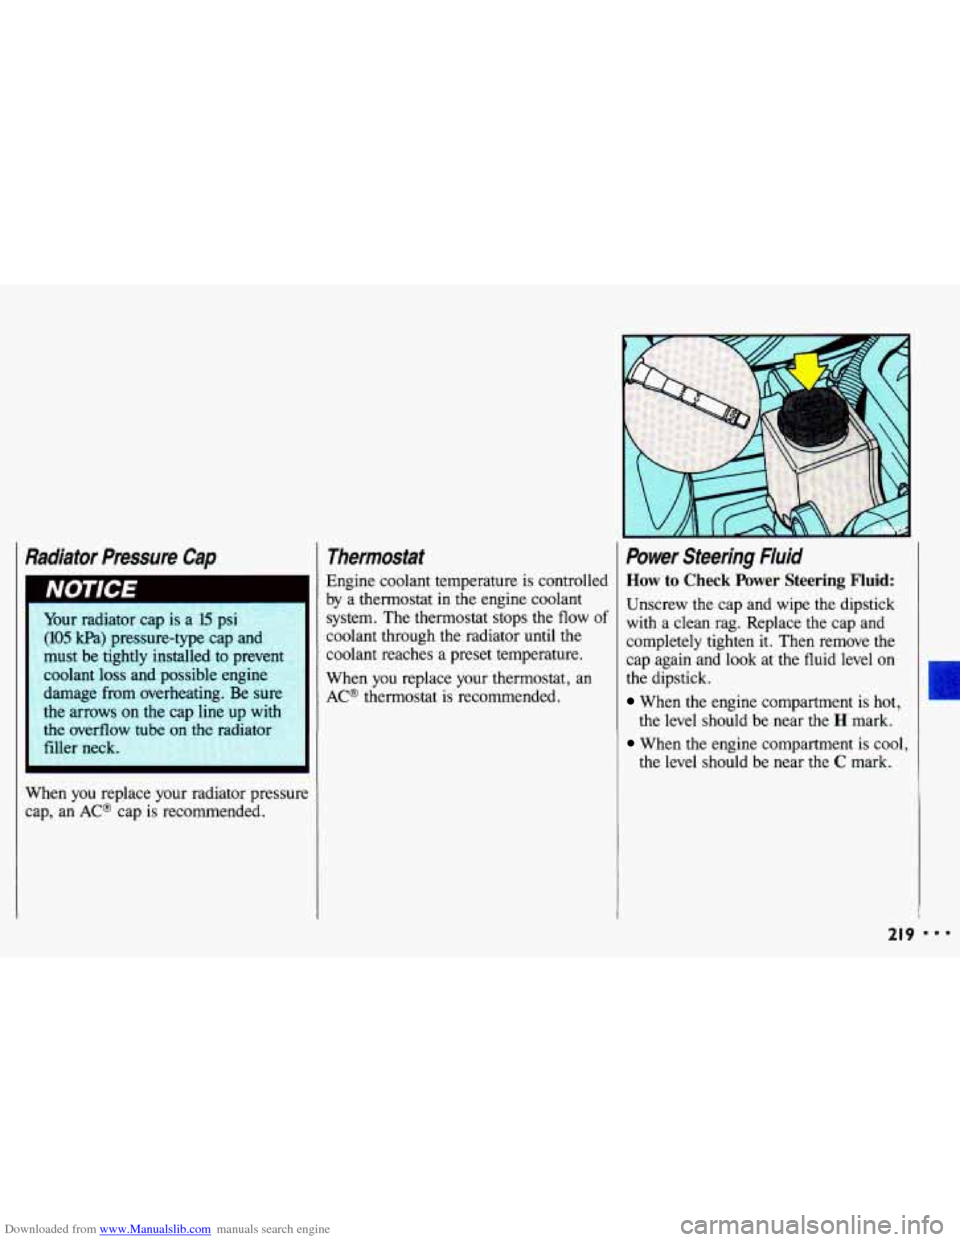
Power Steering Fluid
How to Check Power Steering Fluid:
Unscrew the cap and wipe the dipstick
with a clean rag. Replace the cap and
completely tighten it. Then remove the
cap again and
look at the fluid level on
the dipstick.
When the engine compartment is hot,
the level should be near the H mark.
When the engine compartment is cool,
the level should be near the
C mark.
21 9 I..
Page 222 of 308
Downloaded from www.Manualslib.com manuals search engine ..I
Service & Appearance Care
Power Steering Fluid (CONT.)
What to Add:
Refer to the Maintenance Schedule to determine what kind of fluid to use. See
the
Index under Fluids & Lubricants.
When adding power steering fluid
or making a complete fluid change,
always use the proper fluid. Failure
to use the proper fluid can cause
leaks and damage hoses and seals.
120
Windshield Washer Fluid
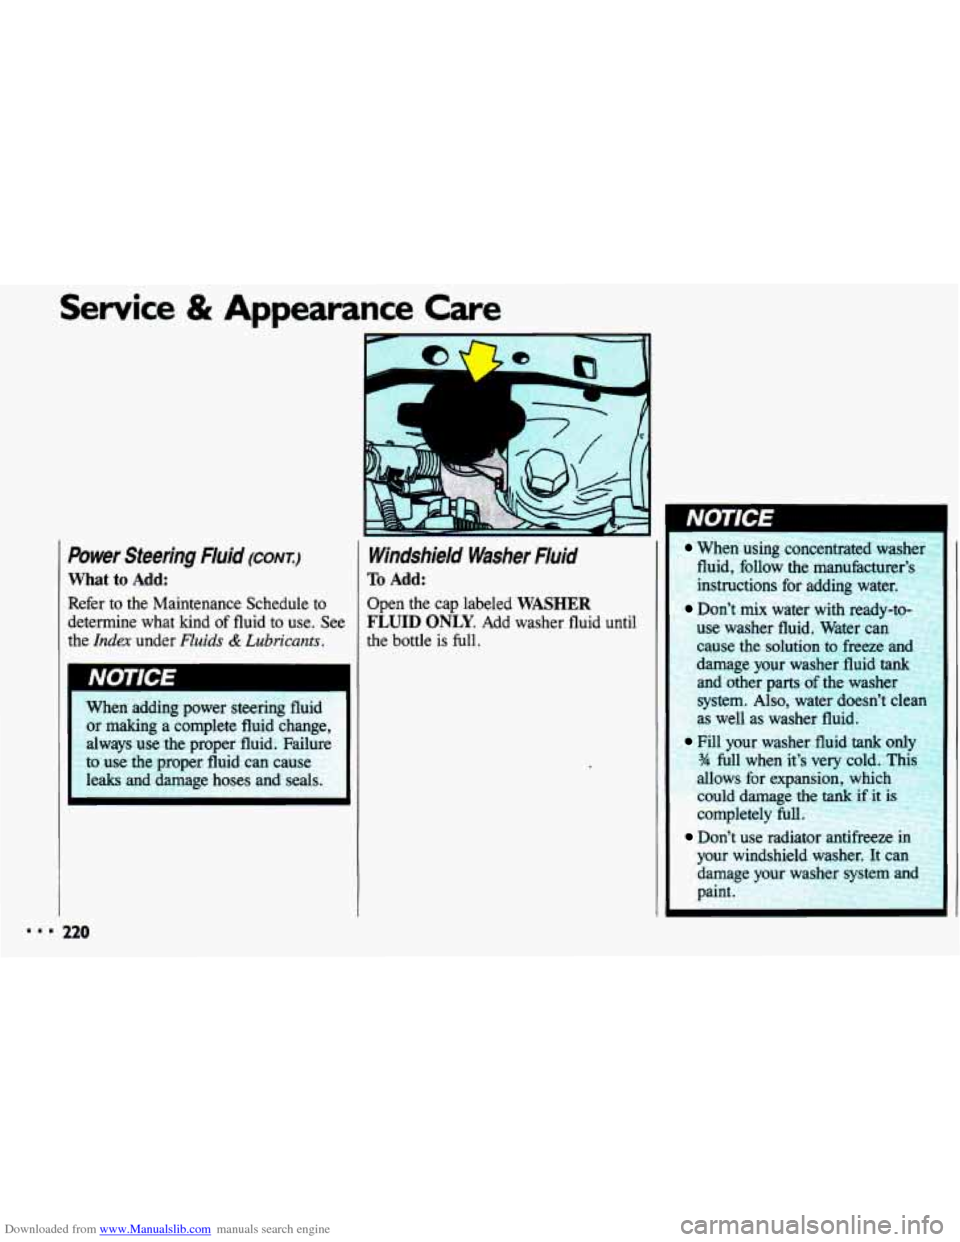
To Add:
Open the cap labeled WASHER
FLUID ONLY. Add washer fluid until
the bottle is full.
When using concentrated washer
fluid, follow the manufacturer’s
instructions for adding water.
Don’t mix water with ready-to-
l15e washer fluid. Water can
use the solution
to freeze and
. .tmage your washer fluid tank
and other parts of the washer
system.
Also, water doesn’t clean
s well as washer fluid.
Fill your washer fluid tank on14
?4 full when it’s very cold. Thir
allows for expansion, which
could damage the
tank if it is
completely
full
Don’t use radiator antifreeze
your windshield washer.
It can
damage your washer system an(
paint.