Page 242 of 358
Service & Appearance Care
What to Use:
Standard and Limited-Slip Differential
Use Axle Lubricant (GM Part No.
1052271) or SAE 8OW-90 GL-5 gear
lubricant.
Engine Coolant
The following explains your cooling
system and how
to add coolant when it
is low. If
you have a problem with
engine overheating or if you need to add
coolant to your radiator, see “Engine
Overheating”
in the Index.
I
The proper coolant for your Chevrolet
will:
0
0
0
0
0
Give freezing protection down to
-34°F (-37°C).
Give boiling protection up to 262°F
(128°C).
Protect against rust and corrosion.
Help keep the proper engine
temperature.
Let
the warning lights work as they
should.
ProCarManuals.com
Page 244 of 358
Service & Appearance Care
1
Adding Coolant
To Check Coolant: When your engine is
cold, check the dipstick on the cap of the
coolant recovery tank. The coolant level
should be at
FULL COLD, or a little
higher. When your engine is warm, the
level on the dipstick should be up to
FULL HOT, or a little higher.
If you have the 5.7L LTl (Code P) engine
and this light comes on,
it means you’re
low on engine coolant.
To Add Coolant to the Recovery Tank:
If you need more coolant, add the proper
mix
at the coolant recovery tank, but
only when your engine
is cool. If the tank
is very low or empty, also add coolant to
the radiator. See “Engine Overheating” in
the Index.
9 240
ProCarManuals.com
Page 246 of 358
Service & Appearance Care
When you replace your radiator pressure
cap. an
AC3 cap is recommended.
Thermostat
Engine coolant temperature is controlled
by a thermostat in the engine coolant
system. The thermostat stops the flow
of
coolant through the radiator until the
coolant reaches a preset temperature.
When you replace
your thermostat, an
AC@ thermostat is recommended.
3.4L L32 (Code S)
Power Steering Fluid
How to Check Power Steering Fluid:
Unscrew the cap and wipe the dipstick
with a clean rag. Replace the cap and
completely tighten
it. Then remove the
cap again and look at the fluid level
on
the dipstick.
ProCarManuals.com
Page 248 of 358

Service & Appearance Care
When using concentrated washer fluid, follow the
manufacturer’s instructions fo
adding water.
ready-to-use washer id.
Water can cause the solution
tc
freeze and damage your washer fluid tank and other
parts
of the washer system.
Also, water doesn’t clean a,
well as washer fluid.
0 Fill your washer fluid tank
only 314 full when it’s very
cold. This allows for
expansion, which could
damage the
tank if it is
completely full.
0 Don’t use radiator antifreeze ir
your windshield washer. It can
damage your washer systen
and pz
Don’t mix water with
- = - 244
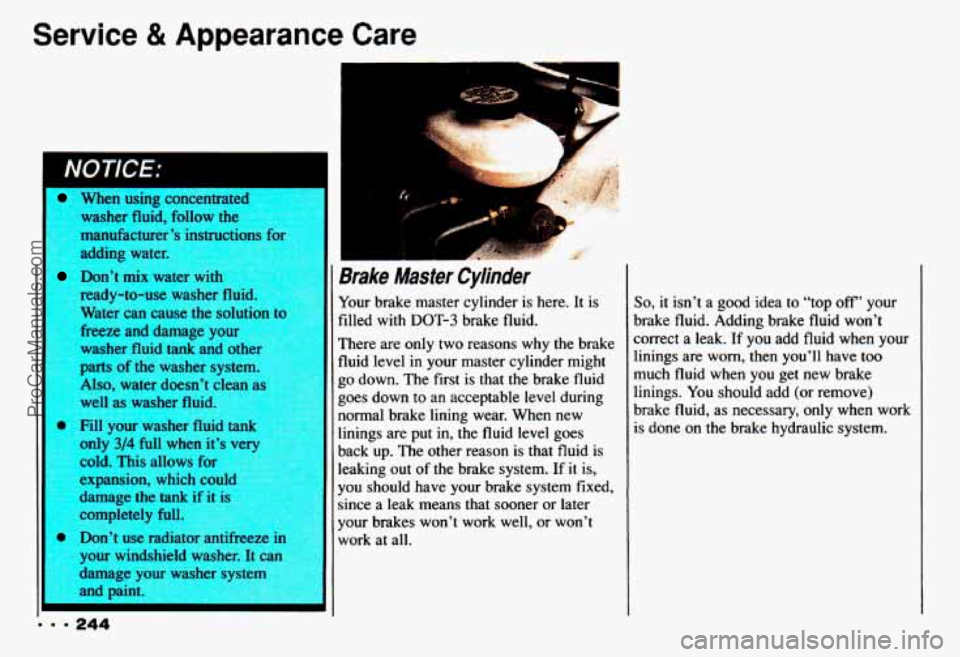
Brake Master Cylinder
Your brake master cylinder is here. It is
filled
with DOT-3 brake fluid.
There are
only two reasons why the brake
fluid level
in your master cylinder might
go down. The first is that the brake fluid
goes down to an acceptable level during
normal brake lining wear. When new
linings are put
in, the fluid level goes
back up. The other reason is that fluid is
leaking out of
the brake system. If it is,
you should have your brake system fixed,
since a leak means that sooner or later
your brakes won’t work well, or won’t
work at all.
So, it isn’t a good idea to “top off’ your
brake fluid. Adding brake fluid won’t
correct a leak. If you add fluid when your
linings are worn, then you’ll have
too
much fluid when you get new brake
linings. You should add (or remove)
brake fluid, as necessary, only when work
is done on the brake hydraulic system.
ProCarManuals.com
Page 250 of 358

Service & Appearance Care
I
246
Replacing Brake System Parts
The braking system on a modern vehicle is complex. Its many parts have to be
of
top quality and work well together if the
vehicle is to have really good braking.
Vehicles we design and test have
top-quality
GM brake parts in them, as
your Chevrolet does when it is
new.
When you replace parts of your braking
system
- for example, when your brake
linings wear down and you have to have
new ones put in
- be sure you get new
genuine GM replacement parts. If you
don’t, your brakes may no longer work
properly. For example, if someone puts
in
brake linings that are wrong for your
vehicle, the balance between your front
and rear brakes
can change, for the worse.
The braking performance you’ve come to
expect can change in many other ways if
someone puts
in the wrong replacement
brake parts.
Battery
Every new Chevrolet has a Delco
Freedoma battery.
You never have to add
water to one of these. When it’s time for a
new battery, we recommend a Delco
Freedom@ battery. Get one that has the
catalog number shown
on the original
battery’s label.
ProCarManuals.com
Page 252 of 358
Service & Appearance Care
Headlights
Headlight Aiming
Your vehicle has a mini-quad headlight
system. These headlights have vertical
and horizontal indicators. When the
headlights are properly installed and
adjusted, and the vehicle is on level
ground, both indicators will read in the
center of the gage. If they do not, you can
adjust the aim.
A
To adjust the aim of your headlights:
1. Move your vehicle to a level surface.
Use a spirit level to be sure. Be sure
to remove any items that are not part
of your original equipment from the
trunk and passenger areas.
No one
should be seated in the vehicle and
your fuel tank should be about half
full. Check to be sure your tires are
at the correct pressure. There
are four headlights. Each one
has its own vertical and horizontal
aim position indicator. Each indicator
has its own aiming screw.
A. Vertical Indicator
B. Horizontal Indicator
C. Vertical Aiming Screw
D. Horizontal Aiming Screw
ProCarManuals.com
Page 254 of 358
Service & Appearance Care
t
1
... 250
Be careful not to move the aiming screws
when
you replace the headlight. If the
headlight being replaced was properly
aimed, the new one will be also if it is
properly installed.
f- 7
i
1. Remove the Torx@ head screws at the
end of the aiming ring. 2. The aiming ring will swing open like a
gate. Remove the aiming ring from the
assembly. Place it face down, with the
aim indicator
up. Be careful not to
damage the aiming bubble.
ProCarManuals.com
Page 256 of 358
Service Station Information
, ,'
Center High-Mounted Stoplight
To replace the bulb:
1. Remove the two screws in the
stoplight lens.
2. Gently pull the assembly out and
remove the bulb
from the back of the
assembly.
3. Reverse the steps with a new bulb.
Front 'hrn Signal
1. Using a screwdriver, remove the
plastic screws from the deflector
under the vehicle. Move the deflector
out of the way.
ProCarManuals.com