1993 CHEVROLET ASTRO PASSENGER manual transmission
[x] Cancel search: manual transmissionPage 237 of 345
Downloaded from www.Manualslib.com manuals search engine Service & Appearance Care
L
......... ..... -&-.A- -
I 5, "9
. .
Here you will find information about the care of your vehicle \
. This Section
begins with service and fuel information. and then
it shows how to check
important fluid and lubricant levels
. There is also technical information about
your vehicle. and a section devoted to its appearance care
.
Service ........................................................................\
........................................... 6-3
Fuel
........................................................................\
................................................ 6-4
Checking Things Under the Hood
....................................................................... \
6-8
Hood Release
........................................................................\
............................ 6-8
Engine
Oil ........................................................................\
.................................. 6-9
Engine Cover
........................................................................\
........................... 6-15
Air Cleaner
........................................................................\
............................... 6-19
Automatic Transmission Fluid
........................................................................\
. 6-20
Rear Axle
........................................................................\
................................. 6-23
All-Wheel Drive
........................................................................\
........................ 6-23
Transfer Case
........................................................................\
.......................... 6-23
Front Axle
........................................................................\
................................. 6-24
Engine Coolant
........................................................................\
........................ 6-26
Power Steering Fluid
........................................................................\
............... 6-30
Windshield Washer Fluid
........................................................................\
......... 6-31
Brake Master Cylinder
........................................................................\
............. 6-32
6-1
Page 256 of 345
Downloaded from www.Manualslib.com manuals search engine Service & Appearance Care
h
Operating the engine with the air cleaner off can cause you or other!
to be burned. The air cleaner not only cleans the air, it stops flame
if the engine backfires. If it isn’t there, and the engine backfires, you
could be burned. Don’t drive with it off, and be careful working on
the engine with the air cleaner off.
If the air cleaner is off, a backfir
dirt can easily get into your engine,
air cleaner in place when you’re drivin $use a damaging engir
hicl
vill damage it. Na)
Automatic Transmission Nuid
When to Check and Change:
A good time to check your automatic transmission fluid level is when the
engine oil is changed. Refer to the Maintenance Schedule
to determine when
to change your fluid. See “Scheduled Maintenance Services” in the Index.
How to Check:
Because this operation can be a little difficult, you may choo\
se to have this
done at a
GM dealership Service Department.
If you do it yourself, be sure to follow all the instructions here, or you could
get a false reading on the dipstick.
Too much or too little fluid can damage your transmission. Too much can
mean that some of the fluid could come out and fall on hot engine part-
starting a fire. Be sure to get an accurate reading
if you check your
transmission fluid.
I
I
Wait at least 30 minutes before checking the transmission fluid level if you
have been driving:
When outside temperatures are above 90°F (32°C).
At high speed for quite a while.
In heavy traffic-especially in hot weather.
While pulling a trailer.
6-20
Page 257 of 345
Downloaded from www.Manualslib.com manuals search engine To get the right reading, the fluid should be at normal operating temperature,
which is
180°F to 200°F (82°C to 93°C).
To check transmission fluid hot: Get the vehicle warmed up by driving
about
15 miles (24 km) when outside temperatures are above 50°F (10°C). If
it's colder than 50°F (lO'C), drive the vehicle in D (Third Gear) until the
engine temperature gage moves and then remains steady for ten \
minutes.
Then follow the hot check procedures.
To check transmission fluid cold: A cold check is made after the vehicle
has been sitting for
8 hours or more with the engine off and is used only as
a reference. Let the engine run at idle for
5 minutes if outside temperatures
are
50°F (1 0°C) or more. If it's colder than 50°F (lO"C), you may have to
idle the engine longer.
A hot check must follow when fluid is added during a
cold check.
To check the fluid hot or cold:
Park your vehicle on a level place.
Place the shift lever in P (Park) with the parking brake applied.
With your foot on the brake pedal, move the shift lever throu\
gh each
gear range, pausing for about three seconds in each range. Then,
position the shift lever in
P (Park).
Let the engine run at idle for three minutes or more.
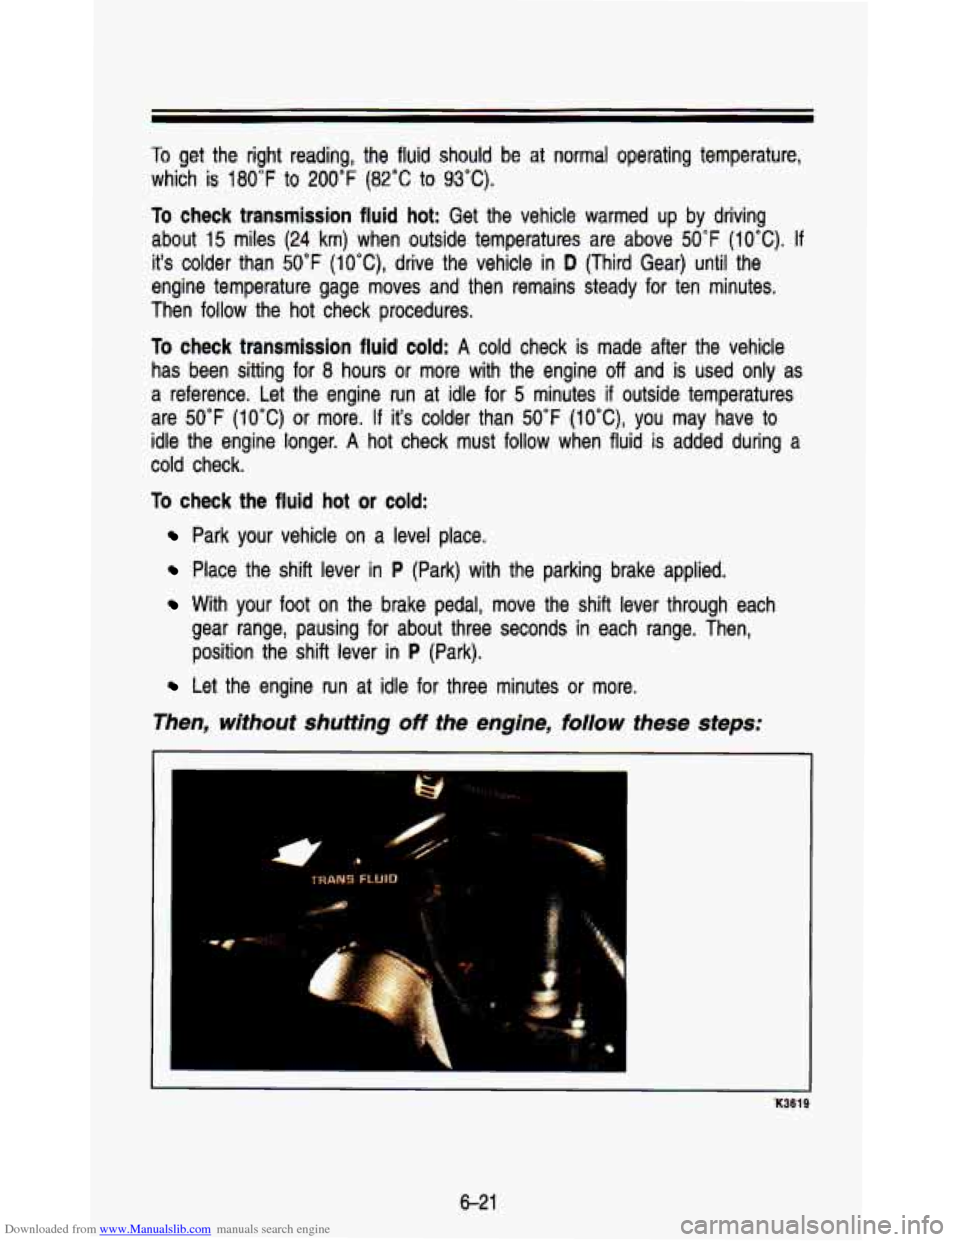
Then, without shutting off the engine, follow these steps:
K3619
6-21
Page 258 of 345
Downloaded from www.Manualslib.com manuals search engine Service & Appearance Care
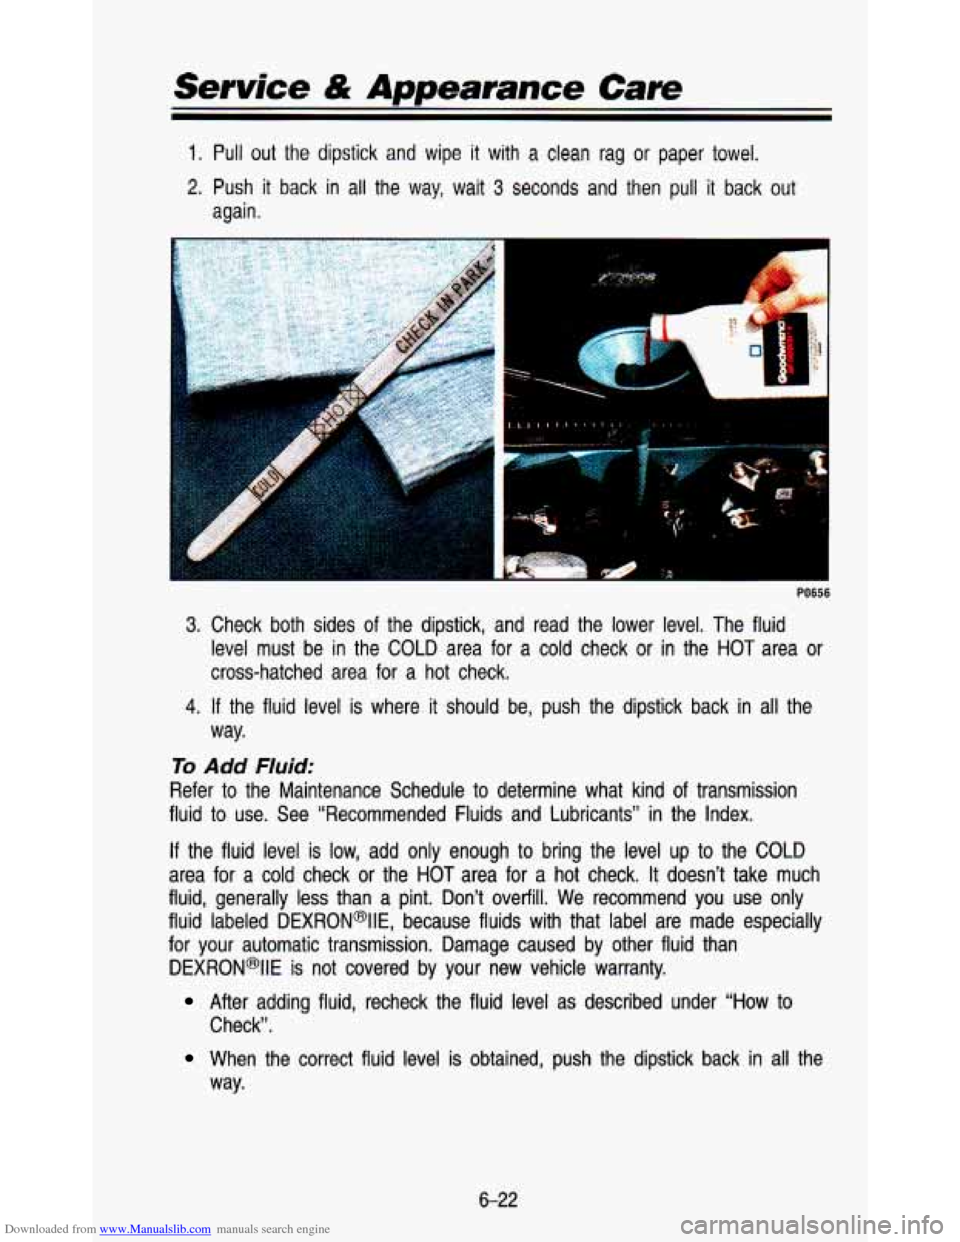
1. Pull out the dipstick and wipe it with a clean rag or paper towel.
2. Push it back in all the way, wait 3 seconds and then pull it back out
again.
3. Check both sides of the dipstick, and read the lower level. The fluid
level must be in the COLD area for a cold check or in the
HOT area or
cross-hatched area for a hot check.
way.
4. If the fluid level is where it should be, push the dipstick back in all the
To Add Fluid:
Refer to the Maintenance Schedule to determine what kind of transmission
fluid
to use. See “Recommended Fluids and Lubricants” in the Index.
If the fluid level is low, add only enough to bring the level up to the COLD
area
for a cold check or the HOT area for a hot check. It doesn’t take much
fluid, generally less than a pint. Don’t overfill. We recommend you use only
fluid labeled DEXRON@IIE, because fluids with that label are ma\
de especially
for your automatic transmission. Damage caused by other fluid t\
han DEXRON*IIE
is not covered by your new vehicle warranty.
After adding fluid, recheck the fluid level as described under “How to
Check”.
When the correct fiuid level is obtained, push the dipstick back in all the
way.
6-22
Page 302 of 345
Downloaded from www.Manualslib.com manuals search engine Service & Appearance Care
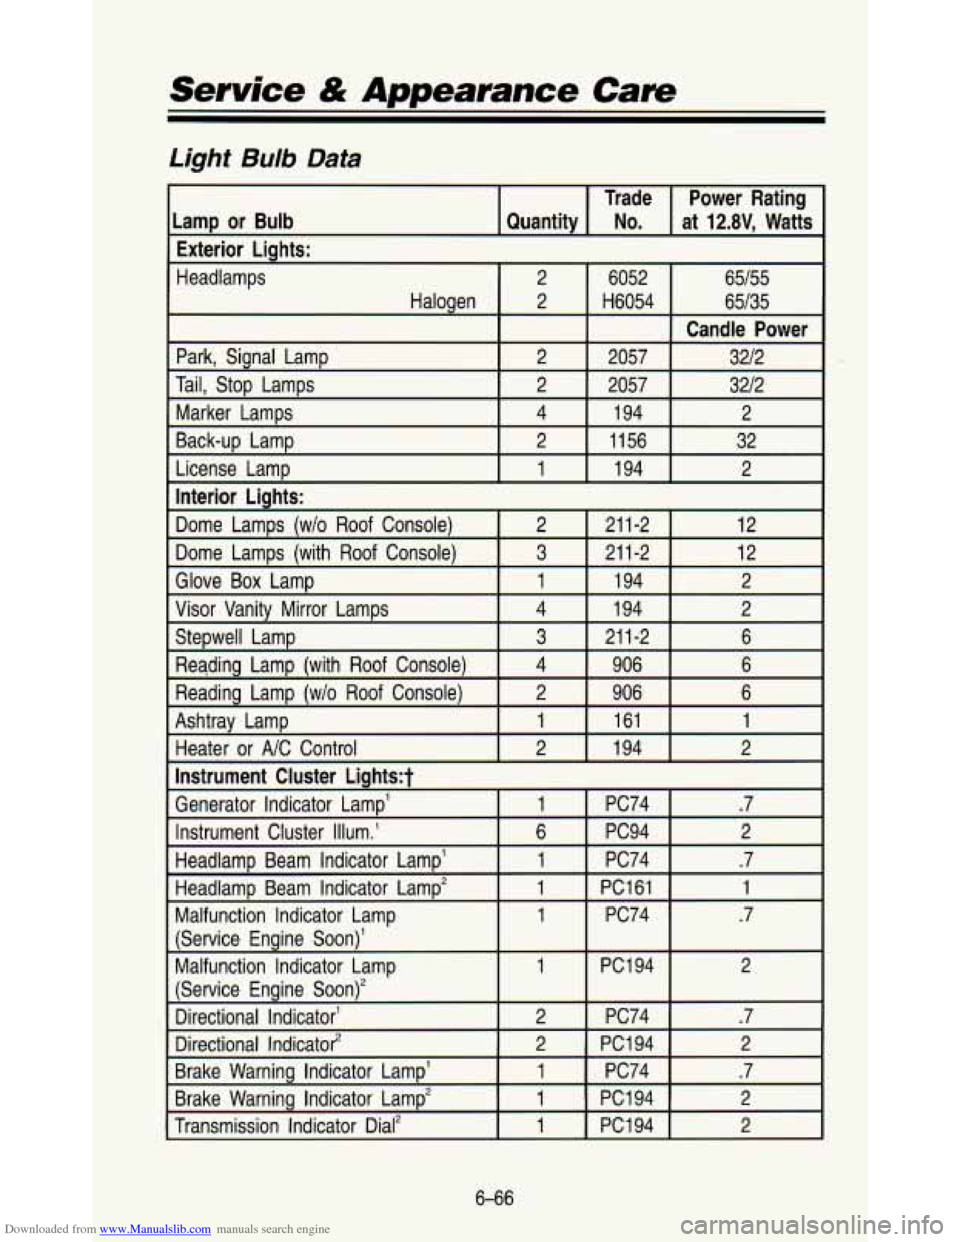
Light Bulb Data
Trade at
12.8V, Watts No. Quantity
Lamp or Bulb Power Rating
Exterior Lights:
Headlamps 2
6052 65/55
Halogen 65/35
H6054
2
Park, Signal Lamp 2 2057 3212
Tail, Stop Lamps 2
2057
1 94
4
Marker Lamps 3212
12
211-2
3 Dome Lamps (with Roof Console) 12 211-2 2
Dome Lamps (w/o Roof Console)
Interior Lights:
2
194
1 License
Lamp 32
1156
2 Back-up Lamp 2
Candle Power
I Glove Box LamD Ill 194 I 2
I Visor Vanity Mirror Lamps I 4 I 194 I 2
Stepwell Lamp
2
Reading Lamp
(wlo Roof Console) 6 906
4
Reading Lamp (with
Roof Console) 6 21
1-2
3
2 1 94 2
Heater or NC Control
1 161 1 Ashtray Lamp 6 906
Instrument Cluster
Lightst
Generator Indicator Lamp’
2
PC94 6
Instrument Cluster Illum.’ .? PC74
1
Headlamp Beam Indicator Lamp’
2
PC1
94 2 Directional Indicato?
.? PC74
2
Directional Indicator‘
(Service Engine Soon)*
2 PC1 94 1
Malfunction Indicator Lamp
(Service
Engine Soon)’
.7 PC74 1 Malfunction Indicator Lamp
1 PC161 1 Headlamp Beam Indicator Lamp‘ .7
PC74
1
Brake Warning Indicator Lamp’
1
Brake Warning Indicator Lamp2 .7
PC74
1
2 PC1 94
1
Transmission Indicator Dial2
2 PC1 94
6-66
Page 315 of 345

Downloaded from www.Manualslib.com manuals search engine 6. TRANSMISSION SERVICE
Change the transmission fluid and filter every 15,000 miles (2\
5 000 km).
If the vehicle is mainly driven under one or more of these conditions:
In heavy city traffic.
Where the outside temperature regularly reaches 90°F (32°C\
) or
In hilly or mountainous terrain.
Frequent trailer pulling.
Uses such as taxi, police, delivery or other commercial service\
.
higher.
If the vehicle is not used mainly under any
of these conditions, change
the fluid and filter every 30,000 miles
(50 000 km). See “Automatic
Transmission Fluid’’ in the Index for more information.
7. FUEL FILTER REPLACEMENT* -Replace the fuel filter at the specified
interval or sooner
if clogged.
8. SPARK PLUGS REPLACEMENT* -Replace spark plugs with the type
listed in Section
6. See “Specification Charts’’ in the Index.
9. SPARK PLUG WIRE INSPECTION* -Clean wires and inspect for burns,
cracks or other damage. Check the wire boot
fit at the distributor and at
the spark plugs. Replace wires as needed.
10.
ENGINE TIMING CHECK AND DISTRIBUTOR CHECK -Adjust timing to
underhood label specifications. Inspect the inside and outside of the
distributor cap and rotor for cracks, carbon tracking and corro\
sion. Clean
or replace as needed.
cap and lines for damage or leaks. Remove fuel cap, inspect g\
asket for
an even filler neck imprint, and any damage. Replace parts as \
needed.
12.
ENGINE ACCESSORY DRIVE BELT INSPECTION* -Inspect belt. Look
for cracks, fraying, wear, and proper tension. Adjust or replac\
e as needed.
11.
FUEL TANK, CAP AND LINES INSPECTION* -Inspect the fuel tank,
* An Emission Control Service
7-9
Page 317 of 345
Downloaded from www.Manualslib.com manuals search engine Owner Checks and Services
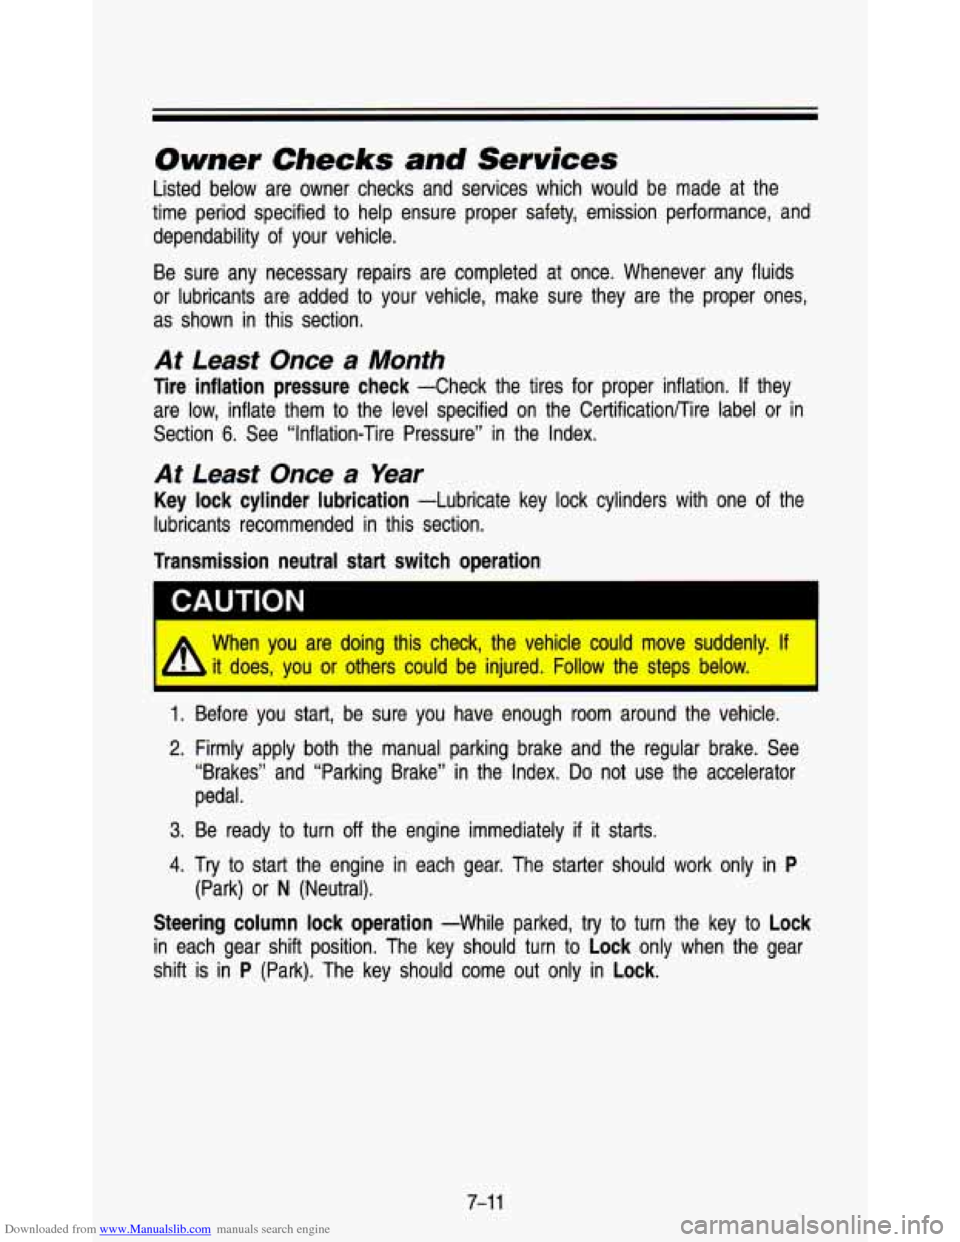
Listed below are owner checks and services which would be made at the
time period specified to help ensure proper safety, emission performance, and
dependability of your vehicle.
Be sure any necessary repairs are completed at once. Whenever \
any fluids
or lubricants are added to your vehicle, make sure they are the \
proper ones,
as shown in this section.
At Least Once a Month
Tire inflation pressure check -Check the tires for proper inflation. If they
are low, inflate them
to the level specified on the CertificationRire label or in
Section
6. See “Inflation-Tire Pressure” in the Index.
At Least Once a Year
Key lock cylinder lubrication -Lubricate key lock cylinders with one of the
lubricants recommended in this section.
Transmission neutral start switch operation
I A When you are doing this check, the vehicle could move suddenly\
. If I
it does, you or others could be injured. Follow the steps below. I L
1. Before you start, be sure you have enough room around the vehicle.
2. Firmly apply both the manual parking brake and the regular brake. See
“Brakes” and “Parking Brake” in the Index.
Do not use the accelerator
pedal.
3. Be ready to turn off the engine immediately if it starts.
4. Try to start the engine in each gear. The starter should work only in P
Steering column lock operation -While parked, try to turn the key to Lock
in each gear shift position. The key should turn to Lock only when the gear
shift is in
P (Park). The key should come out only in Lock.
(Park) or N (Neutral).
7-1 1
Page 318 of 345
Downloaded from www.Manualslib.com manuals search engine Scheduled Maintenance Services
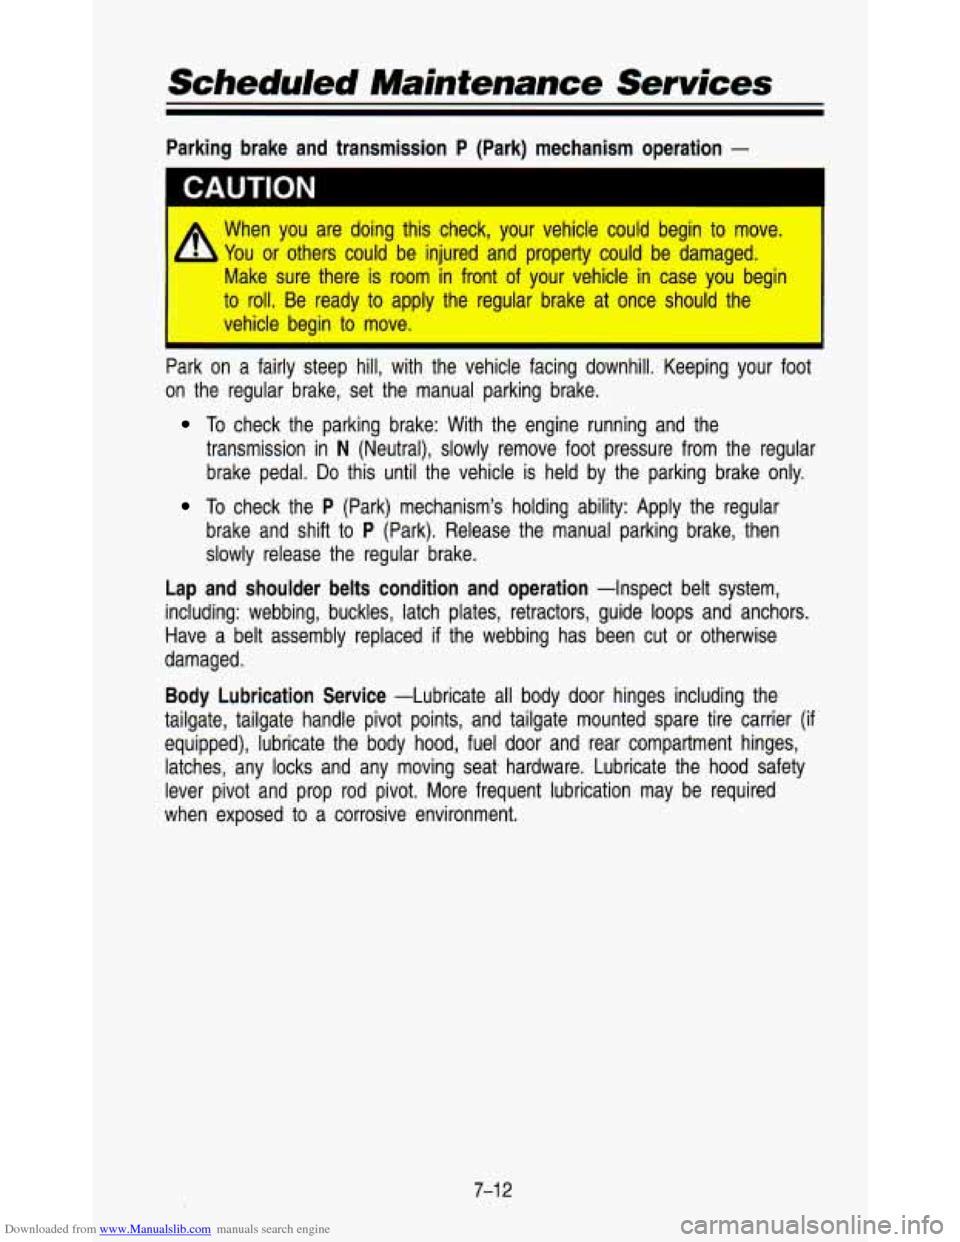
Parking brake and transmission P (Park) mechanism operation -
I CAUTION
When you are doing this check, your vehicle could begin to mo\
ve. I
/i You or others could be injured and property could be damaged.
Make sure there is room in front of your vehicle in case you\
begin
to roll. Be ready to apply the regular brake at once should the \
vehicle begin to move.
Park on a fairly steep hill, with the vehicle facing downhill.\
Keeping your foot
on the regular brake, set the manual parking brake.
To check the parking brake: With the engine running and the
transmission in
N (Neutral), slowly remove foot pressure from the regular
brake pedal.
Do this until the vehicle is held by the parking brake only.
To check the P (Park) mechanism’s holding ability: Apply the regular
brake and shift to
P (Park). Release the manual parking brake, then
slowly release the regular brake.
Lap and shoulder belts condition and operation -Inspect belt system,
including: webbing, buckles, latch plates, retractors, guide loop\
s and anchors.
Have a belt assembly replaced
if the webbing has been cut or otherwise
damaged.
Body Lubrication Service -Lubricate all body door hinges including the
tailgate, tailgate handle pivot points, and tailgate mounted spa\
re tire carrier
(if
equipped), lubricate the body hood, fuel door and rear compart\
ment hinges, latches, any locks and any moving seat- hardware. Lubricate the\
hood safety
lever pivot and prop rod pivot. More frequent lubrication may \
be required
when exposed to a corrosive environment.
7-1 2