1993 CADILLAC FLEETWOOD reset
[x] Cancel search: resetPage 82 of 386

Downloaded from www.Manualslib.com manuals search engine passed. If you vehicle has the Remote Keyless Entry feature, just push
any button on the transmitter.
1
Leaving Your Whicle
If you are leaving the vehicle, take your keys, open your door and set the
locks from inside. Then get out and close the door.
T h
If your vehicle has a theft deterrent system, see “Universal Theft
Deterrent’’ in the Index. r I
d
Glove Box
The glove box is directly in front of the front passenger seat. To unlock
the door, insert the door key into the
lock cylinder and turn it to the left.
To lock the door, turn the key to the right and remove the key. The key
may be removed in the locked or unlocked position.
Traction Control Disable Switch
This feature is deleted
on Coach Builder
limousine and funeral
coach packages.
You’ll find the switch
in the glove box.
You will need to use this switch should
you get stuck in a snow bank and
can’t rock the vehicle out. To disable traction control, press the right end
of the switch until the yellow “TMCTION CONTROI? telltale light
comes
on. The system is reset the next time the ignition key is turned off.
r
U
c
1
c-
U
68
U
Page 119 of 386
Downloaded from www.Manualslib.com manuals search engine n
r I
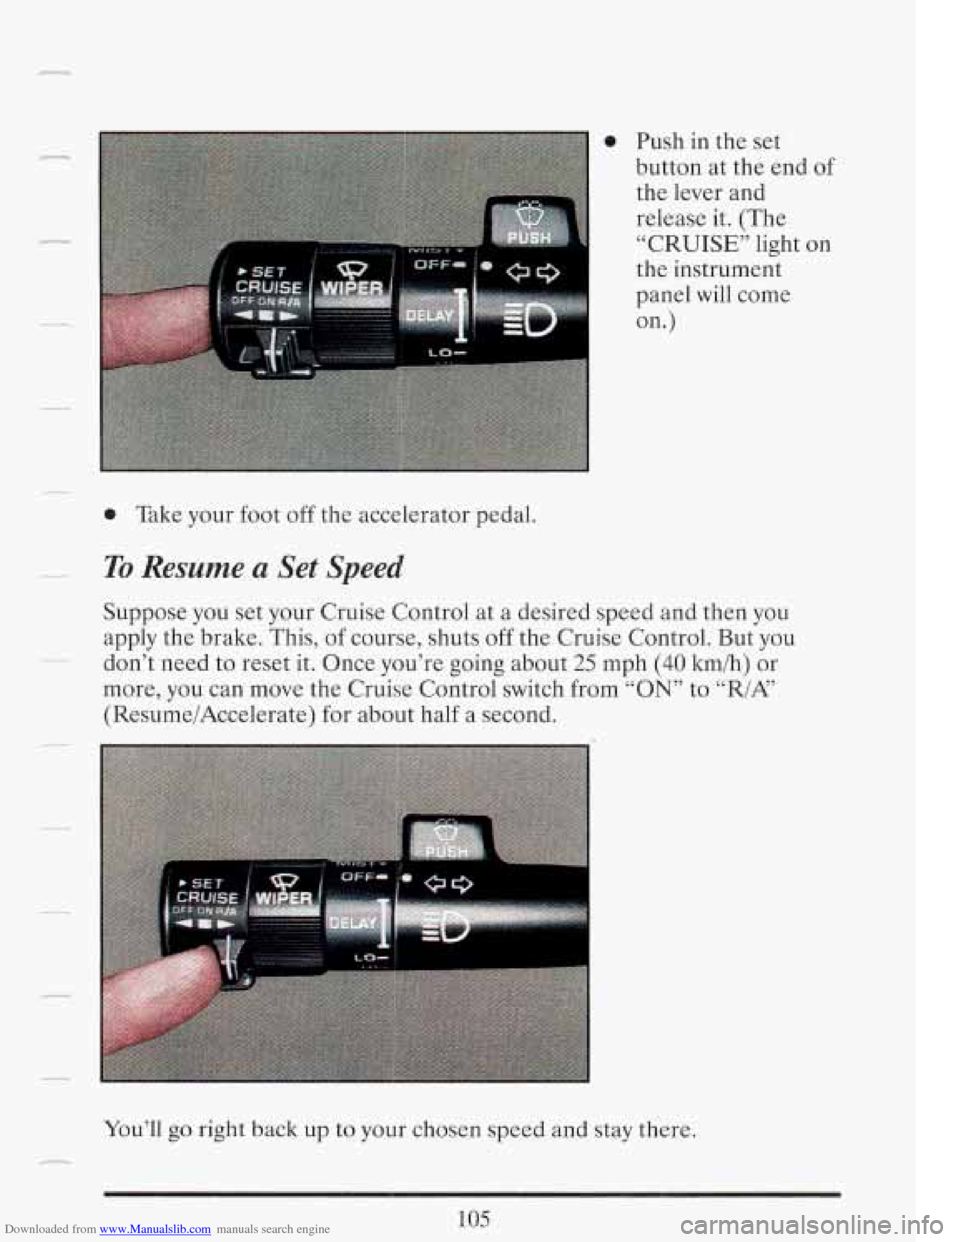
0 Push in the set
button at the end of
the lever and
release it. (The
“CRUISE” light on
the instrument
panel will come
on.
)
0 Take your foot off the accelerator pedal.
To Resume a Set Speed
Suppose you set your Cruise Control at a desired speed and then you
apply the brake. This, of course, shuts
off the Cruise Control. But you
don’t need to reset it. Once you’re going about
25 mph (40 kmih) or
more, you can move the Cruise Control switch from
“ON” to “./A”
(ResumeiAccelerate) for about half a second.
105
You’ll go right back up to your chosen speed and stay there.
Page 138 of 386
Downloaded from www.Manualslib.com manuals search engine The same button also makes other readings (like temperature, fuel and
odometer) go between English and metric.
Speedometer and Qdometer
Your speedometer lets you see your speed in both miles per hour (mph)
and kilometers per hour (kmih). Your odometer shows how far your
vehicle has been driven, in either miles (used in the
U.S.) or kilometers
(used
in Canada).
Trip Qdometer
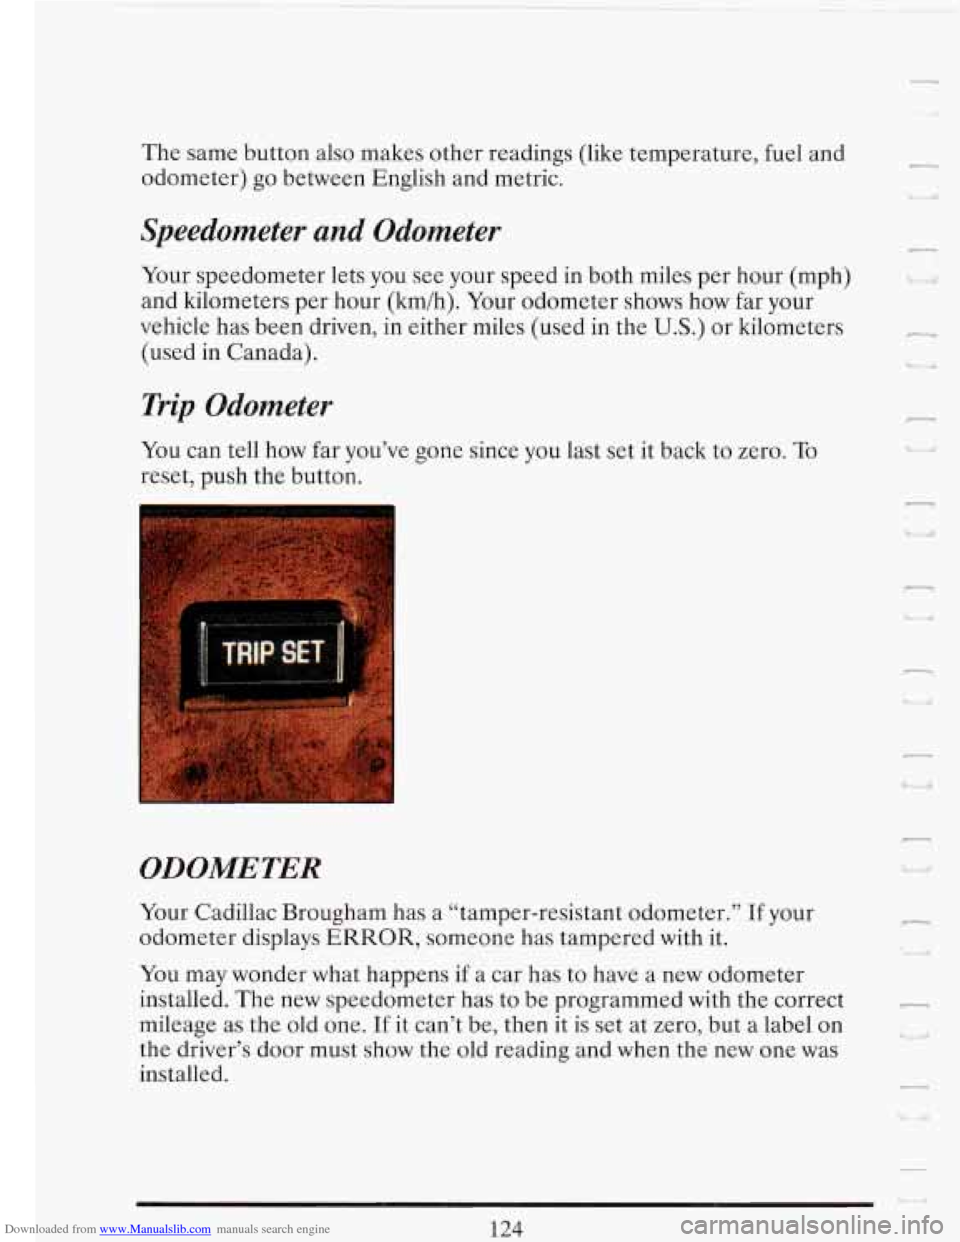
You can tell how far you’ve gone since you last set it back to zero. To
reset, push the button.
n
‘I a
-
w ‘I
ODOMETER
Your Cadillac Brougham has a “tamper-resistant odometer.” If your
odometer displays
ERROR, someone has tampered with it.
You may wonder what happens if a car has to have a new odometer
installed. The new speedometer has to be programmed with the correct
mileage as the old one.
If it can’t be, then it is set at zero, but a label on
the driver’s door must show the old reading and when the new one was
installed.
n
r
L
124
Page 151 of 386
Downloaded from www.Manualslib.com manuals search engine 1 between 3000 miles (5000 km) and 7500 miles (12500 km), but it may
even say to change it before
3000 miles under severe conditions. It all
depends on your driving patterns. (If it doesn’t, or
if it doesn’t even light
up, then something is wrong.
You will need to have it serviced.)
There are
two things the system won’t do: It can’t sense heavy dust in the
places where you drive.
If you drive in a dusty area, you should change
your oil every
3000 miles (5000 krn) or 3 months (whichever comes first),
unless the
“CHANGE OIL? light comes on sooner.
It doesn’t check how much oil you have
so you will still have to check for
that.
To check it, see the Index under “Engine Oil.”
When You’ve Changed the Oil
When new oil is put in, you’ll need to reset your system. To do that, turn
the ignition switch to the
“ON” position with the engine stopped. Fully
depress and release the accelerator pedal
3 times within 5 seconds.
If the “CHANGE OK’ light comes on and stays on for
5 seconds, it did
not reset. You’ll need to reset the system again.
137
Page 161 of 386
Downloaded from www.Manualslib.com manuals search engine PUSH BUTTONS
r
,
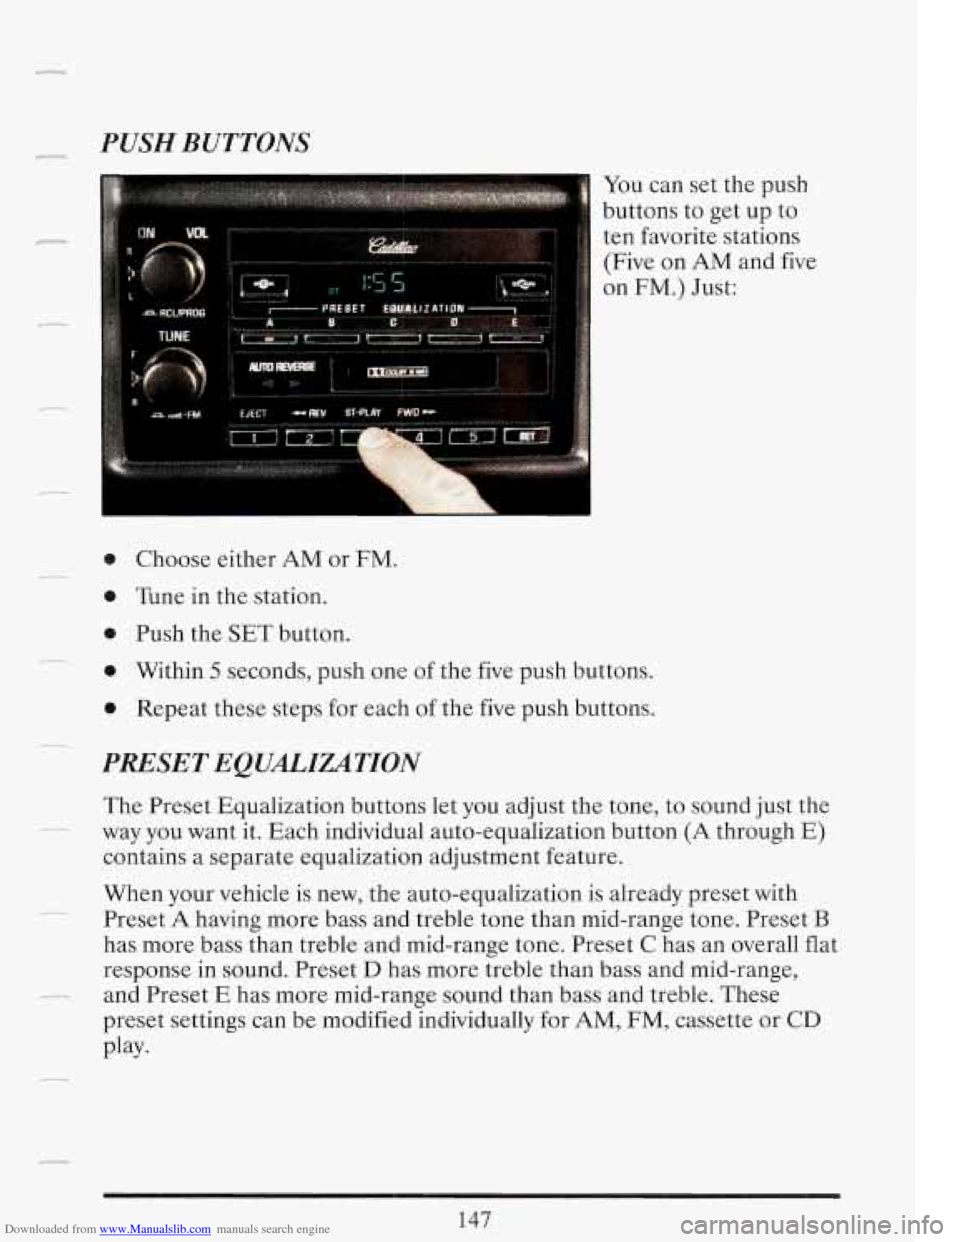
You can set the push
buttons to get up to
ten favorite stations (Five on AM and five
on FM.) Just:
0 Choose either AM or FM.
0 Tune in the station.
0 Push the SET button.
0 Within 5 seconds, push one of the five push buttons.
0 Repeat these steps for each of the five push buttons.
PRESET EQUALIZATION
The Preset Equalization buttons let you adjust the tone, to sound just the
way you want it. Each individual auto-equalization button (A through
E)
contains a separate equalization adjustment feature.
When your vehicle is new, the auto-equalization is already preset with
Preset
A having more bass and treble tone than mid-range tone. Preset B
has more bass than treble and mid-range tone. Preset C has an overall flat
response in sound. Preset
D has more treble than bass and mid-range,
preset settings can be modified individually for AM, FM, cassette or
CD
-~ -
c_ and Preset E has more mid-range sound than bass and treble. These
Play-
Page 162 of 386
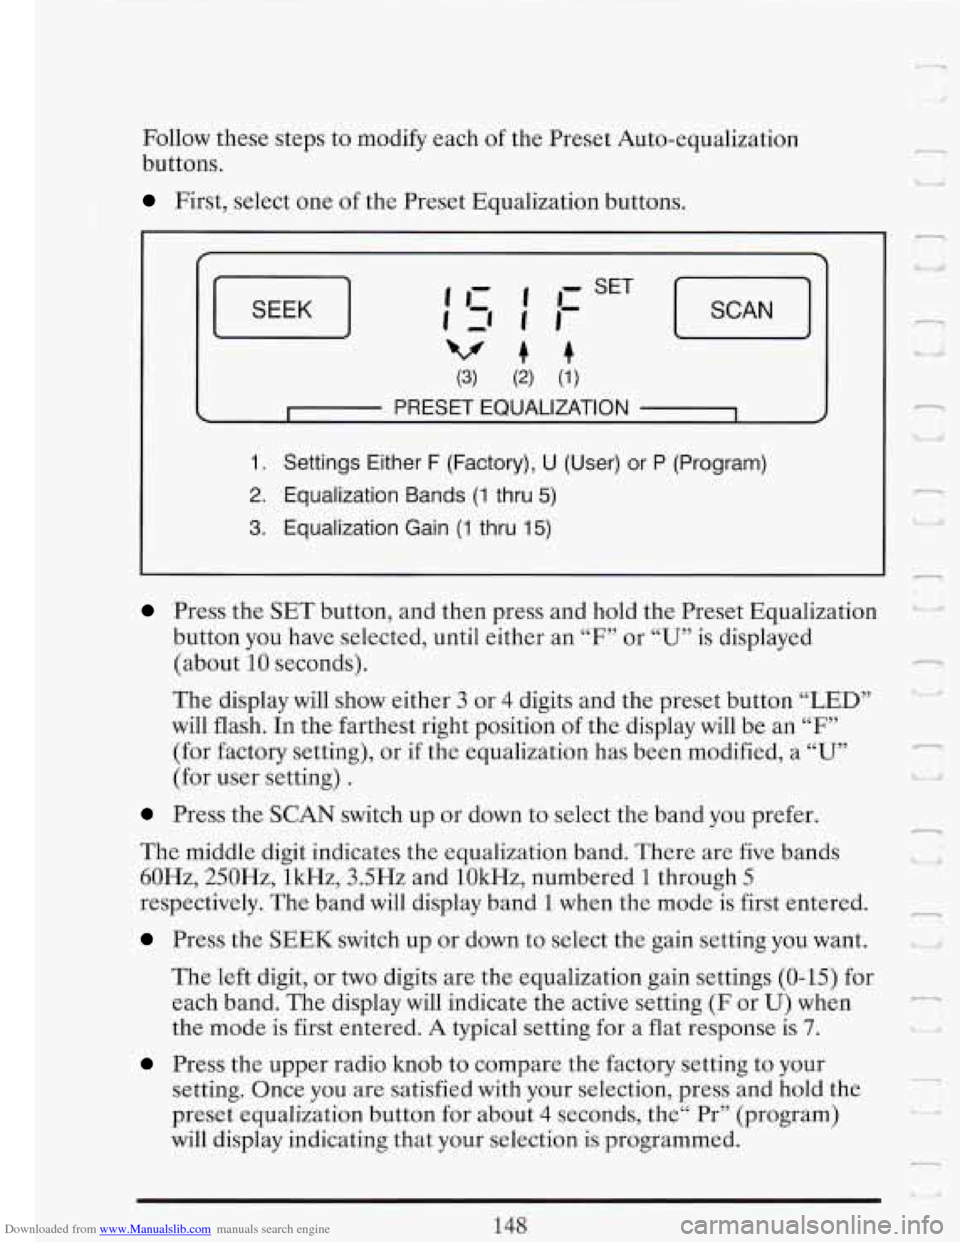
Downloaded from www.Manualslib.com manuals search engine Follow these steps to modify each of the Preset Auto-equalization
buttons.
First, select one of the Preset Equalization buttons.
SEEK J
(3) (2) (1)
c I PRESET EQUALIZATION 1 4
1. Settings Either F (Factory), U (User) or P (Program)
2. Equalization Bands (1 thru 5)
3. Equalization Gain (1 thru 15)
Press the SET button, and then press and hold the Preset Equalization
button you have selected, until either an
“F7’ or “U” is displayed
(about
10 seconds).
The display will show either 3 or 4 digits and the preset button “LED”
will flash. In the farthest right position
of the display will be an “F”
(for factory setting), or if the equalization has been modified, a “U”
(for user setting) .
Press the SCAN switch up or down to select the band you prefer.
The middle digit indicates the equalization band. There are five bands
60Hz, 250Hz, lkHz, 3.5Hz and lOkHz, numbered
1 through 5
respectively. The band will display band 1 when the mode is first entered.
Press the SEEK switch up or down to select the gain setting you want.
The left digit, or two digits are the equalization gain settings (0-15) for
each band. The display
will indicate the active setting (F or U) when
the mode is first entered.
A typical setting for a flat response is 7.
Press the upper radio knob to compare the factory setting to your
setting. Once you are satisfied with your selection, press and hold the
preset equalization button for about
4 seconds, the“ Pr” (program)
will display indicating that your selection is programmed.
148
l n
d
r
Lj Ill
--
.-
I -.
Page 163 of 386
Downloaded from www.Manualslib.com manuals search engine rl
,' w VCJL
TUNE
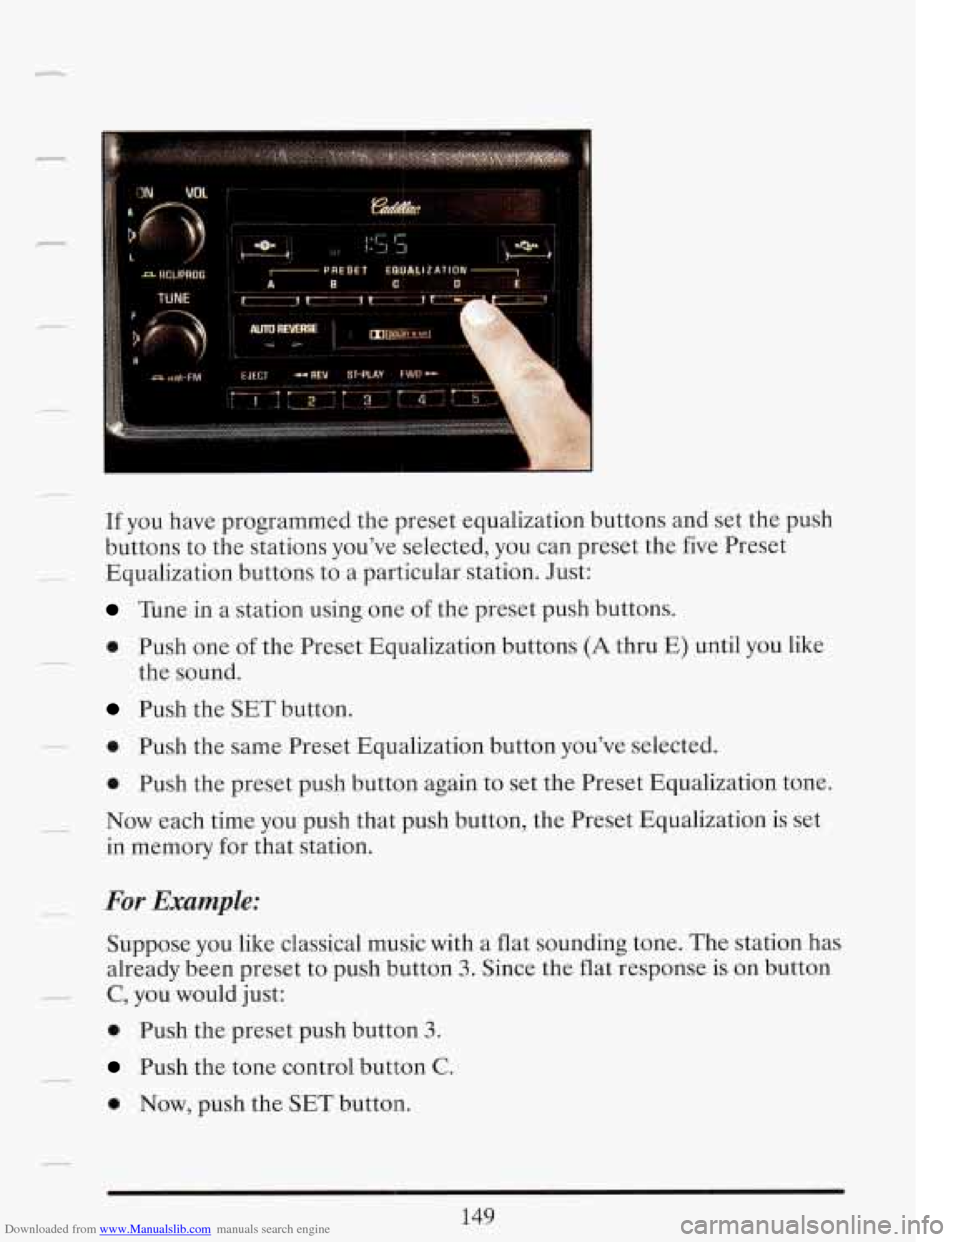
If you have programmed the preset equalization buttons and set the push
buttons to the stations you've selected, you can preset the five Preset
Equalization buttons to
a particular station. Just:
Tune in a station using one of the preset push buttons.
0 Push one of the Preset Equalization buttons (A thru E) until you like
Push the SET button.
the
sound.
-. 0 Push the same Preset Equalization button you've selected.
0 Push the preset push button again to set the Preset Equalization tone.
in memory for that station.
-- Now each time you push that push button, the Preset Equalization is set
-- For Example:
Suppose you like classical music with a flat sounding tone. The station has
already been preset
to push button 3. Since the flat response is on button
_. C, you would just:
0 Push the preset push button 3.
Push the tone control button C.
149
0 Now, push the SET button.
Page 278 of 386

Downloaded from www.Manualslib.com manuals search engine Engine Block Heater Option: An engine block heater can be a big help if
you have to park outside in
very cold weather, 0°F (-18OC) or colder. If
your vehicle has this option, see “Engine Block Heater”
in the Index.
How
To Reset the Oil Life Indicator: After the oil has been changed,
you’ll need to reset your system.
To do that, turn the ignition switch to the
“ON” position with the engine stopped fully depress and release the
accelerator pedal
3 times within 5 seconds.
If the “CHANGE OIC‘ light comes on and stays on for 5 seconds, it did
not reset. You’ll need to reset the system again.
What to
Do with Used Oil:
A CAUTION:
Used engine oil contains things that have caused skin cancer in
laboratory animals. Don’t let used oil stay on your skin for very
long. Clean your skin and nails with soap and water, or a good
hand cleaner. Wash or properly throw away clothing or rags
containing used engine oil.
Used oil can be a real threat to the environment. If you change your own
oil, be sure to drain all free-flowing oil from the filter before disposal.
-
Don’t ever dispose of oil by pouring it on the ground, into sewers, or into
streams or bodies of water. Instead, recycle it by taking
it to a place that
collects used oil. If you have a problem properly disposing of your used
oil, ask your dealer, a service station or
a local recycling center for help.
1:
n
264
I