1993 BUICK SKYLARK steering wheel
[x] Cancel search: steering wheelPage 157 of 306

I
Off-Road Recovery
You may find sometime that your right wheels have
dropped off the edge
of a road onto the shoulder while
you’re driving.
If the level of the shoulder is only slightly below the
pavement, recovery should be fairly easy. Ease off the
accelerator and then, if there is nothing in the way, steer
so that your vehicle straddles the edge of the pavement.
You can turn the steering wheel up to
1/4 turn until the
right front tire contacts the pavement edge. Then turn
your steering wheel to go straight down the roadway. If
the shoulder appears to be about four inches
(100 mm) or more below the pavement, this difference
can cause problems. If there
is not enough room to pull
entirely onto the shoulder and stop, then follow the same
procedures. But if the right front tire scrubs against the
side
of the pavement, do NOT steer more sharply. With
too much steering angle, the vehicle may jump back
onto the road with
so much steering input that it crosses
over into the oncoming traffic before you can bring it
back under control.
Instead, ease off again on the accelerator and steering
input, straddle the pavement once more, then try again.
Passing
The driver of a vehicle about to pass another on a
two-lane highway waits for just the right moment,
accelerates, moves around the vehicle ahead, then goes
back into the right lane again.
A simple maneuver?
Not necessarily! Passing another vehicle on a two-lane
highway is a potentially dangerous move, since the
passing vehicle occupies the same lane as oncoming
traffic for several seconds.
A miscalculation, an error in
judgment, or a brief surrender to frustration or anger can
suddenly put the passing driver face to face with the
worst of all traffic accidents
-- the head-on collision.
Page 159 of 306

0
0
0
Try not to pass more than one vehicle at a time on
two-lane roads. Reconsider before passing the next
vehicle.
Don’t overtake a slowly moving vehicle too rapidly.
Even though the brake lights are not flashing, it may
be slowing down or starting to turn.
If you’re being passed, make it easy for the
following driver to get ahead of you. Perhaps you
can ease a.little to the right.
Loss of Control
Let’s review what driving experts say about what
happens when the three control systems (brakes, steering and acceleration) don’t have enough friction where the
tires meet the road to do what the driver has asked.
In any emergency, don’t give up. Keep trying to steer
and constantly seek an escape route or area of less
danger.
Skidding
In a skid, a driver can lose control of the vehicle.
Defensive drivers avoid most skids by taking reasonable
care suited to existing conditions, and by not
“overdriving” those conditions. But skids are always
possible. The three types
of skids correspond
to your Buick’s
three control systems. In the braking skid your wheels
aren’t rolling.
In the steering or cornering skid, too
much speed or steering in a curve causes tires to slip and
lose cornering force. And in the acceleration skid too
much throttle causes the driving wheels to spin.
A cornering skid and an acceleration skid are best
handled by easing your foot off the accelerator pedal.
If your vehicle starts to slide (as when you- turn a corner
on a wet, snow- or ice-covered road), ease your foot
off
the accelerator pedal as soon as you feel the vehicle start
to slide. Quickly steer the way you want the vehicle to
go. If you start steering quickly enough, your vehicle
will straighten out. As it does, straighten the front
wheels.
Of course, traction is reduced when water, snow, ice,
gravel, or other material is on the road. For safety, you’l\
l
..
want to slow down and adjust your driving to these
conditions. It is important to slow down on slippery
surfaces because stopping distance will be longer and
vehicle control more limited.
While driving on a surface with reduced traction, try
your best to avoid sudden steering, acceleration, or
braking (including engine braking by shifting to a lower gear). Any sudden changes could cause the tires to slide.
You may not realize the surface is slippery until your
I
Page 184 of 306

Passing
You’ll need more passing distance up ahead when
you’re towing a trailer. And, because you’re a good deal \
longer, you’ll need to go much farther beyond the
passed vehicle before you can return to your lane.
d
Backing Up
Hold the bottom of the steering wheel with one hand.
Then, to move the trailer to the left, just move that hand
to the left. To move the trailer to the right, move your
hand to the right. Always. back up slowly and, if
possible, have someone guide you.
Making Turns
When you’re turning with a trailer, make wider turns
than normal.
Do this so your trailer won’t strike soft
shoulders, curbs, road signs, trees, or other objects.
Avoid jerky or sudden maneuvers. Signal well in
advance.
nrn Signals When Towing a Trailer
When you tow a trailer, your vehicle has to have a
different turn signal flasher and extra wiring. The green
arrows on your instrument panel will flash whenever you signal a turn or lane change. Properly hooked up, the trailer lights will also flash, telling other drivers
you’re about to turn, change lanes or stop.
When towing a trailer, the green arrows on your
instrument panel will flash for turns even if the bulbs on
the trailer are burned out. Thus, you may think drivers
behind you are seeing your signal when they are not. It’s
important to check occasionally to be sure the trailer
bulbs are still working.
Driving On Grades
Reduce speed and shift to a lower gear before you start
down a long
or steep downgrade. If you don’t shift
down, you might have to use your’brakes
so much that
they would get hot and no longer work well.
On a long uphill grade, use the highest gear. possible. If
you cannot maintain posted speeds, driving at a lower
speed may help avoid overheating your engine and
transaxle.
Parking on Hills
You really should not park your vehicle, with a trailer
attached, on a hill. If something goes wrong, your rig
could
start to move. People can be injured, and both
your vehicle and the trailer can be damaged.
183
Page 195 of 306

P-
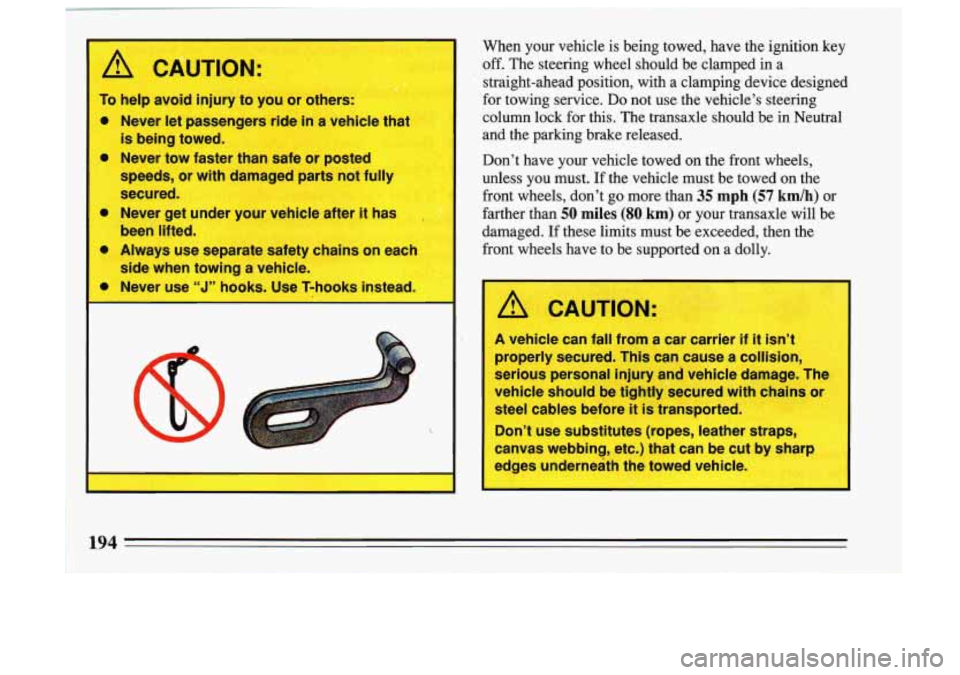
When your vehicle is being towed, have the ignition key
off. The steering wheel should be clamped in a
straight-ahead position, with a clamping device designed
for towing service.
Do not use the vehicle’s steering
column lock for this. The transaxle should be in Neutral
and the parking brake released.
Don’t have your vehicle towed on the front wheels,
unless you must.
If the vehicle must be towed on the
front wheels, don’t go more than
35 mph (57 kmh) or
farther than
50 miles (80 km) or your transaxle will be
damaged. If these limits must be exceeded, then the
front wheels have to be supported on a dolly.
CAUTION:
I A vehicle 1 fall from a car cal t It isn’t
properly secured. This can cause a collision,
serious personal injury and vehicle damage. The
vehicle should be tightly secured with chains or
steel cables before
it is transported.
on’t use substitutes (ropes, leather straps,
canvas webbing, etc.) that can be cut by
sh; 1
I
I edges underneath the towed vehicle.
Page 205 of 306

.If a Tire Goes Flat Changing a Flat Tire
It’s unusual for a tire to “blow out” while you’re driving,
especially
if you maintain yourtires properly. If air goes
out of a tire, it’s much more likely to leak out slowly.
But if you should ever have a “blowout,” here are a few
tips about what to expect and what to do:
1
If a front tire fails, the flat tire will create a drag that
pulls the vehicle toward that side: Take your foot off the
accelerator pedal and grip the steering wheel firmly. Steer to maintain lane position, then gentlv
I. - to a
stop well out of the traffic lane.
A rear blowout, particularly on a curve, acts much like a
skid and may require the same correction you’d use in a
skid. In any rear blowout, remove your foot from the
accelerator pedal. Get the vehicle under control by steering the way you want the vehicle to go. It may be
very bumpy and noisy, but you can still steer. Gently
brake to
a stop, well off the road if possible.
If your tire goes flat, the next section shows how to use
your jacking equipment to change a flat tire safely.
If a tire goes flat, avoid further tire and wheel damage
by driving slowly
to a level place. Turn on your hazard
warning flashers.
A “-CAUTION:
I Changing a tire can cause an injury. The vehicle
can slip off the jack and roll over you or other
people. You and they could be badly injured. Find
a level place to change your tire.
To help prevent
the vehicle from moving:
1. Set the parking brake K- Ay.
2. Put the shift lever in “P” (Park
3. Turn off the engine.
To be even more certain the vehicle won’t mob
you can put chocks at the front and rear of t
tire farthest away from the one being changed,
I That would be the tire on the oP?r side of the
vehicle, the oppos’-
1 end.
CAUTION: (Continued)
Page 215 of 306

Rocking your vehicle to get it out:
First, turn your steering wheel left and right. That will
clear the area around your front wheels. Then shift back
and forth between “R” and a forward gear
, spinning the
wheels as little as possible. Release the accelerator pedal
while you shift, and press lightly on the accelerator
pedal when the transaxle is in gear. If that doesn’t get
you out after a few tries, you may need
to be towed out.
If you do need to be towed out, see “Towing Your Car”
in the Index.
Page 275 of 306

Explanation of Scheduled Maintenance equipped with grease fittings, lubricate the
Services suspension and steering linkage.
Below are explanations
of the services listed in $chediie ‘ ‘ 3. Throttle Body Mounting; Bolt Torque (3.3L Code . , I:
I and Schedule 11.
The proper fluids and lubricants to use are listed in
Section
D. Make sure whoever services your vehicle
uses these. All parts should be replaced and all
necessary repairs done before you or anyone else drives
the vehicle.
NOTE:
To determine your engine’s displacement and
code, see “Engine 1dentific.ation” in the Index.
1. Engine Oil and Filter Change* -- Always use SG
Energy Conserving
I1 oils of proper viscosity. The
“SG, designation may be shown alone or in
combination with others, such as “SG/CC”,
“SG/CD” or “SF,
SG, CC,” etc. To determine the
preferred viscosity for your vehicle’s engine (e.g.,
SAE 5W-30 or SAE 10W-30), see “Engine Oil” in
the Index.
2. Chassis Lubrication -- Lubricate the transaxle shift
linkage, parking brake cable guides, underbody
contact points and linkage. If your vehicle is
An Emission Control Service.
N engine only)* -- Che& the torque of the
mounting bolts and/or nuts.
proper wear and maximum tire life, rotate your tires
following the instructions in this manual. See “Tires,
Inspection
& Rotation” in the Index, Check the tires
for uneven wear or damage. If you see irregular or
premature wear, check
the wheel alignment. Check
for damaged wheels also.
5. Engine Accessory Drive Belt@) Inspection --
Inspect the belt(s) for cracks, fraying, wear and
proper tension. Replace as needed.
6. Cooling System Service* -- Drain, flush and refill
the system with new or approved recycled coolant
conforming to GM Specification 1825M. Keep
coolant at the proper mixture as specified. See
“Coolant” in the Index. This provides proper freeze
protection, corrosion inhibitor level and engine operating temperature.
4. Tire and Wheel Rotation and Inspection -- For
The U.S. Environmental Protection Agency has determined that the failure to perform this maintenance item will not nullify the emission war\
ranty or limit recall liability prior to the completion of vehicle
useful life. General Motors, however, urges that all recommended maintenance services be performed at the indicated i\
ntervals and the maintenance be recorded in “Section EMaintenance Record”.
274
Page 281 of 306

INSPECTION
OR SERVICE
Steering,
Suspension and
Front-Wheel-
Drive Axle
Boot and Seal
Inspection
Exhaust System
Inspection
Throttle
Linkage Inspection
WHAT SHOULD BE DONE
hspect the front and rear suspension
and steering system for damaged,
loose or missing parts, signs of wear,
or lack of lubrication. Inspect the
power steering lines and hoses for
proper hookup, binding, leaks, cracks, chafing, etc. Clean and then
inspect the drive axle boot seals for
damage, tears or leakage. Replace
seals
if necessary.
Inspect the complete exhaust system. Inspect the body near the
exhaust system. Look for broken,
damaged, missing or out-of-position
parts as well as open seams, holes,
loose connections,
or other
conditions which could cause a heat
build-up in the floor pan or could let
exhaust fumes into the vehicle. See
“Engine Exhaust” in the Index.
Inspect the throttle linkage for interference or binding, and for
damaged or missing parts. Replace
parts as needed.
“:
INSPECTION
OR SERVICE
Brake System
Inspection
WHAT SHOULD BE DONE
Inspect the complete system. Inspect
brake
lines and hoses for proper
hookup, binding, leaks, cracks, chafing,
etc.
Inspect disc brake pads for wear
and rotors for swrface condition.
Also
inspect Qwn brake linings for wear and
cracks. Inspect other brake
parts
including drums, wheel cylinders,
calipers parking brake, etc. The parking
brake is self-adjusting and no manual adjustment
is required. You may need
to have your brakes inspected more often
if your driving habits or
conditions result in frequent braking.
NOTE: A low brake fluid level can
indicate worn disc brake pads which
may
need to be serviced. Also, if the
brake system warning light stays on or
comes on, something may
be wrong
with the brake system. See “Brake System
Warning Light” in the Index. If
your anti-lock brake system warning
light stays
on, comes on or flashes,
something may
be wrong with the
anti-lock brake system. See “Anti-Lock
Brake System Warning Light”
in the
Index.
280 .~ . ~