Page 97 of 340
If you leave your Cruise Control si ch on when
you’re not using Cruise, you. might hit a button
and go into Cruise when you don’t want
to.. Yoe
could be startled and even lose control. Keel
I the Cruise Control switch “OFF’’ until you want
to use
it.
2. Get up to the speed you want.
3. Push in the set button
at the
end of ihe lever
and release
it.
(The “CRUISE’ light an
the instrument panel will
corne an.)
4. Take your foot off the. accelerator pedal.
To Resume a Set Speed
Suppose you set your Cruise Control at a desired speed
and then you apply the brake. This,
of course, shutsoff
the Cruise Control. But you don’t need to reset it. Once
you’re going- about 25 mph (40 h/h) or more, you can
move the Cruise Control switch from “ON’ to
“Resurne/Accelerate” for about half
a second.
95
Page 116 of 340

Speedometer and Odometer
Your speedometer lets you See your speed in both miles
per hour (mph) and kilometers per hour (km/h). Your
odometer shows how far your vehicle has been driven,:...
in either miles (used in the
U.S.) or klometers (usedbj:l::.r
Canad,a).
UT Buicli hasa "tamper7&ist.mt-odometer." If you ' .
;can see silyet lines betweiin. ttie numbers, probably "
!somehe has. tried to turn it, back. The,.numbers may not
. .. .I
..
:be accurate.
'You .may wonder what happens if.a car has to have a
. .
;new odometer installed. The new one should be set to
"the same reading as the old one. If that is not possible,
"hen it's set at zero, and a label on. the driver's door must
:show the old reading and when the new one was
::installed.
..
Trip Odometer
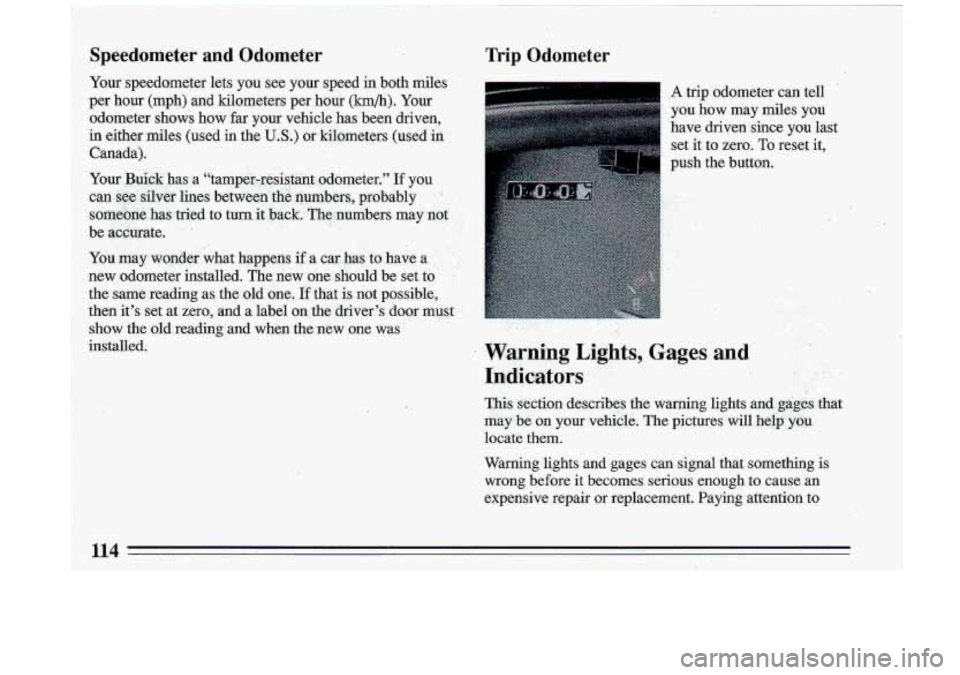
A trip odometer can tell
you how may 'miles you
have driven since you last
set it to zero.
To reset it,
sh the button.
- .. :,:j:?+jp$ 4 , '4'
Warning Lights, Gages and , .) ,~~~~~'~~$$~:' . I l, ?&&- I , ,
_* .;,,".' , . ' y;.. _' ' -" , *: .?..< 7' , .I. ' , 3,;. &.*:;>$y+ , 1. . ->?&$&..
This, section describes the warning lights and gkges that
may'
be on your vehicle. The pictures will help yb~'
locate them.
Warning 'lights and gages can signal that something is
wrong before it becomes
serious enough to cause an
expensive repair or replacement. Paying attention to
,.
- 1:7.
1.n.dicators - ._
Page 123 of 340

iI
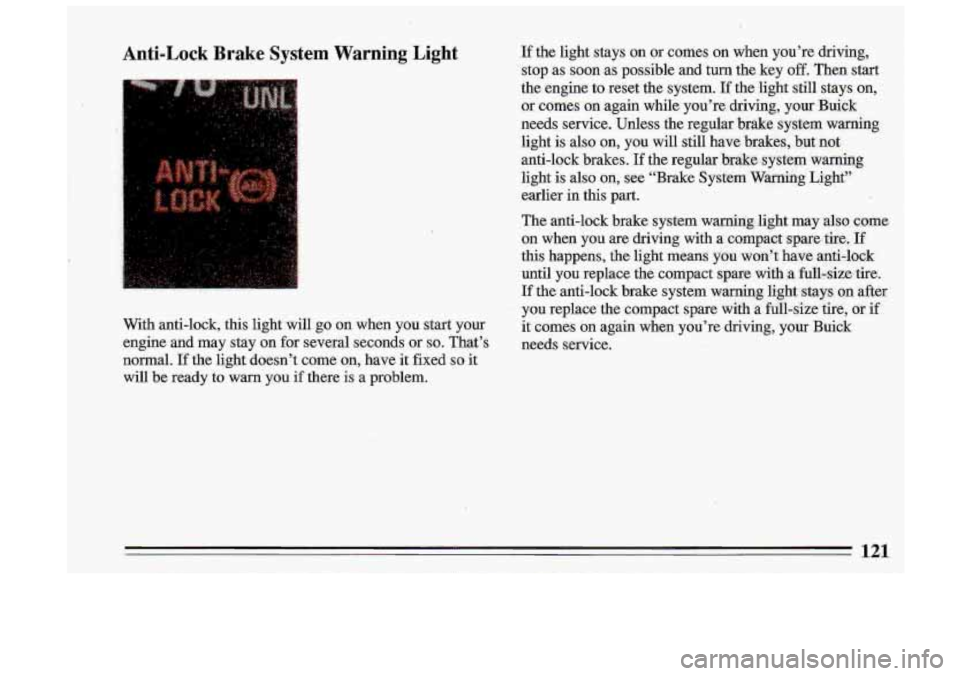
Anti-Lock Brake System Warning Light
. -, i’
.. I. ,:,:
With anti-lock, this light will go on when you start your
engine and may stay on for several seconds or
so. That’s
normal.
If the light doesn’t come on, have it fixed so it
will be ready to warn you if there is a problem.
If the light stays on or comes on when you’re driving,
stop as soon as possible and turn the key
off. Then start
the engine to reset the system.
If the light still stays on,
or comes on again while you’re driving, your Buiek
needs service. Unless the regular ‘brake system warning
light is also
on, you will still have brakes, but not
anti-lock brakes.
If the regular brake system warning
light is also
on, see “Brake System Warning Light”
earlier
in this part.
The anti-lock brake system warning .light may also come
on when you are driving with
a compact spare. tire, If
this happens, the light means you won’t have anti-lo,ck
until you replace the compact spare ,with
.a fuU-simtire.
If the anti-lock brake system warning light stays
on after
you replace the compact spare with a full-size tire, or if
it comes
on again when you’re driving, your Buick
needs service.
121
Page 139 of 340

e Tune in the desired station.
0 Press the SET pushbutton. (SET appears in the
display)
..
Within 5 seconds, push one of the four pushbuttons
to.store the- station. Whenever you press that button
again, the preset station will return.
In addition
to the 4 stations set as above, up to three
additional stations may be preset on each band by
pressing two adjoining buttons at the same time.
T.REBLE
Slide. the TREBLE lever up to increase the TREBLE.
response.
If the station is weak or noisy, slide the treble
lever
down to reduce the noise.
BASS
Tune in the desired station.
0 Press the SET pushbutton. (SET appears in the
display).
e Within 5 seconds, press 'any two adjoining
pushbuttons at the same time. The station- will return
when the. same two pushbuttons are pressed again.
Clock '.'
To set the clock:
0 'Press the SET pushbutton.
0 Within 5 'seconds, press and hold SCAN until the
correct hour appears on the display. Slide the
BASS lever up-to increase the bass response.
Adjust the
BASS lever to give a pleasing sound to your
ear. I
To Play This Radio
o Press and hold SEEK until the correct minute . :, ,,,~ . - ., _..^. , , I
appellss on the display. .- I
137, i
Page 141 of 340

up to three additional stations on each band may be
preset, by pressing two adj.oining pushbuttons at the
sitme time.
TREBLE
Slide the.TREBLE lever up to increase the trewe
response.
If the station is weak or noisy, slide the
TREBLE lever down to reduce the noise.
BASS
Slide the BASS.lever up to increase the bass response.,
Adjust the
BASS lever to give a pleasing sound to your
ear.
DNR@
This is the Dynamic Noise Reduction button, Dm@
helps remove background hiss from the radio or tape
player. You may want to leave it pushed in all the time.
To Play A Cassette
Your tape player is built-to work best with tapes that are
3.0 to 45 minutes long on each side. Tapes longer than
that, are
so thin they may not. work well in this player.
With the radio on, press
.a ta#e into the slot marked
AUTO REVERSE (tap~e side goes in first).
Once the tape is playing, use the upper and lower knobs
for volume, balance and fade just
as you did for radio.
The arrows indicate which side
of the tape is bein,g
played.
139
Page 147 of 340

Within 5 seconds, push one of the five pushbuttons.
SET will disappear from the display when the station
is set.
Whenever you press that button, the preset station
will
return.
Clock
To set the clock:
0 Press the SET pushbutton. ..
a Within .5 seconds, press and .hold SCAN until the
Press and hpld SEEK 4.m .until the correct
correct hour appears
on the display.
minute appears on the di,splay.
To Adjust The Tone
Use the'levers next to .the display to set the bass,
midrange and treble until y0.u get the sound you want.
,
The 60 and 250 levers hdjust the. bass; 1K is ,midrange;
and
3.5K and 1OK control the treble.
We suggest you start w.ith the center lever
(1K) in the
midpoint position. Then move the others
up until you
get the. amount .of bass and treble you like.
To Play A Compact Disc
Before you begin, please note: DO NOT use mini-discs
that are called singles. They won't eject. Use full-size
compact discs only.
I1
If the disc player is very hot, or if you're driving on a
very rough road, a disc may come out or just not.play. If
you see the- word HOT on the display, the disc player
is
too hot to play the disc. .Press RCL to make the word
HOT go off the display.
As soon as things get back to normal, the disc should
play again.
Press
PWR to turn the system on.
Insert a disc partway into the slot, label'side up. The
player will pull it in. Wait a few seconds and the disc
should play.
If the disc comes back out, check to see if,
0 The disc is upside down.
It is dirty, scratched, or wet.
There's too much moisture in the air. (If there is,
wait about an hour and try again.) '!
i
.I .
145
Page 149 of 340
Anti-Theft Feature
Delco-Loc I1 is a security feature for the compact disc
player. It can be used or ignored. If ignored, the system
plays normally.
If it is used, your player won’t be usable
if it’s ever stolen, because it won’t turn on.
The instructions below tell you how
to enter your
personal secret code into the system.
If your vehicle
looses battery power for any reason,
you must unlock
the system with the secret code before the system will
turn on.
Be sure to read through the entire procedure and become
familiar with the appropriate buttons and
knobs before
starting.
Step
1. Write down any 6-digit number and keep it in a
safe place.
Step
2. Turn the ignitioin to the ACCESSORY or RUN
position.
Step
3. Press PWR to turn the radio off.
Step 4. Press presets 1 and 4 buttons together. Hold
them until
“- - -” shows on. the display.
You are
now ready to enter your secret code. If you
pause more than
15 seconds between steps you may
have to,start over.
1
Page 261 of 340
Add coolant mix at the recovery tank, but be careful not
to spill it.
You can be burned if you spill coolant on hot
engine
parts. Coolant: contains ethylene glycol,
and
it will burn if the engine parts are ho
e ~h. Dg -k SI coolant on a hot engr ---
Radiator -Pressure Cap , ..
,... , . ..
I
When you replace your raidiator$re&l ', cap,.an 'I
cap is recommended. ..
. I
.Thermostat
Engine coolant temperature is controlled by a thermostat
in the .engine coolant system. The thermostat stops the- ,
flow of coolant through.the radiator until the coolant
reaches a preset temperature.
When
you replace your thermostat, an,AC@ thermostat. .
is recommended.
259