Page 85 of 324
.I
CAUTlOf _. [lConltlinulecJ~
It can be dangerous to get out of your vehicle i,.
tlhe shiift lever is not flullly in1 T” (Park) with the
parking brake
firmly set. Your vehic’le can roll.
!Don’t leave your veh!icle when the engine
is
running unless you have to. If you’ve left the
engine irunning, th8e vehicle can move su’ddenly.
You or others could
be ‘injured. To be sure your
vehic’le w&t move, even when you,’re
on fairly
level ground,
always set your parking br’ake a’nd
move the shift lever to
‘T’’ (Park).
Follow the proper steps to be sure your vehicle
won’t Imove., See Shifting Into’ ’~P’ (Park) in the
Index,.
If you are parkiing on a hil’l, also see “Pariking on
Hills” in the Index.
Retained Accessory Power
After the ignition is turned off, and before any door is
opened, the following systems will work for ten
minutes:
1’
Power windows
0 Radio
@ Clock (with radio off)
0 Windshield wiper/waSher
0 Astroroof (option) I
83
Page 128 of 324
To Play This Radio It allows you to recall the frequency when the radio
It allows you to hear the other side of the tape. Press
is playing.
the upper knob while cassette is playing.
~ Bal
The control behind the upper knob allows you to
balance the sound between the right and left speakers.
! The Lower Knob
I Turn the lower knob to tune radio stations. Push it to get
I AMor FM.
Fade
The control behind the lower knob moves the sotifid
between your front and rear speakers.
Power
Press the On-Off button to turn the radio On or Off. Seek
The Upper Knob the next higher station and stop.
The upper
knob does these things:
It controls the volume. Rotate clockwise to increase Pressing the seek button will cause the receiver to seek
Scan
When you press scan,
the radio will go to the next
station and pause and keep scanning until you press scan
the volume.
It tells YOU the time. When
the ignition is off, push to again.
display the time.
126 -
Page 129 of 324

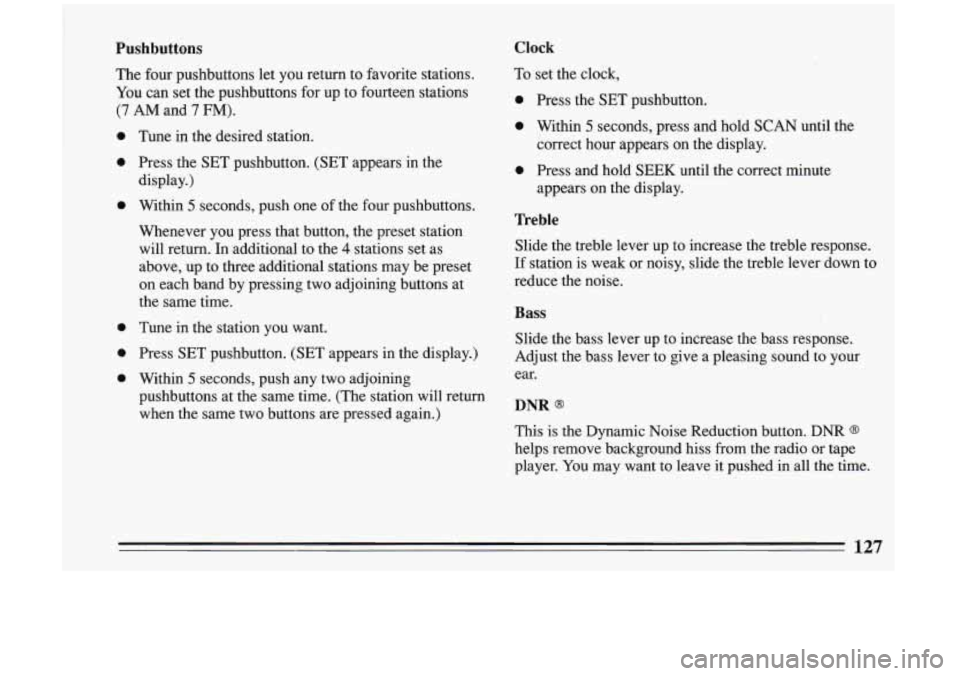
Pushbuttons
The four pushbuttons let you return to favorite stations.
You can set the pushbuttons for up to fourteen stations
(7 AM and 7 FM).
0
0
0
0
0
0
Tune in the desired station.
Press the SET pushbutton. (SET appears in the
display.)
Within
5 seconds, push one of the four pushbuttons.
Whenever you press that button, the preset station
will return. In additional to the
4 stations set as
above, up to three additional stations may be preset
on each band by pressing two adjoining buttons at
the same time.
Tune in the station you want.
Press SET pushbutton. (SET appears in the display.)
Within
5 seconds, push any two adjoining
pushbuttons at the same time. (The station will return
when the same two buttons are pressed again.)
Clock
To set the clock,
0 Press the SET pushbutton.
0 Within 5 seconds, press and hold SCAN until the
0 Press and hold SEEK until the correct minute correct hour appears on
the display.
appears on the display.
Treble
Slide the treble lever up to increase the treble response.
If station is weak or noisy, slide the treble lever down to
reduce the noise.
Bass
Slide the bass lever up to increase the bass response.
Adjust the bass lever to give a pleasing sound to your
ear.
DNR Q
This is the Dynamic Noise Reduction button. DNR Q
helps remove background hiss from the radio or tape
player. You may want to leave
it pushed in all the time.
127
Page 132 of 324

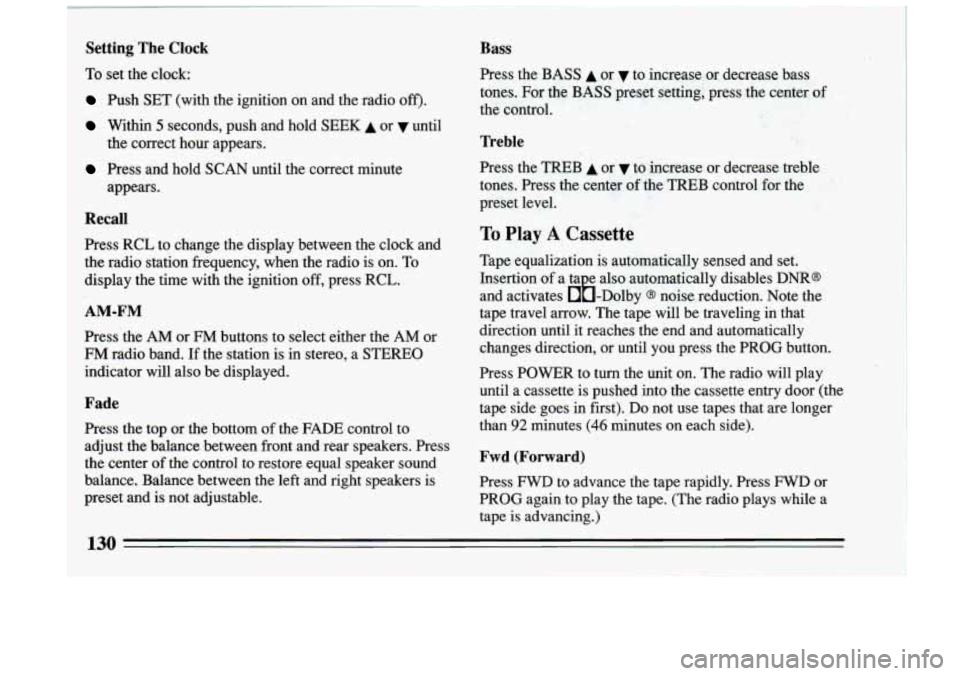
Setting The Clock
To set the clock:
Push SET (with the ignition on and the radio off').
Within 5 seconds, push and hold SEEK A or until
Press and hold SCAN until the correct minute the correct hour appears.
appears.
Recall
1 Press RCL to change the display between the clock and
the radio station frequency, when the radio is on. To
display the time with the ignition
off, press RCL.
AM-FM
Press the AM or FM buttons to select either the AM or
FM radio band. If the station is in stereo, a STEREO
indicator will also be displayed.
Fade
Press the top or the bottom of the FADE control to
adjust the balance between front and rear speakers. Press
the center
of the control to restore equal speaker sound
balance. Balance between the left and right speakers is
preset and is not adjustable.
Bass
Press the.BASS A or v to increase or decrease bass
tones. For the
BASS preset setting, press the center of
the control.
Treble
Press the TREB A or v to increase or decrease treble
tones. Press the center
of the TREB control for the
preset level.
To Play A Cassette
Tape equalization is automatically sensed and set.
Insertion
of a ta e also automatically disables DNR@
and activates &-Dolby
@ noise reduction. Note the
tape travel arrow. The tape will be traveling in that
direction until it reaches the end and automatically
changes direction, or until you press the PROG button.
Press POWER to turn the unit
on. The radio will play
until a cassette is pushed into the cassette entry door (the
tape side goes
in first). Do not use tapes that are longer
than
92 minutes (46 minutes on each side).
Fwd (Forward)
Press FWD to advance the tape rapidly. Press FWD or
PROG again to play the tape. (The radio plays while a
tape is advancing.)
130
Page 135 of 324

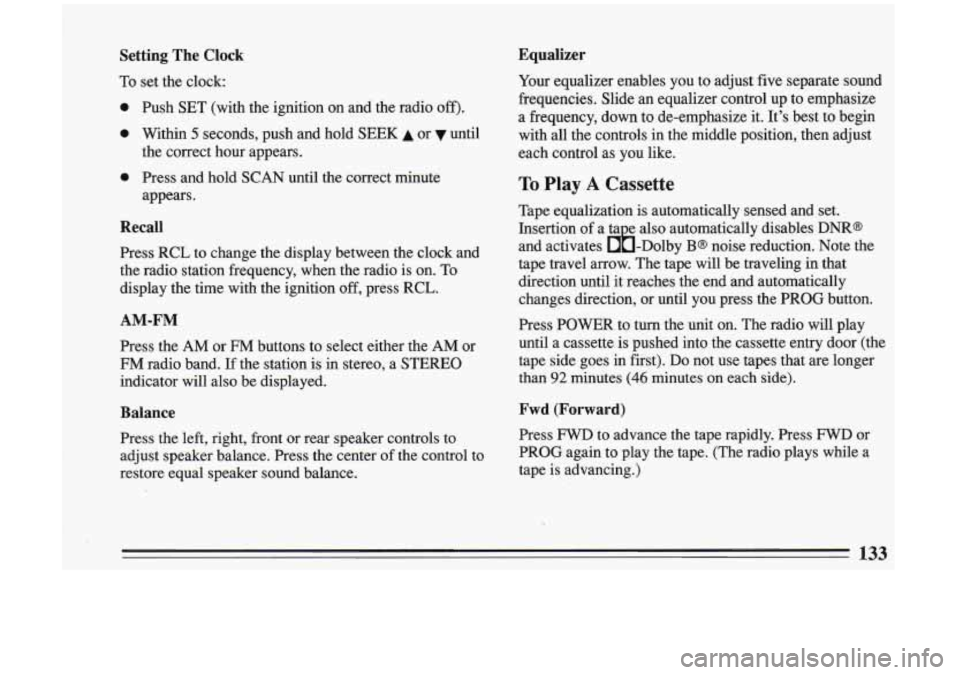
Setting The Clock
To set the clock:
0
0
0
Push SET (with the ignition on and the radio off).
Within 5 seconds, push and hold SEEK A or until
the correct hour appears.
Press and hold
SCAN until the correct minute
appears.
Recall
Press RCL to change the display between the clock and
the radio station frequency, when the radio is on.
To
display the time with the ignition off, press RCL.
AM-FM
Press the AM or FM buttons to select either the AM or
FM radio band. If the station is in stereo, a STEREO
indicator will also be displayed.
Balance
Press the left, right, front or rear speaker controls to
adjust speaker balance. Press the center of the control to
restore equal speaker sound balance.
Equalizer
Your equalizer enables you to adjust five separate sound
frequencies. Slide an equalizer control up to emphasize
a frequency, down to de-emphasize it. It's best to begin
with all the controls in the middle position, then adjust
each control as you like.
To Play A Cassette
Tape equalization is automatically sensed and set.
Insertion of a ta e also automatically disables
DNR@
and activates &-Dolby B@ noise reduction. Note the
tape travel arrow. The tape will be traveling in that
direction until it reaches the end and automatically
changes direction, or until
you press the PROG button.
Press POWER
to turn the 'unit on. The radio will play
until a cassette is pushed into the cassette entry door (the
tape side goes in first). Do not use tapes that are longer
than
92 minutes (46 minutes on each side).
Fwd (Forward)
Press FWD to advance the tape rapidly. Press FWD or
PROG again to play the tape. (The radio plays while a
tape is advancing.)
133
Page 210 of 324
-1 Position the jack under the
3
vehicle. There is a notch in
thk frame near each of the
A CAUTION:
Getting under a vehicle when it is jacked up is
dangerous.
If the vehicle slips off the jack, you
could be badly injured
or kill,ed. Never get under
a vehicle when it
is supported only by a jack.
Raise the vehicle by rotating the wheel wrench
clockwise. Raise the vehicle far enough
off the ground
so there is enough room for the spare tire to fit.
Remove all the wheel nuts and take
off the flat tire.
20s
Page 212 of 324
I Place the spare on the
wheel
.mounting
surface.
' Replace the wheel nuts with
the rounded-end of the nuts
toward the wheel. Tighten'
each nut by hand
until the
wheel
is held against the ' -
hub.
, counterclockwise. Lower the jack completely.
Lower the vehicle
by rotating the wheel wrench
/r CAUTIO'N:
Never use ail or grease on studs 1 nuts. If you
d,o, the nuts might !corne l~oose. Your w,heel
muld fall 'off, causing a serious accident.
Page 222 of 324
Or you can use the release
lever
in the trunk.
While refueling, hang the cap inside the fuel door.
To take off the cap, turn it slowly to the left
(counterclockwise).
220