1993 BUICK RIVIERA change time
[x] Cancel search: change timePage 68 of 324
Battery Replacement
Under normal use, the batteries in your key chain
transmitter should last about two years.
You can tell the batteries are weak if the transmitter
won't work at the normal range in any location. If you
have to get close to your vehicle before the transmitter
works, it's probably time to change the batteries.
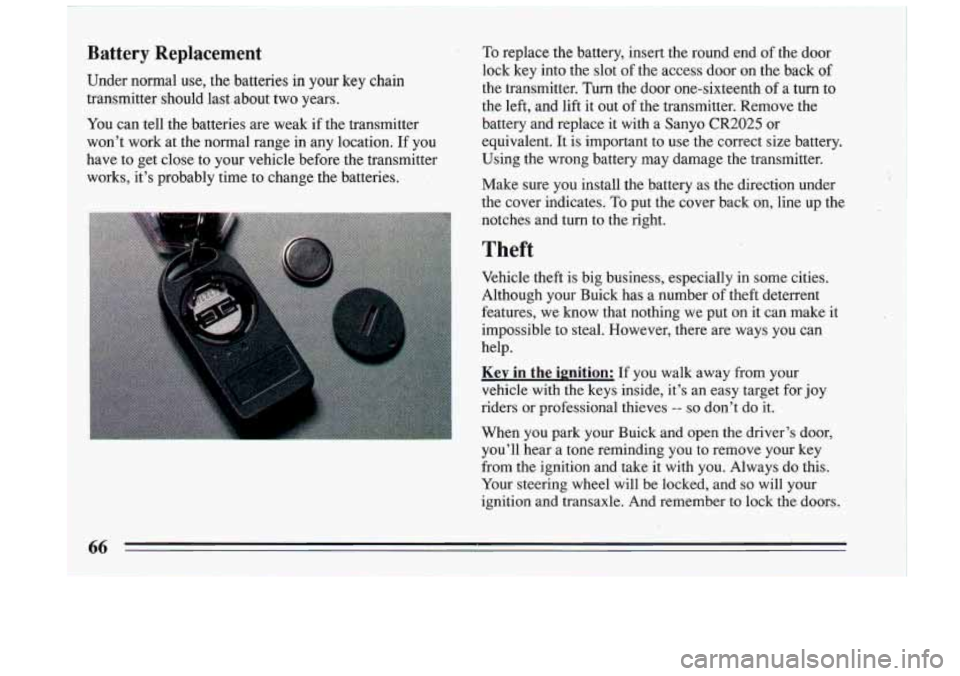
To replace the battery, insert the round end of the door
lock key into the slot of the access door on the back
of
the transmitter. Turn the door one-sixteenth of a turn to
the left, and'lift it out
of the transmitter. Remove the
battery and replace it with a Sanyo
CR2025 or
equivalent. It is important to use the correct size battery.
Using the wrong battery may damage the transmitter.
Make sure you install the battery as the direction under
the cover indicates.
To put the cover back on, line up the
notches and turn to the right.
Theft
Vehicle theft is big business, especially in some cities.
Although your hick has a number
of theft deterrent
features, we know that nothing we put on it can make it
impossible
to steal. However, there are ways you can
help.
Key in the ignition: If you walk away from your
vehicle with the keys inside, it's an easy target for joy
riders or professional thieves
-- so don't do it.
When you park your Buick and open the driver's door, you'll hear a tone reminding you to remove your key
from the ignition and take it with you. Always do this.
Your steering wheel will be locked, and
so will your
ignition and transaxle. And remember to lock the doors.
66
Page 88 of 324
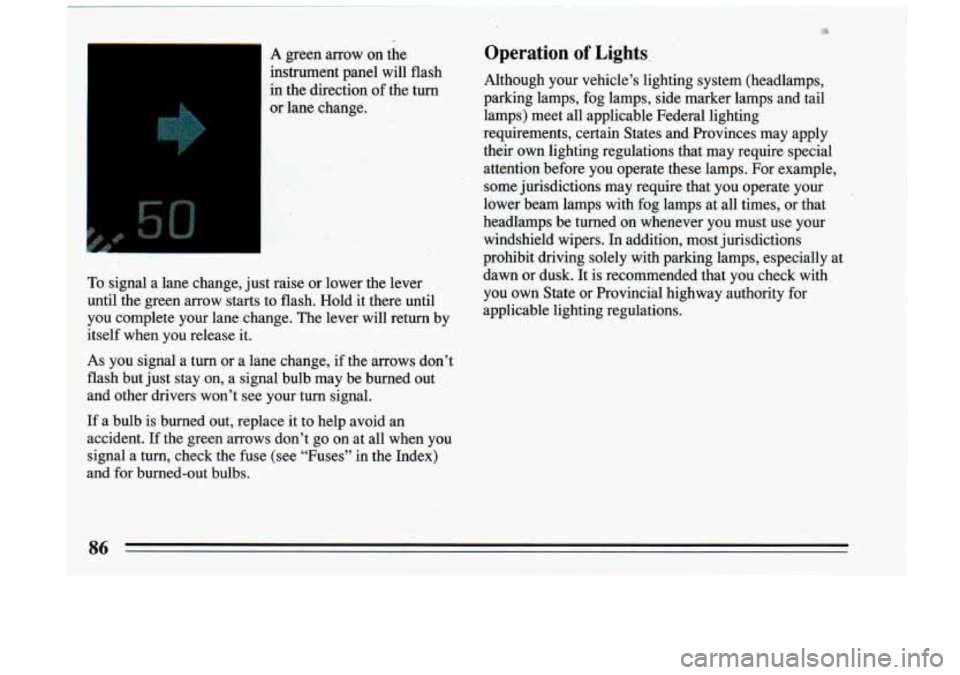
L
in the direciion of the turn
or lane change.
To signal a lane change, just raise or lower
the lever
until the green arrow starts to flash. Hold it there until
you complete your lane change. The lever will return by
itself when you release it.
As you signal a turn or a lane change, if the arrows don’t
flash but just stay on, a signal bulb may be burned out
‘and other drivers won’t see your turn signal.
Operation of Lights.
Although your vehicle’s lighting system (headlamps,
parking lamps, fog lamps, side marker lamps and tail
lamps) meet all applicable Federal lighting
requirements, certain States and Rovinces may apply
their
own lighting regulations that may require special
attention before you operate these lamps. For example,
some jurisdictions may require that you operate your
lower beam lamps with fog lamps at all times, or that
headlamps be turned on whenever you must use your
windshield wipers. In addition, most jurisdictions
prohibit driving solely with parking lamps, especially at
dawn or dusk. It is recommended that you check with you own State or Provincial highway authority
for
applicable lighting regulations.
1
If a bulb is burned out, replace it to help avoid an
accident.
If the green arrows don’t go on at all when you
signal a turn, check the fuse (see “Fuses” in the Index)
hnd-fQr bumed-Qvt bulbs. i
3
Page 99 of 324
Twilight Sentinel
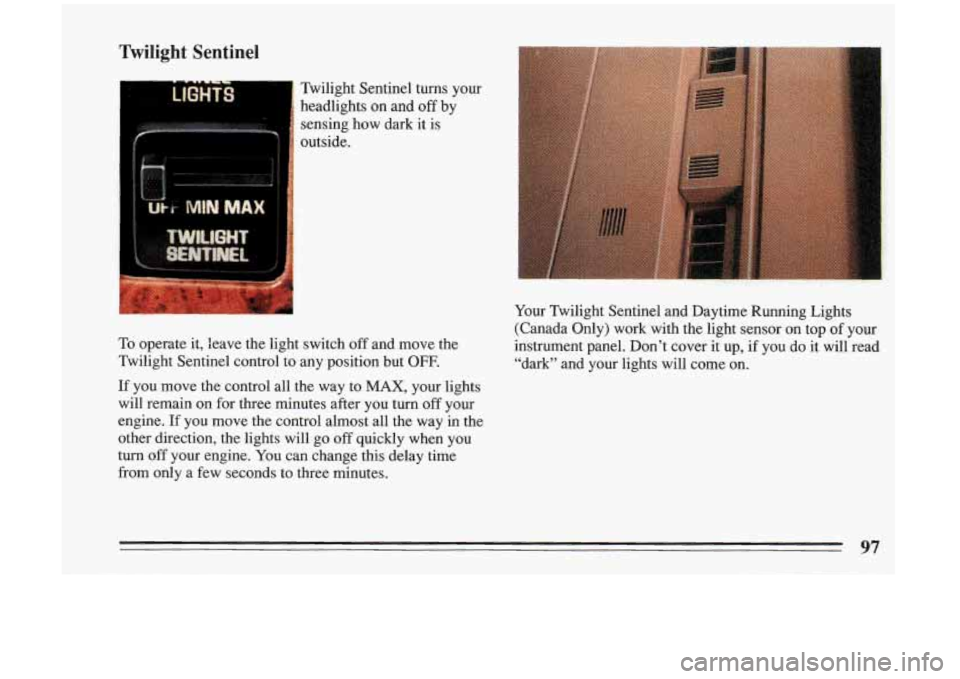
Twilight Sentinel turns your headlights
on and off by
sensing how dark it
is
outside.
To operate
it, leave the light switch off and move the
Twilight Sentinel control to any position but
OFF.
If you move the control. all the way to MAX, your lights
will remain on for three minutes after you turn
off your
engine.
If you move the control almost all the way in the
other direction, the lights will
go off quickly when you
turn off your engine. You can change this delay time
from only a few seconds to three minutes. Your
Twilight Sentinel and Daytime Running Lights
(Canada Only) work with the light sensor
on top of your
instrument panel. Don’t cover it up, if you
do it will read
“dark” and your lights will come on.
97
Page 100 of 324
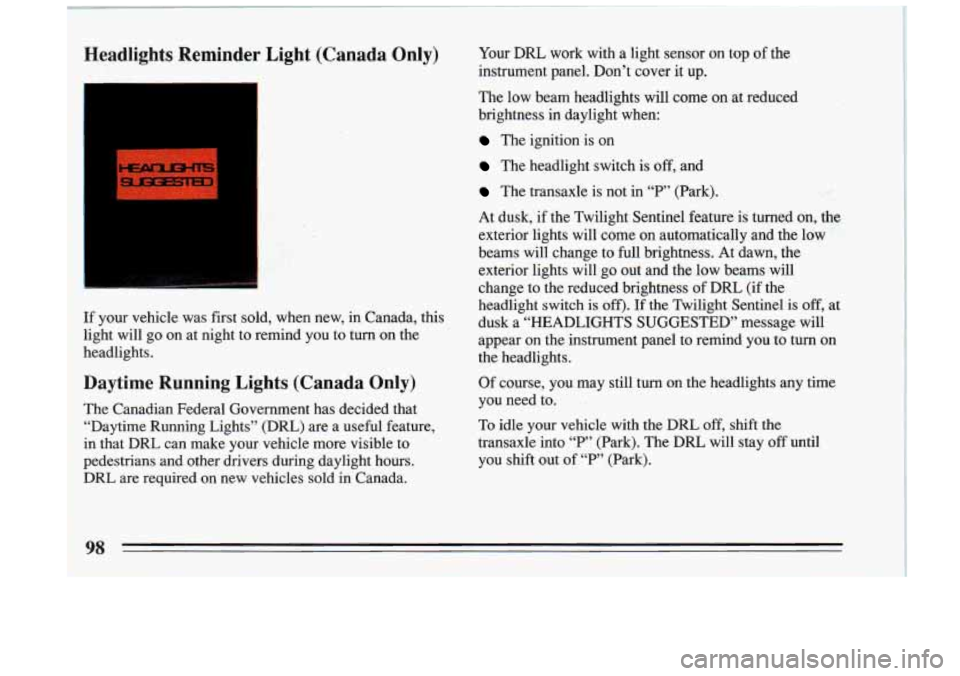
-Headlights Reminder Light (Canada Only)
If your vehicle was first sold, when new, in Canada, this
light will go on at night to remind you to turn on the
headlights.
Daytime Running Lights (Canada Only)
The Canadian Federal Government has decided that
“Daytime Running Lights” (DRL) are a useful feature,
in that DRL can make your vehicle more visible to
pedestrians and other drivers during daylight hours.
DRL are required on new vehicles sold in Canada. Your
DRL work with a light sensor on
top of the
instrument panel. Don’t cover it up.
The low beam headlights will come
on at reduced
brightness in daylight when:
The ignition is on.
The headlight switch is off, and
The transaxle is not in “P” (Park).
At dusk, if the Twilight Sentinel feature is turned
on, the
exterior lights will come on automatically and the low
beams will change to
full brightness. At dawn, the
exterior lights will
go out and the low beams will
change to the reduced brightness of DRL (if the
headlight switch is
off). If the Twilight Sentinel is off, at
dusk a “HEADLIGHTS SUGGESTED” message will
appear on the instrument panel to remind you to turn. on
the headlights.
Of course, you may still turn on the headlights any time
you need to.
.
To idle your vehicle with the DRL off, shift the
transaxle into
T“ (Park). The DRL will stay off until
you shift out of “P”.(Park).
98
Page 102 of 324
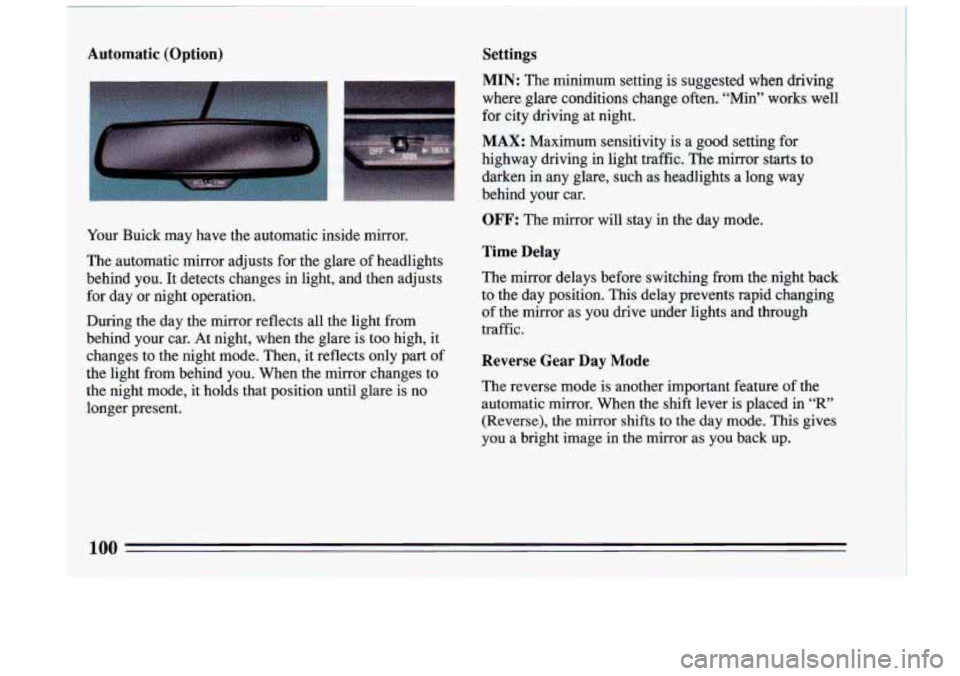
Automatic (Option) Settings
Your Buick may have the automatic inside mirror.
The automatic mirror adjusts for the glare of headlights
behind you.
It detects changes in light, and then adjusts
for day or night operatiol-~
During the day the mirror reflects all the light from
behind your car. At night, when the glare is too high, it
changes to the night mode. Then,
it reflects only part of
the light from behind you. When the mirror changes to
the night mode, it holds that position until glare is no
longer present.
MIN: The minimum setting is suggested when driving
where glare conditions change
often. '"in" works well
for city driving at night.
MAX: Maximum sensitivity is a good setting for
highway driving in light traffic. The mirror
starts to
darken in any glare, such as headlights a long way
behind your car.
OFF: The mirror will stay in the day mode.
Time Delay
The mirror delays before switching from the night back
to the day position.
This delay prevents rapid changing
of the mirror as you drive under lights and through
traffic.
Reverse Gear Day Mode
The reverse mode is another important feature of the
automatic mirror. When the shift lever is placed in
"R"
(Reverse), the mirror shifts to the day mode. This gives
you a bright image in the mirror as you back up.
I
100
Page 108 of 324
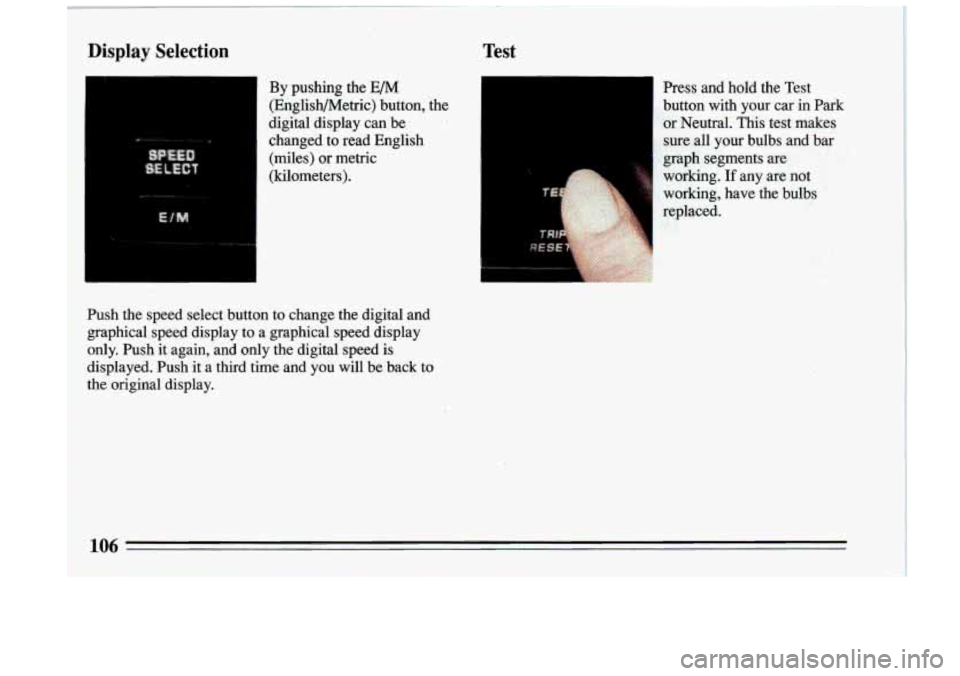
Press and hold the Test
button with your car in Park
or Neutral. This test makes
sure all your bulbs and bar
graph segments are
working.
If any are not
working, have the bulbs
replaced.
Display Selection Test
By pushing the E/M
(Englishmetric) button, the
digital display can be
changed to read English
(miles) or metric
(kilometers).
Push the speed select button to change the digital and
graphical speed display to a graphical speed display
only. Push it again, and only the digital speed is
displayed. Push
it a third time and you will be back to i i the original display.
106
I
Page 132 of 324
Setting The Clock
To set the clock:
Push SET (with the ignition on and the radio off').
Within 5 seconds, push and hold SEEK A or until
Press and hold SCAN until the correct minute the correct hour appears.
appears.
Recall
1 Press RCL to change the display between the clock and
the radio station frequency, when the radio is on. To
display the time with the ignition
off, press RCL.
AM-FM
Press the AM or FM buttons to select either the AM or
FM radio band. If the station is in stereo, a STEREO
indicator will also be displayed.
Fade
Press the top or the bottom of the FADE control to
adjust the balance between front and rear speakers. Press
the center
of the control to restore equal speaker sound
balance. Balance between the left and right speakers is
preset and is not adjustable.
Bass
Press the.BASS A or v to increase or decrease bass
tones. For the
BASS preset setting, press the center of
the control.
Treble
Press the TREB A or v to increase or decrease treble
tones. Press the center
of the TREB control for the
preset level.
To Play A Cassette
Tape equalization is automatically sensed and set.
Insertion
of a ta e also automatically disables DNR@
and activates &-Dolby
@ noise reduction. Note the
tape travel arrow. The tape will be traveling in that
direction until it reaches the end and automatically
changes direction, or until you press the PROG button.
Press POWER to turn the unit
on. The radio will play
until a cassette is pushed into the cassette entry door (the
tape side goes
in first). Do not use tapes that are longer
than
92 minutes (46 minutes on each side).
Fwd (Forward)
Press FWD to advance the tape rapidly. Press FWD or
PROG again to play the tape. (The radio plays while a
tape is advancing.)
130
Page 135 of 324
Setting The Clock
To set the clock:
0
0
0
Push SET (with the ignition on and the radio off).
Within 5 seconds, push and hold SEEK A or until
the correct hour appears.
Press and hold
SCAN until the correct minute
appears.
Recall
Press RCL to change the display between the clock and
the radio station frequency, when the radio is on.
To
display the time with the ignition off, press RCL.
AM-FM
Press the AM or FM buttons to select either the AM or
FM radio band. If the station is in stereo, a STEREO
indicator will also be displayed.
Balance
Press the left, right, front or rear speaker controls to
adjust speaker balance. Press the center of the control to
restore equal speaker sound balance.
Equalizer
Your equalizer enables you to adjust five separate sound
frequencies. Slide an equalizer control up to emphasize
a frequency, down to de-emphasize it. It's best to begin
with all the controls in the middle position, then adjust
each control as you like.
To Play A Cassette
Tape equalization is automatically sensed and set.
Insertion of a ta e also automatically disables
DNR@
and activates &-Dolby B@ noise reduction. Note the
tape travel arrow. The tape will be traveling in that
direction until it reaches the end and automatically
changes direction, or until
you press the PROG button.
Press POWER
to turn the 'unit on. The radio will play
until a cassette is pushed into the cassette entry door (the
tape side goes in first). Do not use tapes that are longer
than
92 minutes (46 minutes on each side).
Fwd (Forward)
Press FWD to advance the tape rapidly. Press FWD or
PROG again to play the tape. (The radio plays while a
tape is advancing.)
133