1993 BUICK CENTURY CD player
[x] Cancel search: CD playerPage 115 of 324
Part 3 Comfort Controls and Audio Systems
In this part you’ll find out how to operate the comfort control systems Ad audio systems offered with your Buick.
Be sure to read about the particular system supplied with your ve\
hicle.
Part 3 includes:
Comfort Control System ............................................................... .114
Airconditioner.. ......................................................................
ventilation ....................................................................... \
.w
Heater and Defroster ................................................................
Rear Wi.ndow Defogger ................................................................ w
Tape Player Contrds. .............................................................. .QO
CDPlayerControls... .................................................,............~3
Care of Cassette Tape Player & Tapes ................................................. .~9
Care of Compact Discs .............................................................. .no
Power Armma Mast Care ........................................................... -131
Audio systems ........................................................................\
. ufj
RadiocOntrOlS.... .....................................,,..............,...........118
ProCarManuals.com
Page 122 of 324
AM/F" Stereo Radio with Cassette Player
L,
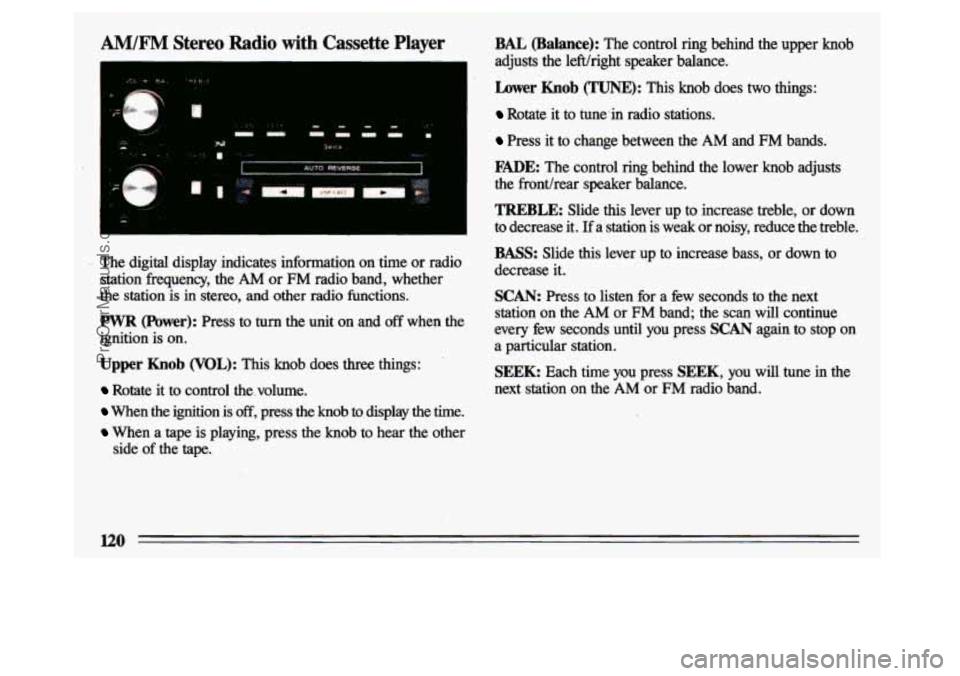
The digital display indicates information on time or radio station frequency, the
AM or FM radio band, whether
the station is in stereo, and
other radio functions.
PWR (Power): Press to turn the unit on and off when the
ignition is on.
Upper Knob (VOL): This knob does three things:
Rotate it to control the volume.
When the ignition is off, press the knob to display the time.
When a tape is playing, press the knob to hear the other
side
of the tape.
BAL (Balance): The control ring behind the upper knob
adjusts the 1eWright speaker balance.
hwer Knob (TUNE): This knob does two things:
Rotate it to tune-in radio stations.
Press it to change between the AM and FM bands.
FmE: The control ring behind the lower knob adjusts
the fronthear speaker balance.
TREBLE: Slide this lever up to increase treble, or down
to decrease it.
If a station is weak or noisy, reduce the treble.
BASS: Slide this lever up to increase bass, or down to
decrease it.
SCAN: Press to listen for a few seconds to the next
station on the
AM or FM band; the scan will continue
every few seconds until
you press SCAN again to stop on
a particular station.
SEEK Each time you press SEEK, you will tune in the
next station on the AM or FM radio band.
120
ProCarManuals.com
Page 124 of 324
DNRB (Dynamic Noise Reduction): Press this button to
select the Dynamic Noise Reduction system that reduces
background
hiss on AM and EM radio broadcasts, as
well as on cassette tapes.
It’s recommended
to keep the DNR@ button depressed
fix all listening situations.
To Play a Cassette npe:
With the power switch on, insert a tape into the cassette
door. Using
tapes that are longer than 90 minutes (45
minutes on each side) is not recommended.
When
the right indicator arrow is lit, selections listed on
the bottom side of the cassette are playing. When the left
arrow is lit, selections listed on the top side of the
cassette
are playing. To change sides of the tape, press
the upper control knob (VOL) while the cassette is
playing.
The tape player automatically begins playing the
other side when
it reaches the end of the tape.
b (Fast Forward): To rapidly advance the tape, press
the button
with the arrow pointing in the same direction
the
tape is playing. To stop %st forward, lightly press the
STOP-EJECT button.
4 (Reverse): To rapidly reverse the tape, press the
button with the arrow pointing
in the opposite direction
the tape is playing. To stop reverse, lightly press the
STOP-EJECT button.
STOP-EJECT To stop playing a tape, fully press this
button. The cassette will be partially ejected, and the
radio will begin playing.
n2
I
ProCarManuals.com
Page 125 of 324
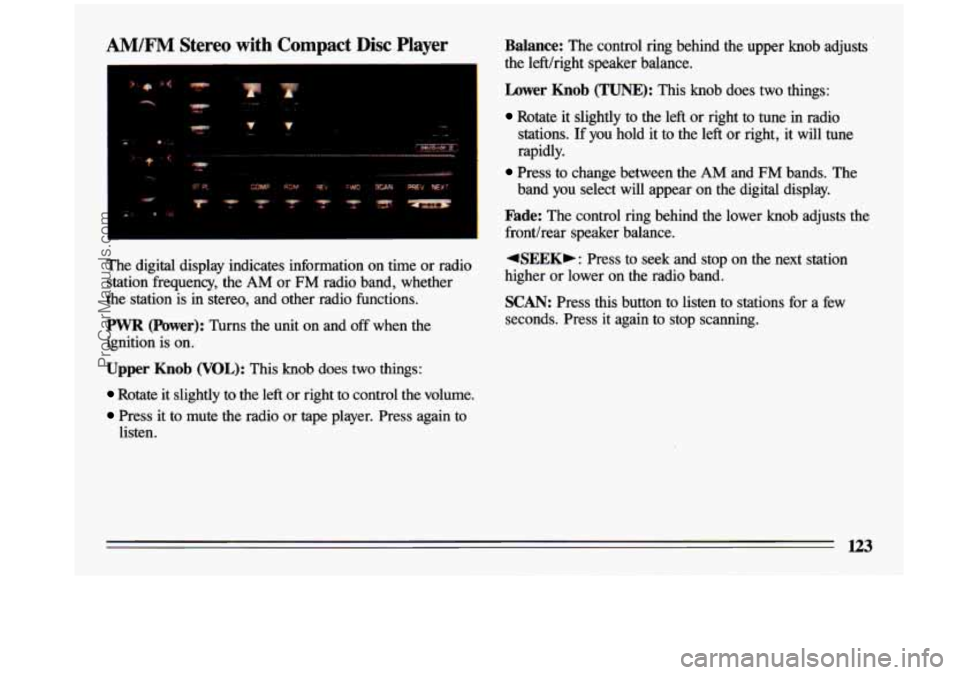
AM/F” Stereo with Compact Disc Player Balance: The control ring behind the upper knob adjusts
I the lefthight speaker balance.
The digital display indicates information on time or radio station frequency, the AM or FM radio band, whether
the station is in stereo, and other radio functions.
PWR (Power): Turns the unit on and off when the
ignition is on.
Lower Knob (TUNE): This knob does two things:
Rotate it slightly to the left or right to tune in radio
stations. If you hold it to the left or right, it will tune
rapidly.
Press to change between the AM and FM bands. The
band you select will appear on the digital display.
Fade: The control ring behind the lower knob adjusts the
fronthear speaker balance.
4SEEKb: Press to seek and stop on the next station
higher or lower on the radio band.
SCAN: Press this button to listen to stations for a few
seconds. Press it again to stop scanning.
Upper Knob (VOL): This knob does two things:
Rotate it slightly to the left or right to control the volume\
.
Press it to mute the radio or tape player. Press again to
listen.
ProCarManuals.com
Page 127 of 324

To Preset Radio Stations:
The five pushbuttons at the lower right can be used to
preset up to ten radio stations (five AM and five FM).
The buttons have other uses
when you are playing a
compact disc.
1. Tune the digital display to the station you want.
2. Press SET. The SET indicator will appear on the
digital screen for five seconds.
3. While the SET indicator is displayed, press one of the
five pushbuttons.
4. Repeat steps 1-3 for each of five AM and five FM
stations.
To Play a Compact Disc:
Many of the controls for the radio also have functions for
the compact disc player, as explained here.
Don’t use mini-discs that are called singles. They won’t
eject. Use
only full-size compact discs.
1. Press PWR to turn the radio on.
2. Insert a disc part-way into the slot, with the label side
up. The player will pull it in.
In a few seconds, the
disc should play.
If the disc comes back out and/or
Err appears on the
display:
The disc may be upside down.
0 The disc may be dirty, scratched or wet.
There may be too much moisture in the air (wait about
The player may be too hot, or the road may be too
one hour and try again).
rough
for the disc to play.
As soon as things get back to
normal, the disc should play.
While a disc is playing, the
CD indicator is displayed on
the digital screen, as is the clock.
ProCarManuals.com
Page 129 of 324

When Finished with the Compact Disc Player:
If you press PWR or turn off the ignition, the disc will
stay in the player and
start again when you turn on the
ignition or power switch. The disc will begin playing at
the point where it had been stopped.
ST/PL (Stop/Play): Press to stop the disc player; the
radio will play. Press again to play the disc (the player
will
start playing the disc where it was stopped earlier).
EJCT (Eject): Press to eject the disc; the radio will play.
You can
also eject the disc with the radio or ignition off.
CD Player Anti-Theft Feature
Delco LOC 11 is a security feature for the compact disc
player. It can be used or ignored.
If ignored, the system
plays normally.
If it is used, your player won’t be usable
if it is ever stolen, because it will go to LOC mode any
time battery power is removed. Until an
unLOC code is
entered, it will not turn on.
The instructions below tell you how to enter a secret code
into the system.
If your vehicle loses battery power for
any reason, you must unlock the system with the secret
code before the radio will turn on.
1. Write down any six-digit number and keep it in a safe
2. Turn the ignition to the “Accessory” or “Run” position.
place.
3. Press the PWR button to turn the radio off.
4. Press the 1 and 4 buttons together. Hold them down
until
“- - -” shows on the display. You are ready to
enter your secret code.
ProCarManuals.com
Page 131 of 324

Disabling the Anti-Theft System:
1. Press the 1 and 4 buttons together for five seconds
with ignition on and radio power off. The display will
show
SEC, indicating the unit is in the secure mode.
2. Press the SET button. The display will show 0o0.
3. Enter the first three digits of the code following step 6
of the preceding paragraphs. The display will show the
numbers as entered.
4. Press the lower (BAND) knob. The radio will display
OOO.
5. Enter the second three digits of the code. The display
will show the numbers as entered.
6. Press the lower (BAND) knob. If the display shows
‘‘- - - ,” the disabling sequence was successful (the
numbers matched the user-selected code or the factory
back-up code) and the unit is in the
UNSECURED
mode. If the display shows SEC, the disabling
sequence was unsuccessful and the numbers did not
match either. of the codes and the unit will remain in
the
SECURED mode.
Care of Your Cassette Tape Player
A tape player that is not cleaned regularly can cause
reduced sound quality, ruined cassettes, or a damaged
mechanism. Cassette tapes should be stored
in their cases
away from contaminants, direct sunlight, and extreme
heat. If they aren’t, they may not operate properly or
cause failure
of the tape player.
Your tape player should be cleaned regularly each month or after every
15 hours of use. If you notice a reduction in
sound quality,
try a known good cassette to see if the tape
or the tape player is at fault. If this other cassette has n\
o
improvement in sound quality, clean the tape player.
1 /.Y
ProCarManuals.com
Page 132 of 324
Clean your tape player with a wiping-action, non-
abrasive cleaning cassette, and follow the directions
provided with it.
Cassettes are subject to wear and the sound quality may
degrade over time. Always make sure that the cassette
tape is in good condition before you have the tape player
serviced.
Care of Your Compact Discs
Fixed Mast Antenna
The fixed mast antenna can withstand most car washes
without being damaged.
If the mast should ever become
slightly bent, you can straighten it out
by hand. If the
mast is badly bent, as it might be
by vandals, you should
replace it.
Check every once
in a while to be sure the mast is still
tightened to the fender.
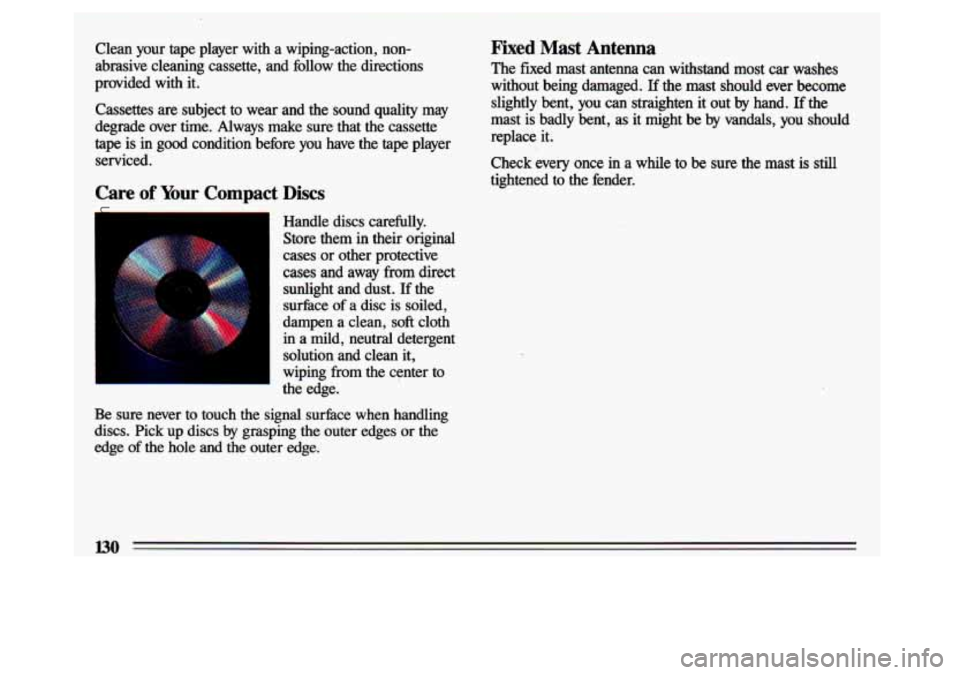
Handle discs carefully. Store them
in their original
cases or other protective
cases and away from direct sunlight and dust. If the
surface of a disc is soiled,
dampen a clean,
soft cloth
in a mild, neutral detergent
solution and clean it,
wiping from the center to
the edge.
Be sure never to touch the signal surface when handling
discs. Pick up discs
by grasping the outer edges or the
edge of the hole
and the outer edge.
130
ProCarManuals.com