1992 VOLKSWAGEN CARAVELLE manual radio set
[x] Cancel search: manual radio setPage 43 of 164

Downloaded from www.Manualslib.com manuals search engine
CONTROLS AND EQUIPMENT
2
-
Coolant temperature
—
~~s
gauge starts
to
work
when ignition
is
=
.vitched on,
but it
takes some time before
~e needle reaches
its
final position.
-en ignition
is
switched
on the
warning
c~ip flashes
for a few
seconds
as a
func-
•
:nal check.
5
- Cold
-. Did
high
engine speeds and
do not
work
r-gine
too
hard
yet.
:
- Normal
nen
the
vehicle
is
driven normally
the
~eedle
should settle
down
in
this zone.
-en engine
is
working hard and the ambi-
r~t
temperature
is
high,
the
needle
may
-ove
a
long
way up. This is not serious as long as the
warning lamp does not flash.
Warning lamp
If
the lamp flashes when driving, check first
the indicated coolant temperature.
If the
needle
is in the
normal zone,
top the
coolant
up at the
next
opportunity.
If
the reading
is
in the upper zone, either the
coolant level
is too low or the
coolant tem
perature
is too
high.
Stop,
switch
en
gine off
and
try to
find cause
of
trouble
-
see
page 47.
Notes
•
Additional
lights
in
front
of the cooling air intake interfere
with
the
flow
of cooling air. At
high
ambient
temperatures and
full
throttle
there is a danger that the engine
will
then
overheat.
3
-
Digital clock
*
To
set the
time there
are two
buttons
on
lower left
of
instrument cluster.
The
hours
are
set
with
the
upper button
(h) and the
minutes
with
the
lower one
(min):
•
If
pressed briefly, preferably
with
a ball
pen,
the time changes one hour
or
one min
ute.
•
If
pressed continuously the hours
or
min
utes
change continuously.
With
the minute button the clock can be set exactly
to the
second:
•
Press button until time shown
by
clock
is
one minute before time
to be set.
•
Press button
at the
moment when
the
seconds
indicator
of an
accurate clock
shows a full minute
or
when the time signal
is
heard
on the
radio.
41
www.vwT4camper.info - a useful website for owners and enthusiasts of VW T4 Transporter Campervans
Page 48 of 164

Downloaded from www.Manualslib.com manuals search engine
CONTROLS
AND EQUIPMENT
4
-
Fuel gauge
^u
This gauge works
when
ignition
is
switched on
but it
takes some time for
the
needle
to
reach
its
final
position.
The tank holds about
80
litres.
When
the needle reaches the start of the
re
serve
zone
(arrow)
there is about 10 litres
(2
gallons)
of
fuel left
in the
tank. 5
-
Analog clock
To
set the
time press
the
button
on
lower
right
in
combi instrument:
•
If
pressed briefly, preferably with
a
ball
pen,
the
time
is
advanced
one
minute.
•
If
pressed continuously the minute hand goes faster and
at
the same time
the
hours
are
set as
well.
With
the button the clock can
be set
exactly to
the
second:
•
Press
button until time is one minute be fore time
to be set.
•
Press
button
at the
moment
when
the
seconds indicator
of an
accurate clock
shows
a
full
minute or
when
the time signal is heard
on the
radio. 5
-
Rev counter
*
The
rev
counter needle must not move into
the
red
zone
of the
scale
on any
account.
The additional
red
dotted zone before
the
red zone
on the
scale which some models
have
shows
the
maximum engine speed
permitted
briefly
e.g.
when
overtaking
when
engine
has
been run in and
is
warm
-
see page
76
also.
It is
advisable
to
change up
or
reduce engine speed
at the
latest
by
the time
the
needle reaches this
zone..
rijp
Changing
up in good time helps
<-^>
to
save
fuel and keeps the noise
down.
Change down
to
the next lower gear before
the engine
no
longer runs smoothly.
The green or green shaded area on the scale shows the speed
at
which
the
engine
is de
veloping
its
most favourable torque
and is
working
most economically. Drive
as
often as possible with needle
in
this area.
During
the
running-in
period,
high engine
revs
should
be
avoided.
46
www.vwT4camper.info - a useful website for owners and enthusiasts of VW T4 Transporter Campervans
Page 131 of 164

Downloaded from www.Manualslib.com manuals search engine
DO-IT-YOURSELF
Masking
headlights
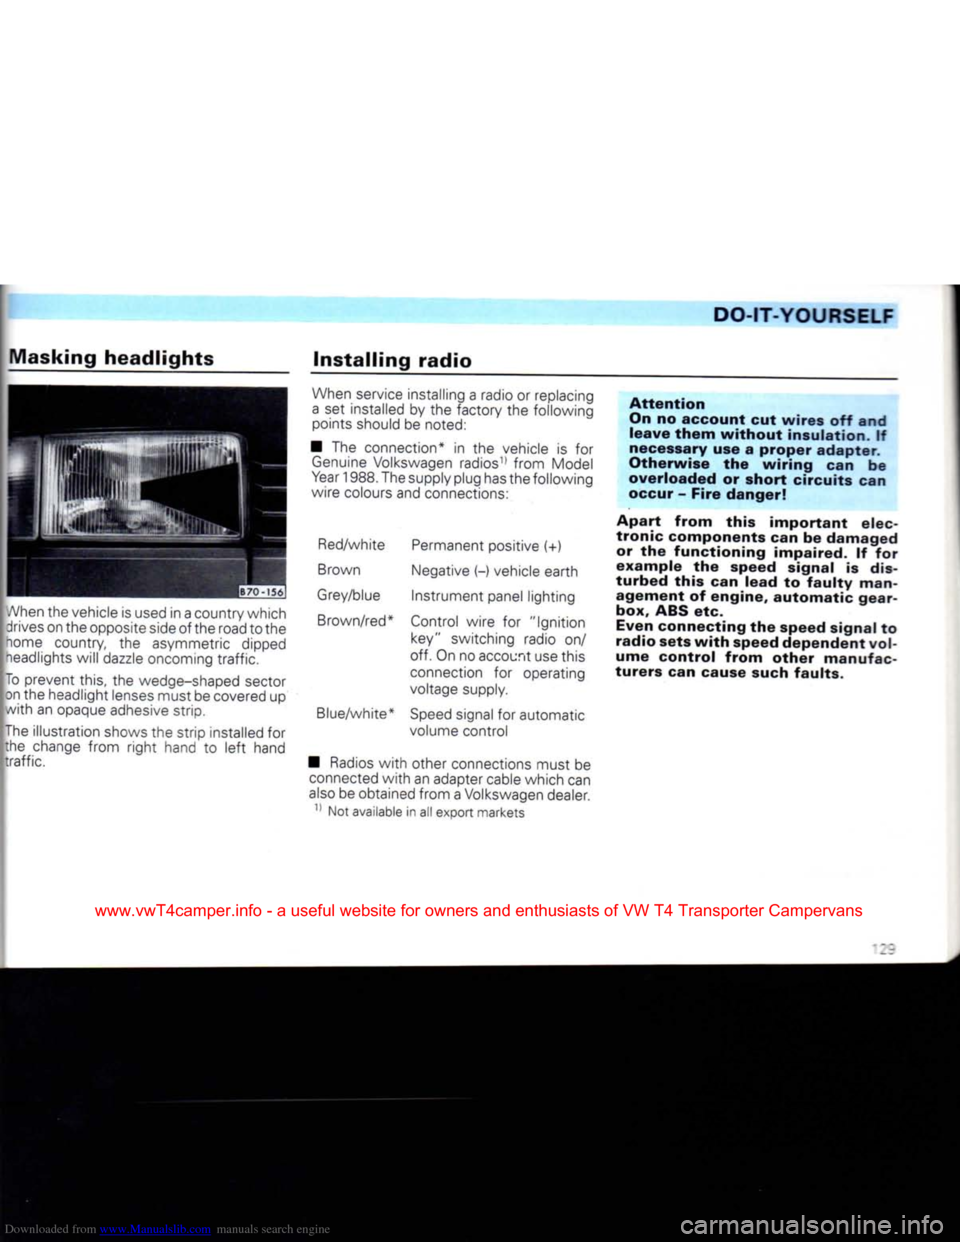
When the vehicle is used in a country which drives on the opposite side
of
the road to the
home country,
the
asymmetric dipped neadlights
will
dazzle oncoming
traffic.
To prevent this,
the
wedge-shaped sector on the headlight lenses must be covered
up
with
an
opaque adhesive strip.
The illustration shows
the
strip installed
for
the change
from
right
hand
to
left
hand
traffic.
Installing
radio
When service installing
a
radio
or
replacing
a
set
installed
by the
factory
the
following points should
be
noted:
•
The
connection*
in the
vehicle
is for
Genuine
Volkswagen radios11
from
Model
Year
1988. The supply plug has the following
wire colours and connections:
Red/white Permanent positive
(+)
Brown Negative
(-)
vehicle earth
Grey/blue
Instrument
panel lighting
Brown/red* Control wire
for
"Ignition
key" switching radio
on/
off. On no account use this
connection
for
operating
voltage supply.
Blue/white*
Speed
signal
for
automatic volume control
•
Radios
with
other connections must
be
connected
with
an adapter cable which can
also
be obtained
from
a Volkswagen dealer.
11 Not available
in all
export markets
Attention
On
no account cut wires off and
leave
them
without
insulation. If
necessary
use a proper adapter.
Otherwise the wiring can be
overloaded or short circuits can
occur
- Fire danger!
Apart from this important elec
tronic components can be damaged or the functioning impaired. If for
example the speed signal is
dis
turbed this can lead to
faulty
man agement of engine, automatic gearbox, ABS etc.
Even
connecting the speed signal to
radio sets
with
speed dependent
vol
ume control from other manufac
turers can cause
such
faults.
www.vwT4camper.info - a useful website for owners and enthusiasts of VW T4 Transporter Campervans
Page 132 of 164

Downloaded from www.Manualslib.com manuals search engine
DO-IT-YOURSELF
• The radios from the Genuine Volks wagen Accessory Programme11 are similar
to those used in the factory and ensure
trouble-free installation. These sets are in keeping
with
the advanced technology and
well-planned easy-to-operate design. In
Germany
there is also an Exchange Service
for these radios so
that
even after years of
use
a set requiring repair can be exchanged
cheaply
for a completely reconditioned,
good-as-new
set by a Volkswagen dealer.
• Loudspeakers,
fitting
parts, aerials and
suppression
kits should also be taken from
the Genuine Volkswagen Accessory
Pro
gramme11. These parts have all been
specially
developed for each vehicle model. • When installing the aerial it is essential to
ensure
that
the hole provided by the factory
where the aerial enters the body is sealed
very carefully. In addition the aerial cable,
the connecting wires and the loudspeaker
wires must be routed so
that
they cannot
chafe,
rattle
or get tangled up
with
moving parts (e.g. pedals, steering, heating controls
etc.). Otherwise the operation of the
con
trols may be affected or vehicle safety im
paired.
In
cases
of doubt, exact information can be
obtained from Volkswagen dealers.
Emergency
starting
|B43-
174[
A
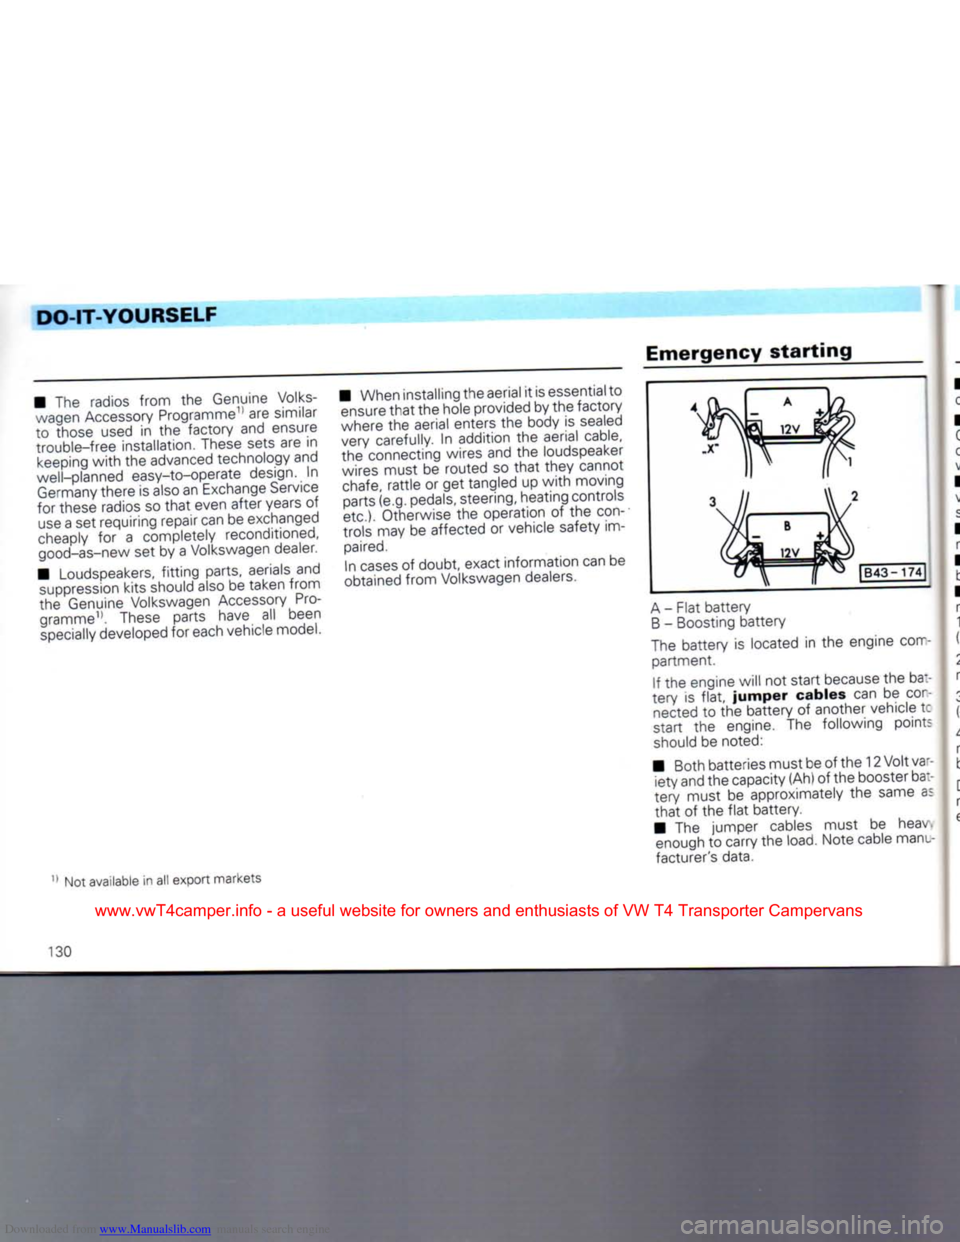
- Flat battery
B
- Boosting battery
The battery is located in the engine com partment.
If the engine will not start because the ba:-
tery is
flat,
jumper
cables can be
con
nected to the battery of another vehicle tc
start the engine. The following points
should be noted:
• Both batteries must be of the 12 Volt var iety and the capacity (Ah) of the booster bat
tery must be approximately the same as
that
of the
flat
battery.
• The jumper cables must be heav enough to carry the load. Note cable manu
facturer's data.
Not available in all export markets
130
www.vwT4camper.info - a useful website for owners and enthusiasts of VW T4 Transporter Campervans